Category Archives: Techniques

MDS Monday – Digital Dry Embossing Technique

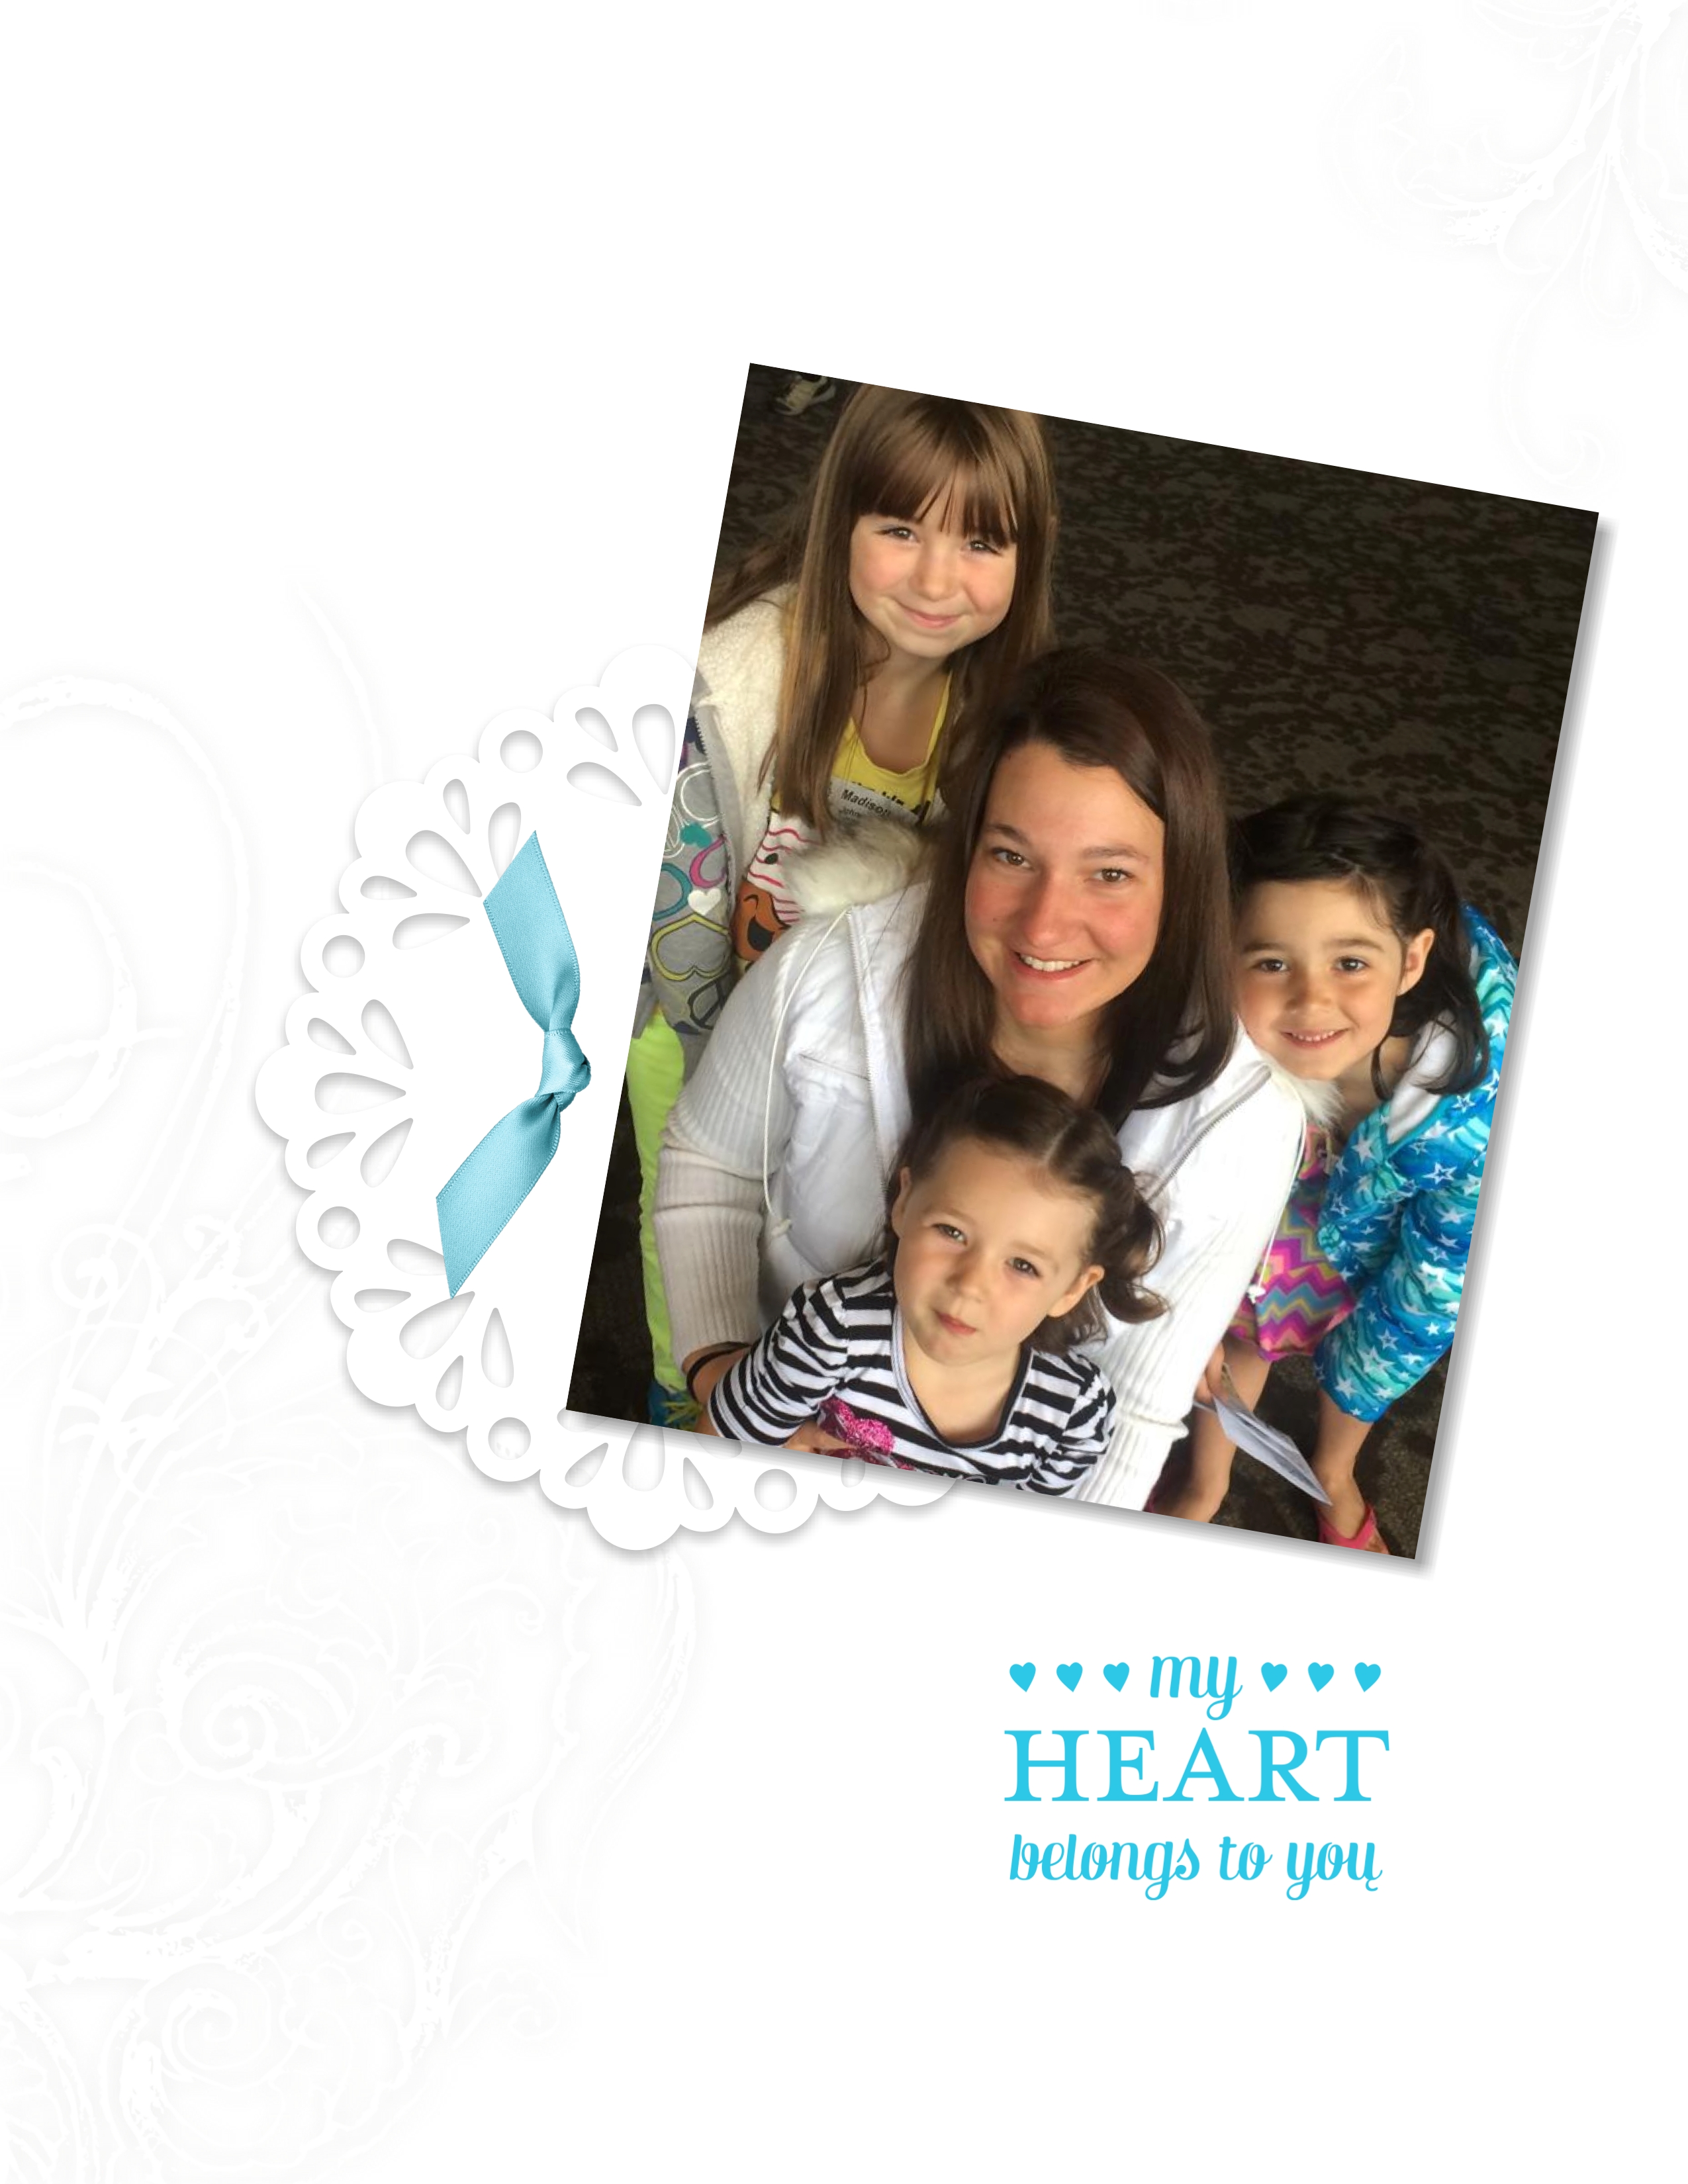
Our challenge for this MDS Monday sketch was to use mostly white on white with just a pop of color. I created this scrapbook page to highlight this recent photo of our granddaughter-in-law and her three girls. They are all so lovely!

Digital scrapbook page featuring a faux dry embossing technique

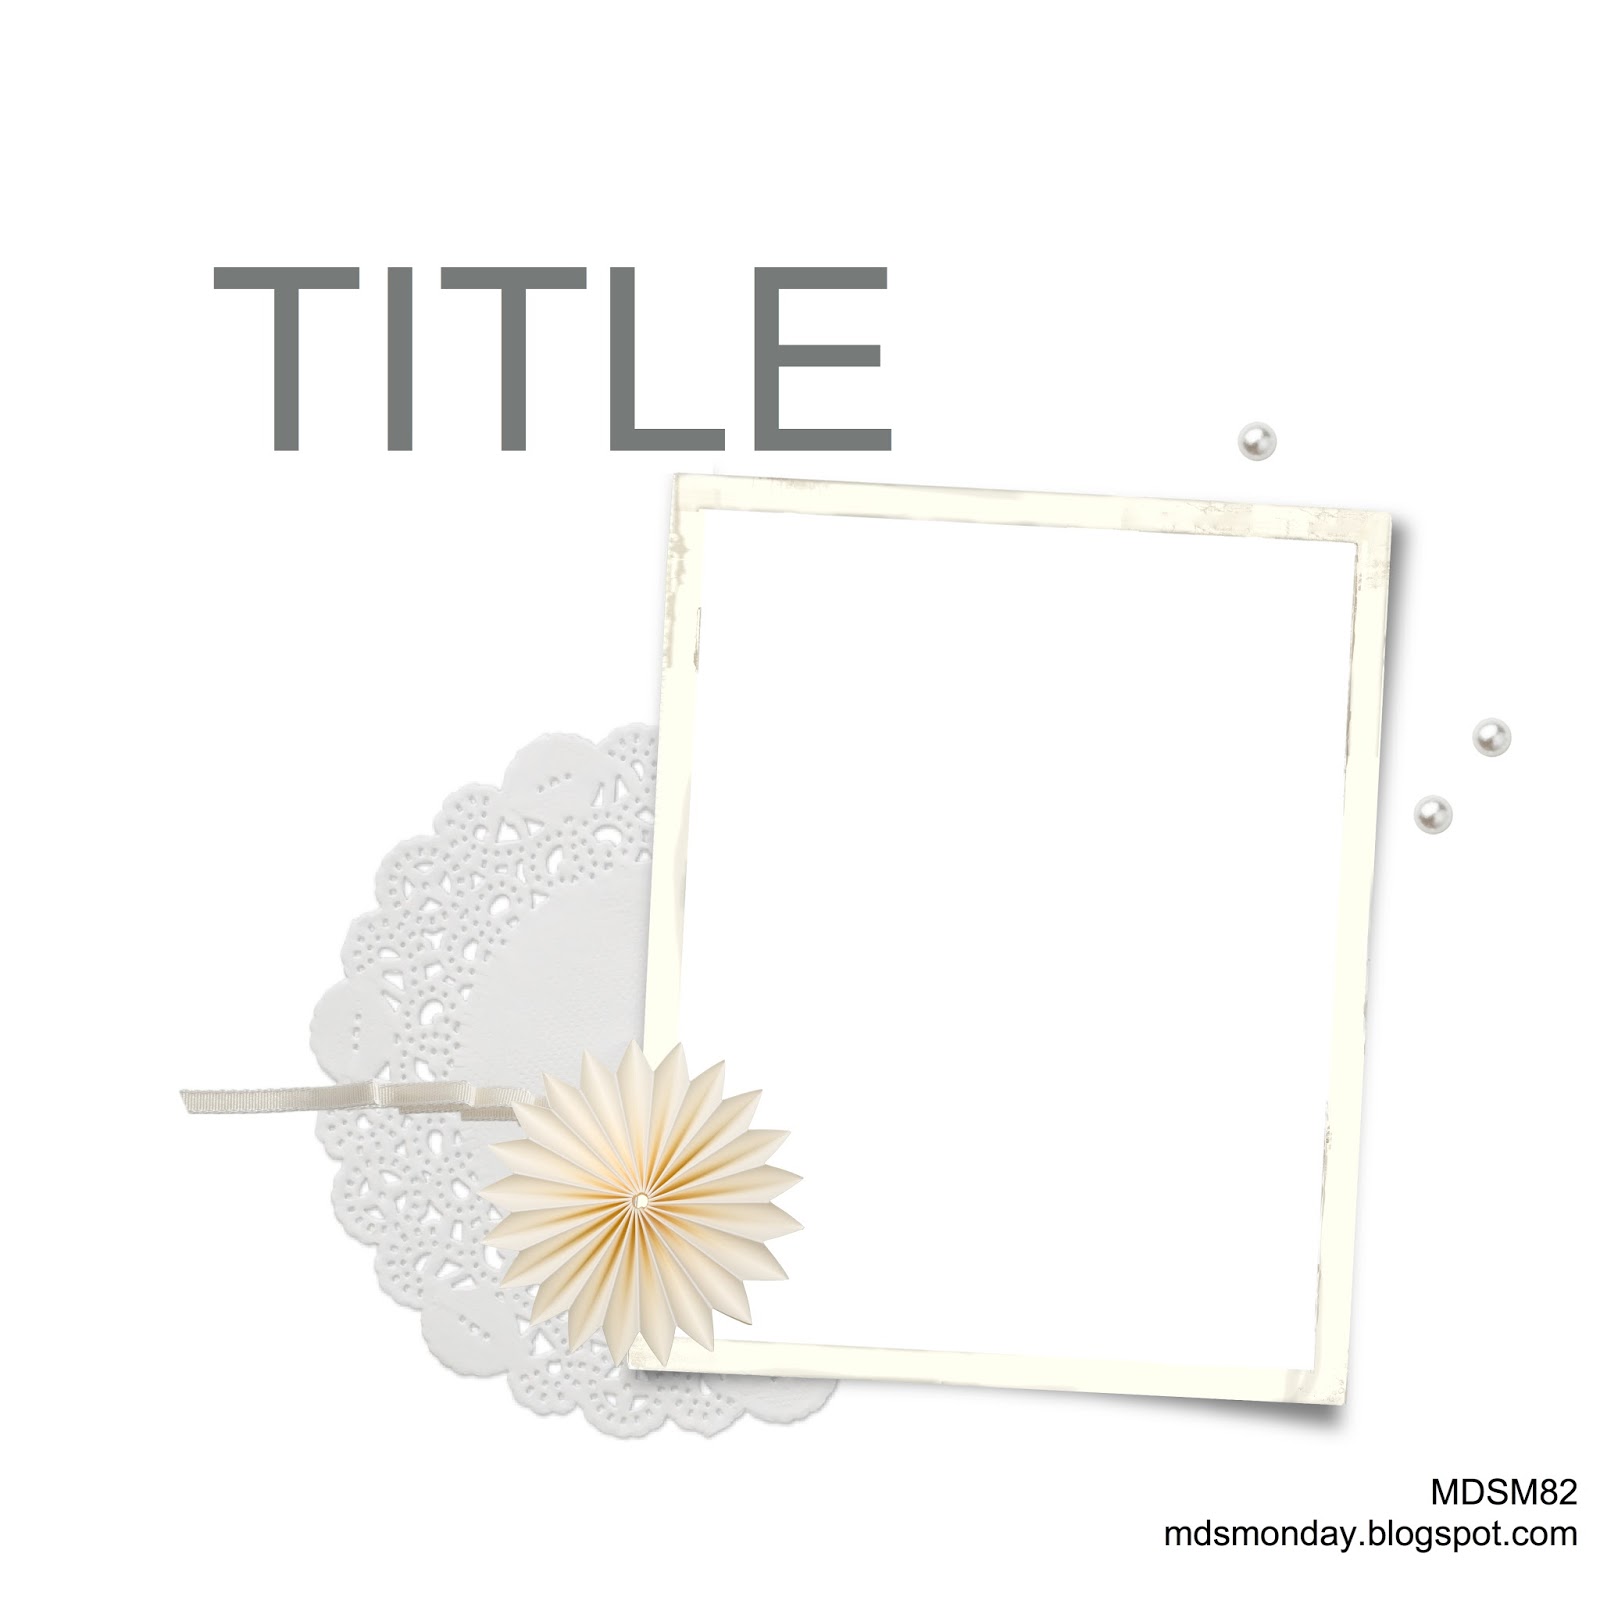
This is the sketch:

MDSM82 sketch

I used a drop shadow to allow the doily to show up against the white background. I played around with overlays to see if I could get the background with a dry embossed look. By experimenting with the color of the overlay and the color, opacity, blur, and offset of the drop shadow, I was able to get a pretty good simulation of dry embossing. What do you think?

Here is what I did. I applied the Decorative Overlays stamp brush set – flourishes (129880) and changed the color to Whisper White. Then I changed the drop shadow to -40% opacity, blur 5, offset x=0, y=0 and the color to Smoky Slate. If you aren’t familiar with the drop shadow function, let me explain. Opacity is how transparent the drop shadow it, the default is -25%. Blur refers to how wide the drop shadow is. 5 is the default but you can increase the width up to full. Offset is how close to the image is. In this page, I wanted the shadow to be tight up against the image. I urge you to play around with the drop image function. It gives depth to your project. However, it can also make your elements look like they are in front of the page, not part of the page. Experimentation to see what gives you the desired effect is important.

Here’s another tip for you. I wanted to use the color picker function to recolor the satin ribbon knot to match one of the colors in the blue jacket. I first tried recoloring Whisper White ribbon but the color was too light so I went darker. I finally chose Basic Gray ribbon and got the desired depth of color.

I challenge you to create a scrapbook page or greeting card using this technique to simulate dry embossing. When you finish it, email it to me and I’ll share it on this blog.

for more detail about the supplies I used and to order them, just click on the images below.

Washi Wednesday Faux Shaker Card

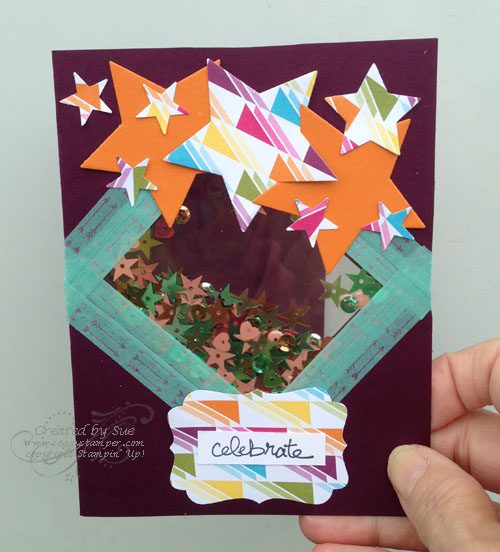
Washi tape faux shaker cardYes, I know it is Thursday but I just couldn’t get this card finished yesterday. Do you know how it is when you just can’t figure out how to finish the card? Well, that was the case yesterday. I played with it all day and still wasn’t satisfied. Then today I got out my new star framelits and went star crazy! :o)

To make a faux shaker card, put sequins or small punchies or beads into a small cellophane bag and seal the top. I didn’t have any small ones so I cut down a medium clear envelope (102619) and attached it on two sides with Retro Fresh Washi Tape (133001) to the card front. I wanted the faux shaker to be seen from both sides of the card front so I cut out a rectangle before adhering the piece of clear envelope. Then I put sequins in and sealed the two open sides when I attached the envelope to the rest of the card. I added another round of washi tape to widen the border around the shaker part.

Don’t you love the font of the greeting? It is one of the Hostess stamp sets, Good Greetings, in the Fall/Holiday catalog which you will be able to order from beginning August 28. I got to see a preview of the Holiday catalog during the live-streamed opening of the 2014 Stampin’ Up! annual convention. (It was a fair substitute for actually being  there.) You will be delighted and excited by all the new products in this catalog. Are you wondering why I already have this set? It’s because I am a demonstrator and earned this set from my June sales. If you would like to learn how you can get early access to new stamp sets and start your own paper-crafting business, give me a call or email me. I’d love to have discussions with you on the benefits of being your own boss.

Supplies: To order these supplies to make this card, visit my online store or click on the links. I appreciate your business!StampsGood Greetings
PaperWhisper White (100730), Pumpkin Pie (105117), and Blackberry Bliss (133675) cardstock, Sweet Taffy Designer Series Paper (133693)
InkTuxedo Black Memento Pad (132706)
OtherStars Framelits (133723), Retro Fresh Designer Washi Tape (133001), Decorative Label Punch (120907), Medium Clear Envelopes (102619)

Work of Art Abstract Flower

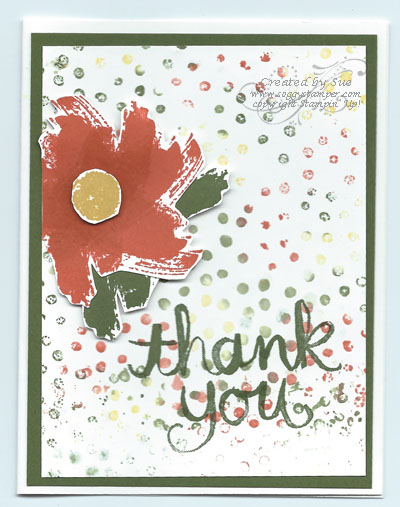
Work of Art Abstract FlowerAt the New Catalog Premiere I attended in April, we were given the Work of Art stamp set. Several demonstrators have used the swishes in the set to stamp flowers so I gave it a try. I have fallen in love with this set because of it’s versatility. Check it out below. I also used the Watercolor Thank You stamp set. This single stamp only comes in wood mount.

Work of Art index

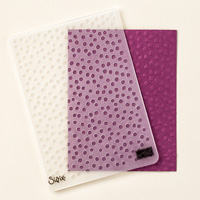
I created the background by sponging Tangelo Twist, Lost Lagoon, Hello Honey, Mossy Meadow and Blackberry Bliss on one side of the Decorative Dots embossing folder. I then lightly misted the ink with water and laid a piece of Whisper White cardstock onto the folder. I lightly pressed the folder closed but did not run it through the Big Shot. I love the impressionistic effect of the colored dots.

To order the supplies used in this card, just click on the links below or visit my online store.

Washi Wednesday – Reverse Washi Tech

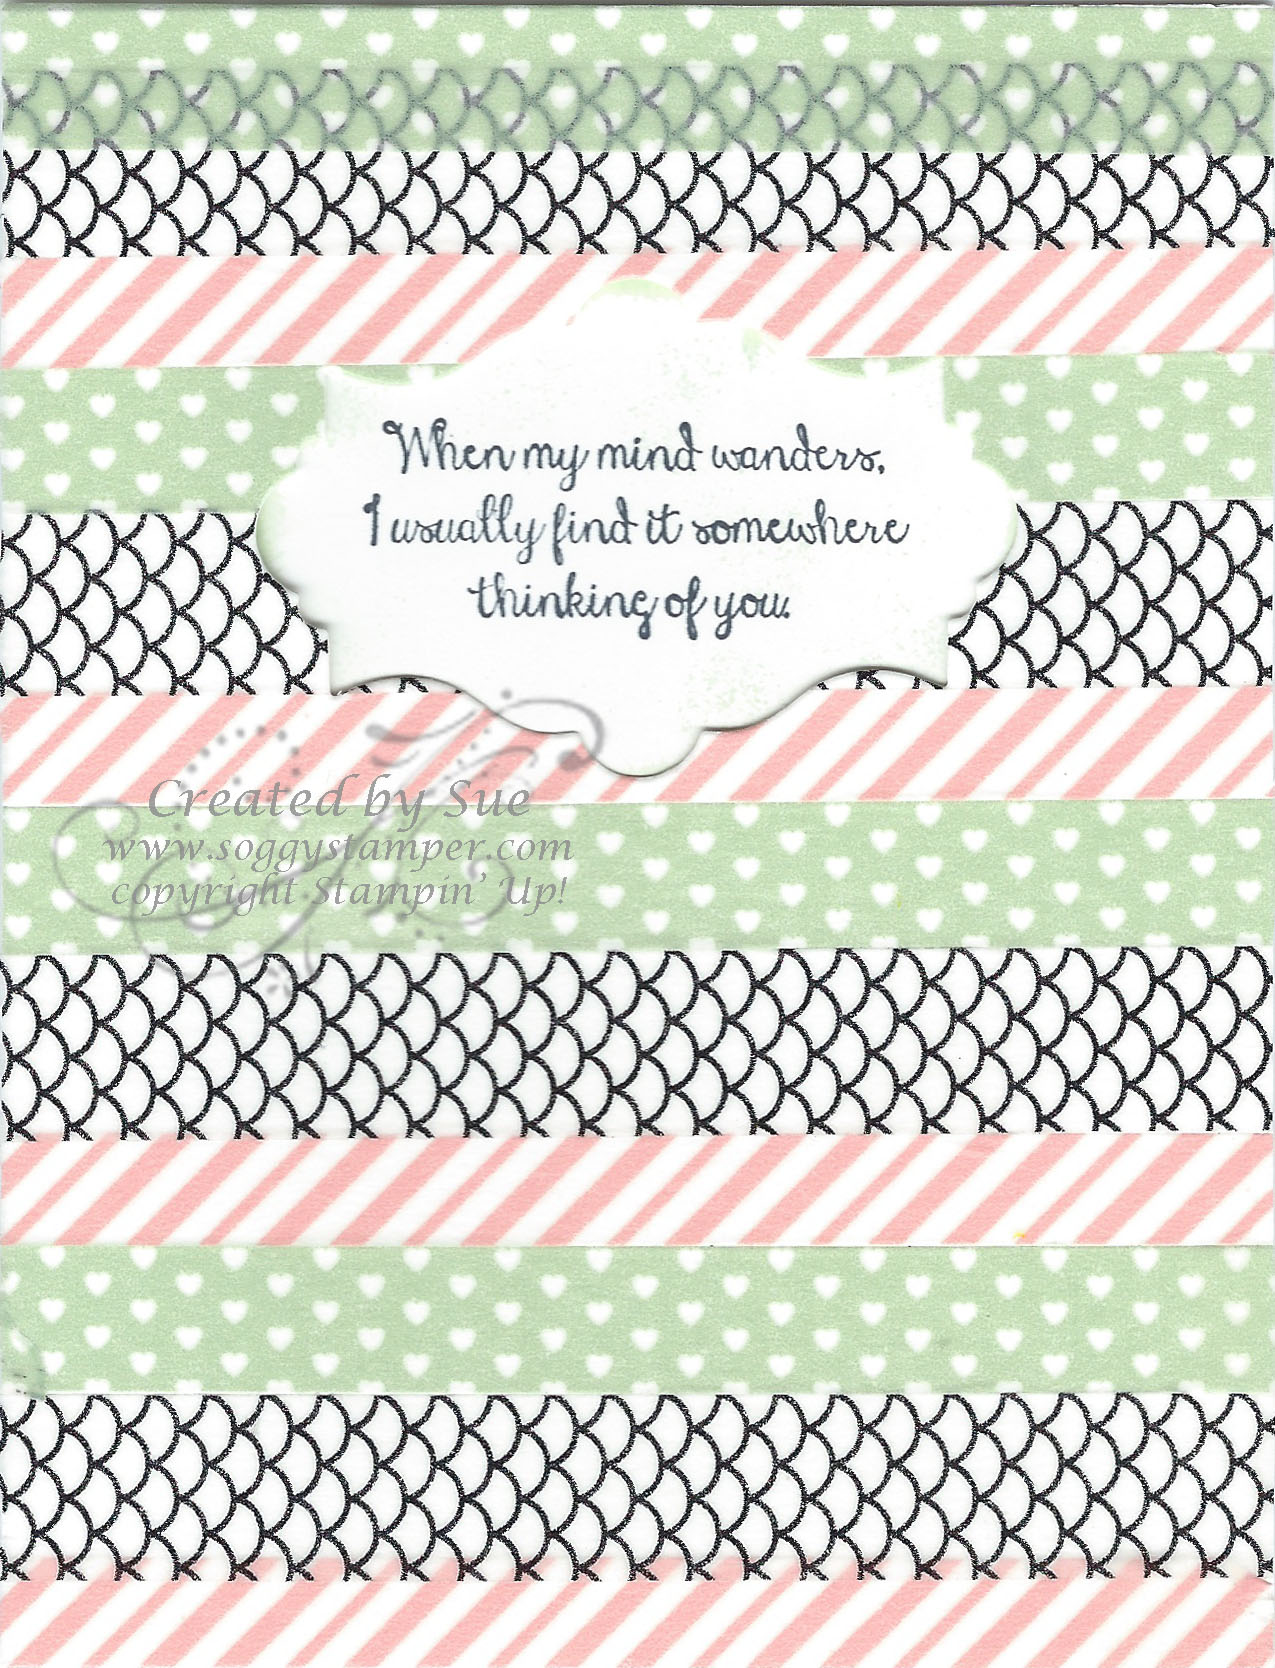
Reverse Washi cardSome time back, I had a customer ask me for different ways to use Washi tape. As a response, I created Washi Wednesday where I have been sharing different ways to use this semi-transparent and repositionable tape. You can see previous Washi Wednesday posts here, here, here, and here.

Today I have another card using Washi tape. The technique this time is called Reverse Washi and uses the new Sweet Sophie Designer Washi Tape. To do this technique, apply different patterns of Washi tape to the front of your card. Ideally you would apply them to a layer for the card front, not on the Whisper White card base like I did. Then you punch out or use a framelit to make a cutout in the card front. I used one of the Apothecary Accents Framelits. The official directions say to lightly trace around the cutout and then stamp your greeting in the tracing on the inside of your card. I just stamped through the cutout using the When my mind… from Bloom with Hope, a Hostess stamp set. However, the stamping was crooked! Don’t you just hate that? What I did to fix it was to stamp the greeting on another piece of Whisper White card stock and sponged around it with a little Pistachio Pudding ink. I then mounted this to the inside of the card centering the greeting in the cutout. Here is the inside of the card.

Washi Wednesday – Blessed Easter

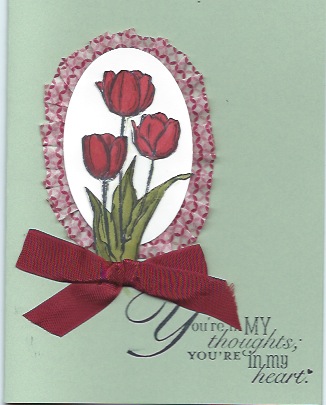
Washi Tape Medallion TechniqueHere is another way to use your Washi Tape. Punch a circle or oval and pleat the Washi tape around the circle overlapping the edge of the tape on about 1/4″ around the circle. Cover this circle or oval as in my sample with another circle, oval, or some other punched shape that covers the inside edge of the pleated Washi tape. Then use it as desired on your card.

I used the Blessed Easter stamp which is in the Occasions seasonal catalog. This stamp is a single stamp and is not being carried over to the new catalog. So you need to order it soon if you don’t already have it. You might consider cutting the greeting off and mounting it separately so you can use the tulips for other occasions. If you don’t want to separate them, you can use markers on the rubber to color just the tulips.

In this card, the image is embossed with black embossing powder. To get just this image and not the greeting, I cut a mask from copy paper and put some 2-way glue on the back of it. I allowed the glue to dry so it was temporary and stuck the mask to my stamp. Then I inked the stamp with Versamark. The mask gets the versamark on it but not the greeting under the stamp. It is important to remember to take the mask off before stamping the image on your cardstock! LOL! Yes, I say this from experience. :o)

Since two of the items used in this card, the Gingham Garden Washi tape (129314) is being retired and the Blessed Easter stamp (133212) is not being carried over to the new catalog, be sure to order them by June 4 so you don’t miss out on making this great card.

SUPPLIES:
Stamps – Blessed Easter (wood only – 133212), Word Play (retired, sorry!)
Inks – Memento Black (will be in the new catalog), Versamark (102283), Cherry Cobbler, Old Olive
Cardstock – Whisper White, Shimmery White, Pistachio Pudding
Other – Blender Pens (102845), Gingham Garden Washi Tape (129314), Cherry Cobbler 1/2″ Seam Binding Ribbon (120992), Ovals Collection Framelits Dies (129381), Black Stampin’ Emboss Powder (109133), Heat Tool (129053)

Project Life and Stampin’ Up!

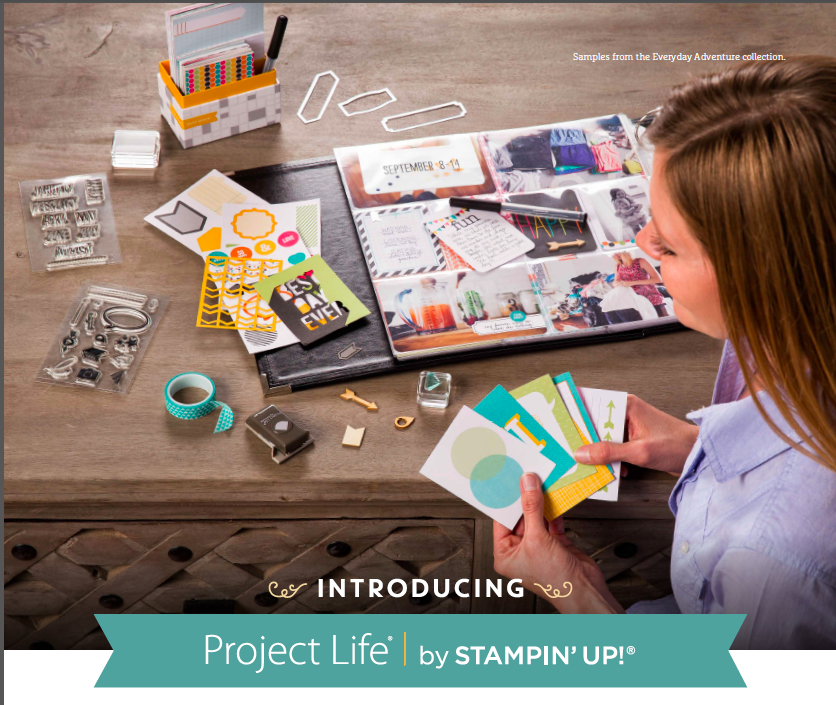
Project Life in ActionAre you already a Project Life fan? Then you will be excited to know that Stampin’ Up! and Becky Higgins have joined forces to bring you Project Life scrapbooking with Stampin’ Up! exclusive art work and colors. Starting today, you can order the sneak preview supplies shown below and when the new 2014-2015 catalog is active on June 1st, you will be able to order the full range of choices Stampin’ Up! offers. Place your order through my online store or click on the links with the images.

Yes…there are even digital versions of the cards and stamp sets!
If you are like me and just don’t have the time or don’t get around to doing traditional scrapbooking, Project Life might be the perfect solution for you. It is a simple way to get your pictures into a scrapbook. The rectangular framelit is the perfect size to cut out your focal point of a photo so it fits into the pockets. There are pre-printed cards with cute sayings to put in some of the pockets and there are journaling cards so you can quickly write down the memories associated with the photos on the page. And….the cards come in a sturdy cute box for storage.
I ordered my Project Life supplies today. Now it is your turn to order your Project Life supplies and start scrapping PL style with me.

Washi Wednesday – Retro Fresh

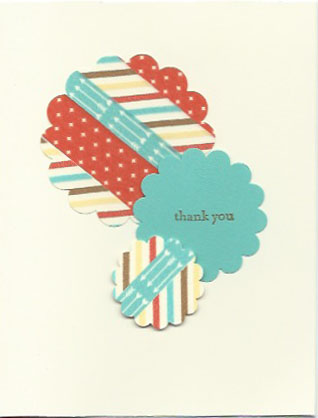
Retro Fresh This and That Designer Washi Tape Thank You cardWell I started this post when it was Wednesday but life got in the way so now it is Thursday. I really wanted to share this post with you so here goes.

I have another Washi tape card for you! I am fairly new to the Washi tape scene and didn’t know at first what to do with it other than to use it in place of scotch tape to slap photos into a Smash book. After a bit of research and browsing Pinterest and Google, I have learned there are an ever-growing amount of ways to use it. I shared in this previous post a way to use the tape to make a basket weave border on a card. This time I am sharing a Washi tape punched shape technique.

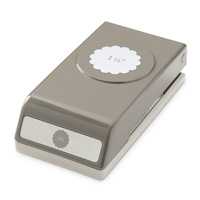
Apply strips of washi tape on a scrap piece of card stock that is a little larger than your punch. Then punch out your shape. I used a variety of sizes of scallop circle punches and the Retro Fresh This and That Designer Washi Tape (133001). The greeting is from the Teeny Tiny Wishes stamp set (wood – 128748, clear – 127802).

Repositionable washi tape comes in all kinds of widths, colors, and designs. Stampin’ Up! has the below selections for your enjoyment. Order one or two of the designs by clicking on the photos. Then share your creations by emailing a picture of your projects to me. I’ll share them on my blog.

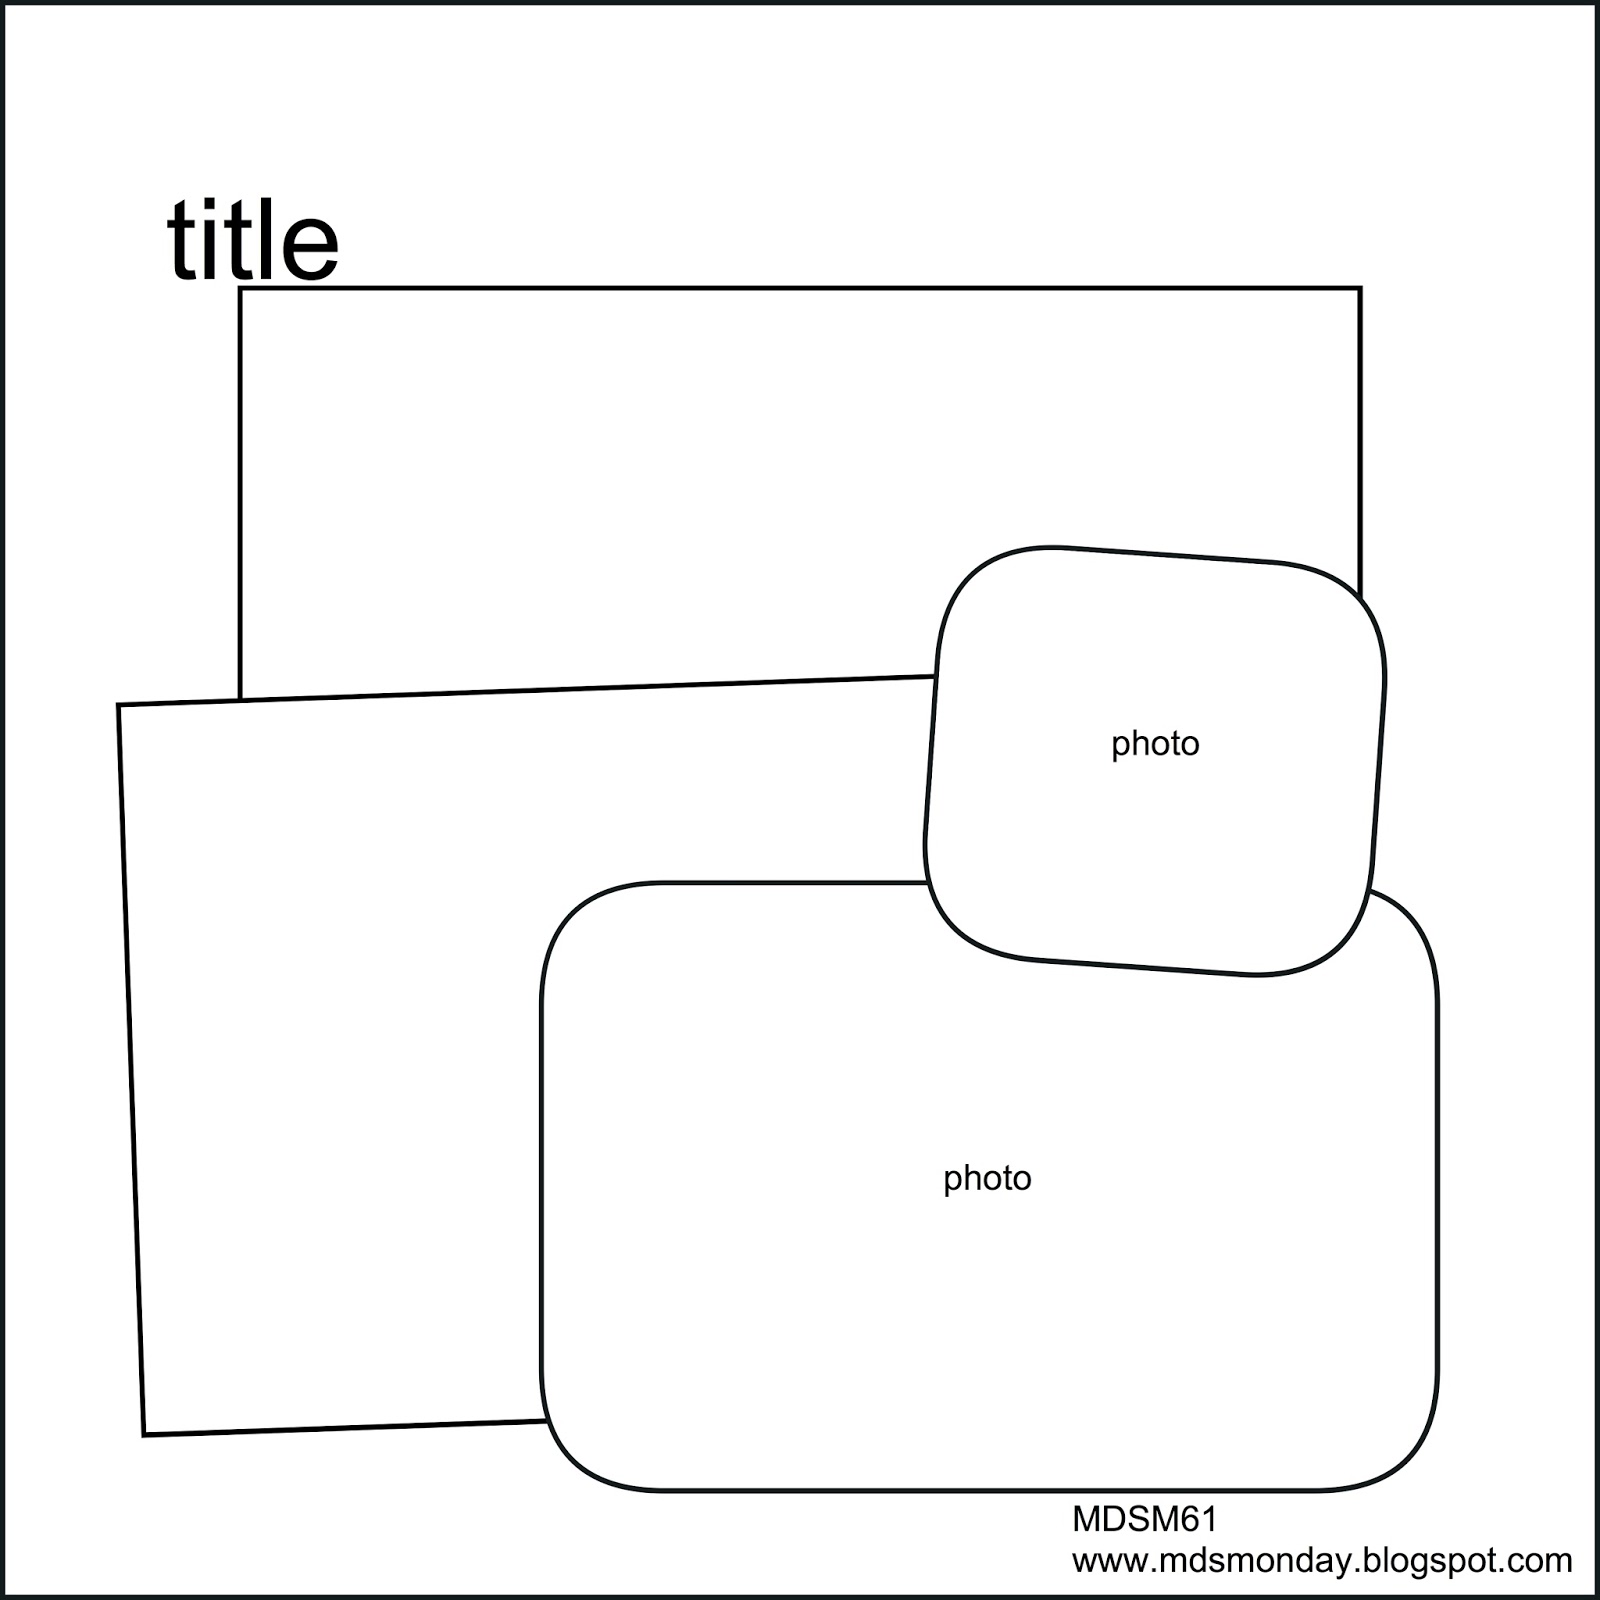
MDS Monday Sketch 61- Using Rounded Photo Corners

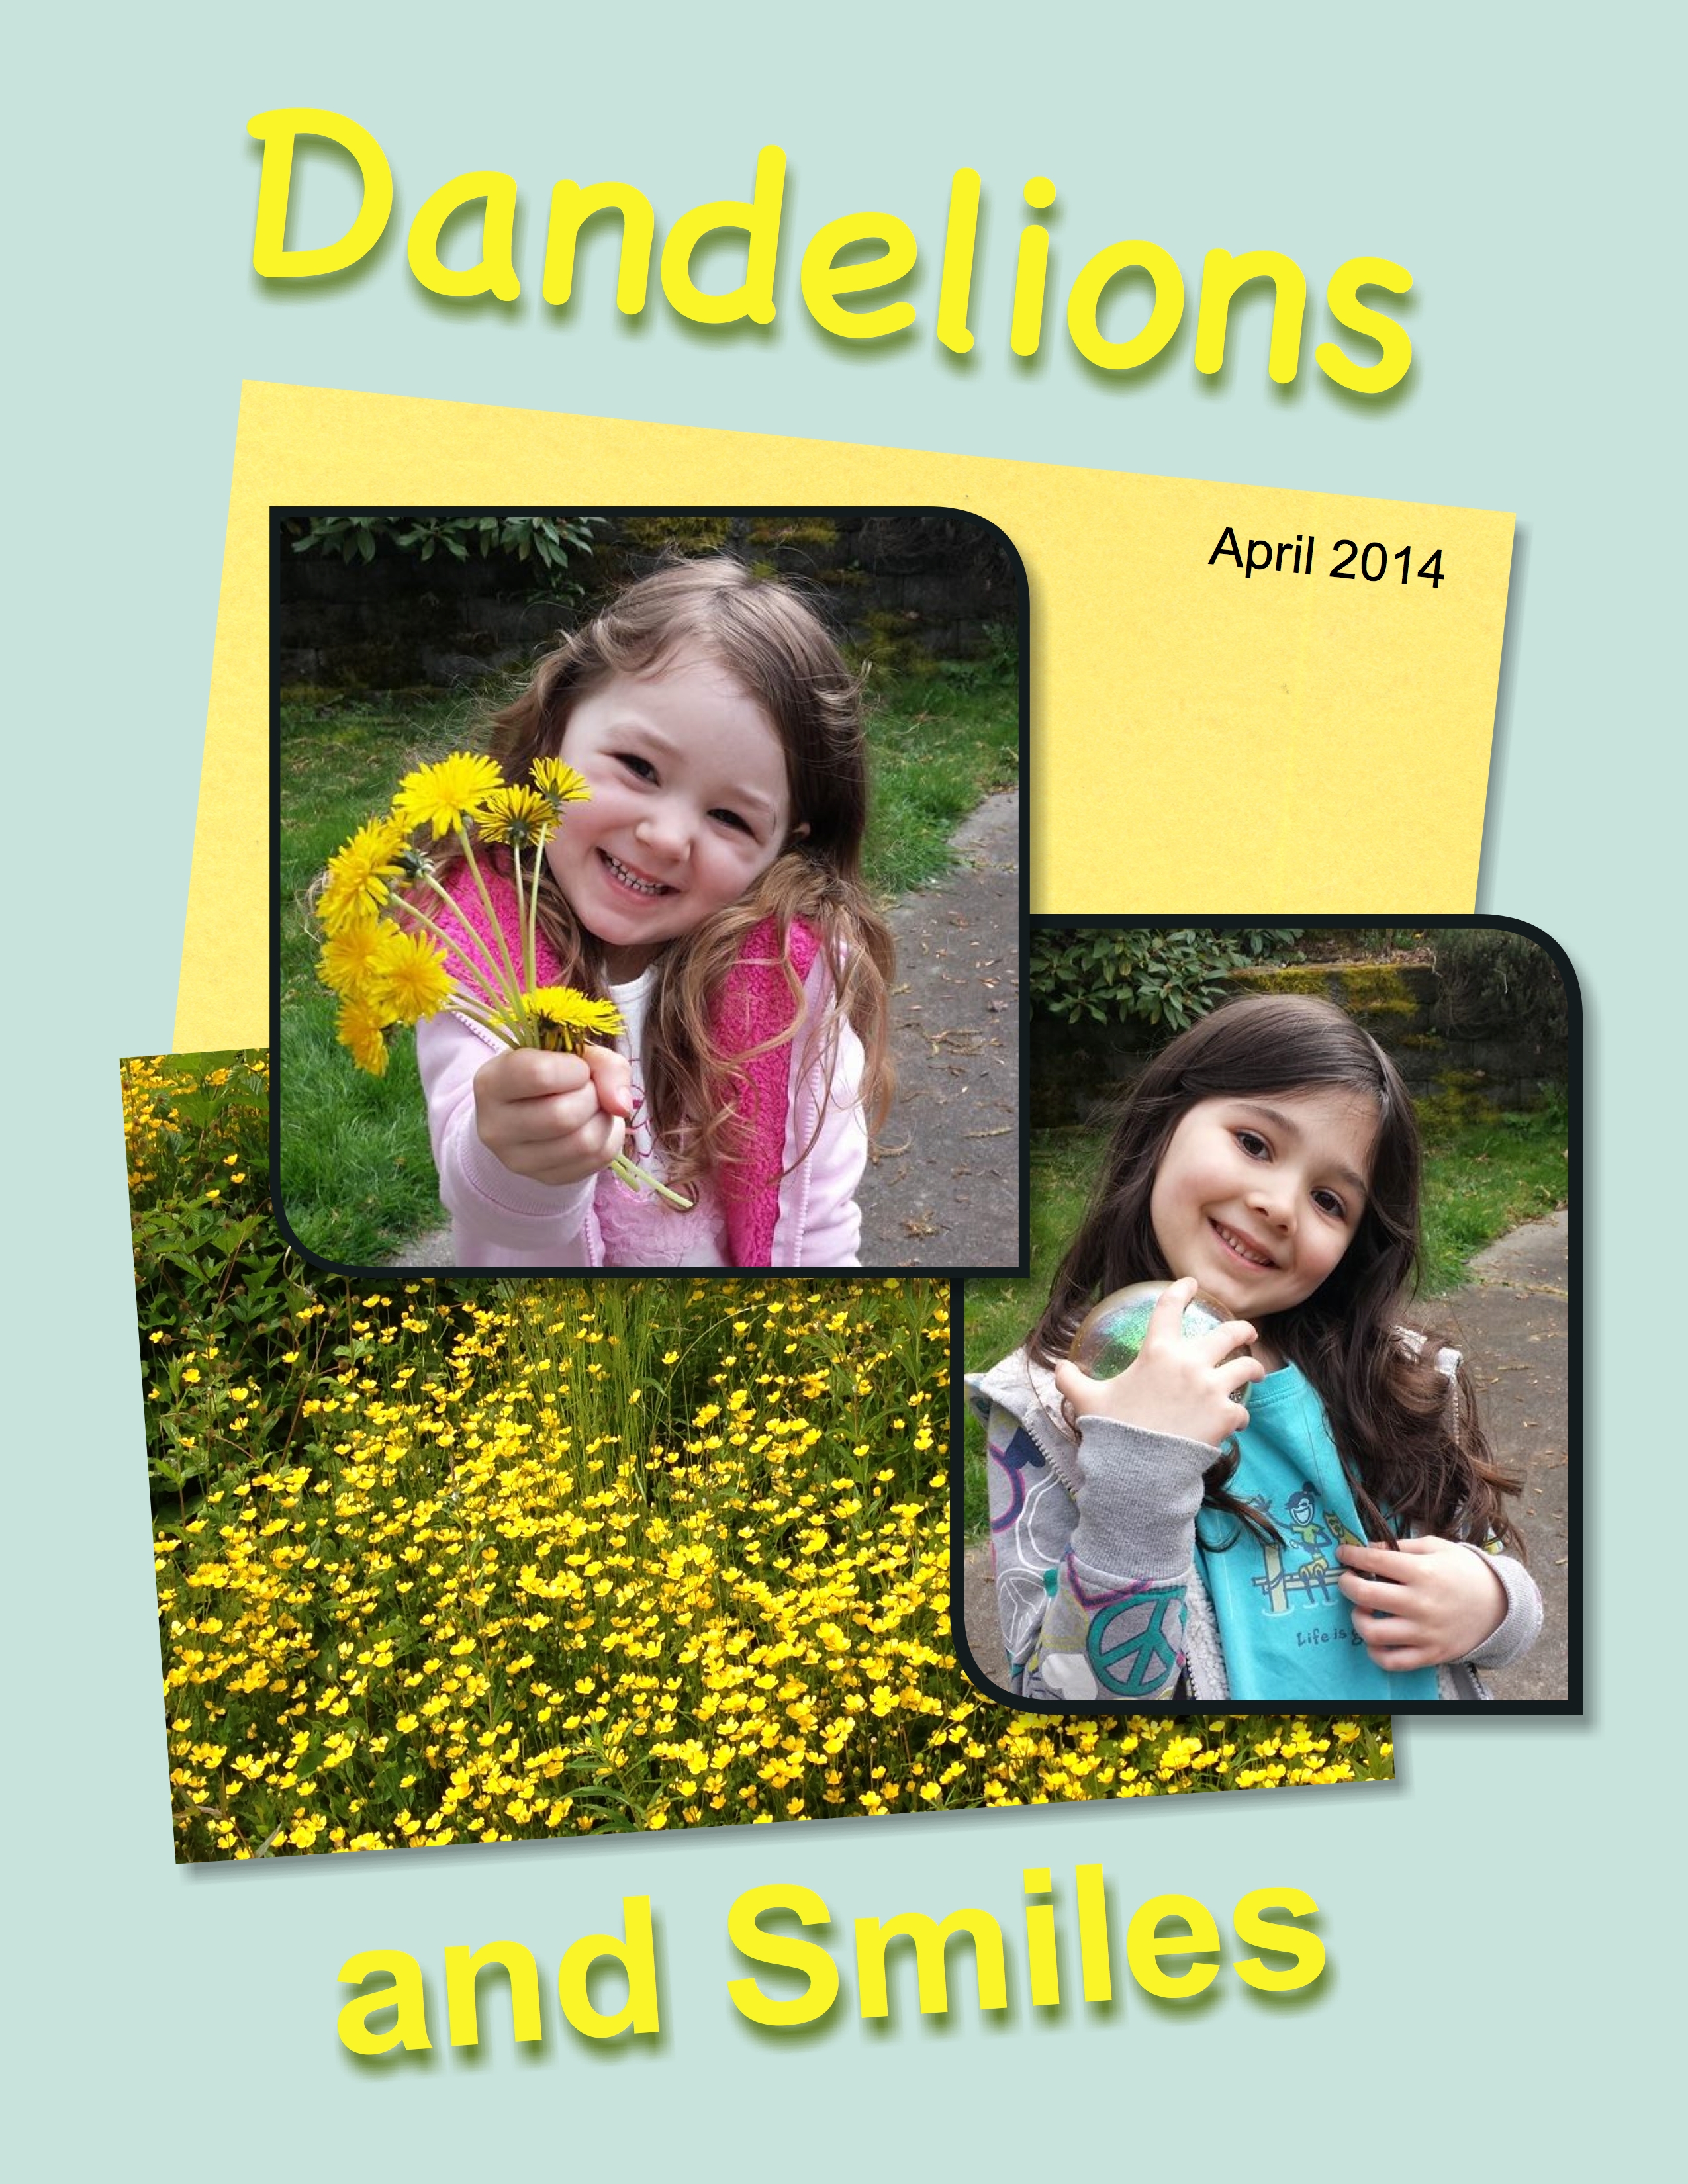
Using rounded corners on photoDon’t those two smiling faces warm your heart? They are two of our great-granddaughters and I had to use their photos on this scrapbook page for the MDSM61 sketch challenge. We were to round the corners of the photos in this challenge. Did you know that you can round them with just a click of your mouse? Right click on the photo which brings up a menu with several options, one of which is rounded corners. When you click on that, another screen comes up allowing you to deselect any corners you don’t want rounded. How cool is that?! Then click OK and you are done!

I wanted the title to resemble the colors in the dandelions so I used the color picker to choose one of the colors in the dandelions for the text. Then I changed the drop shadow to Old Olive and increased the opacity to 100% to get the soft green shadow.

I didn’t wander too far from the sketch. Well….maybe!

MDS Monday Sketch 61 - using rounded corners Dandelions are one of the first flowers??? to bloom in SE Alaska and are a sure sign that spring has arrived. What flowers signify spring to you? Create a scrapbook page or card with your answer and I’ll share it here on my blog.

Supplies:
MDS software digital download (130646), MDS software disc (130647), or 30-day Free Trial of MDS (130910)Background
Card Stock/Soft Sky
Punches
Basics/1.25 Square Punch,  Filled with: Be Yourself May Kit (133426) – Be Yourself Designer Series Paper – paper 4
Basics/1.25 Square Punch,  Filled with: Photo of dandelions

MDS Monday – Recoloring Designer Series Paper

Seriously Teen Designer Series Paper recolored

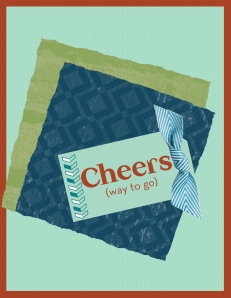
Recolor designer series paper? We can do that with MDS? Yep… you can! Our challenge for this MDS Monday was to recolor designer series paper while following the sketch. There are two ways to recolor your designer series paper. You need to add the paper as a page layerso one way is to go to the Resource Palette, choose background papers and click on the box that says add as a page layer before adding your dsp. Then double click on the dsp you want to use. When it is loaded onto your page, the photo section of the Design Center opens and you can find to button to click to recolor the dsp. Be aware that the resulting color will be monochromatic with varying shades of the color you choose. In the example of my card above, this is what the card would have looked like if I hadn’t recolored things. What a difference recoloring made!

Seriously Teen Designer Series paper original color


The other way to change the color of designer series paper is to open a photo box and drag your desired designer series paper into the box. An advantage to this method is that not only can you change the color of the dsp but you can also change the scale of the pattern by clicking on the magnifying glasses after double clicking on the photo box. Notice that the edges of my dsp squares appear to have been torn. This option is available with both methods of recoloring dsp. Right click on the layer to open the menu. Part way down is the option Rip Photo Edges. Click on the square by the side you want to tear. Unclick and click again to see all the options.

Now it is your turn. Create a card using the recoloring function to recolor some designer series paper and/or embellishments, Share the before and after with me and your creation might just end up being shared here. :o)

Supplies:MDS software digital download (130646), MDS software disc (130647), or 30-day Free Trial of MDS (130910)
Background
Card Stock/Cajun Craze
Embellishments
Sent with Love  Designer Kit (132914) – embellishments/Sent with Love – tag (re-colored) Color = DUSTY DURANGO 215,105,82
Striped Grosgrain Ribbon (137451) – pacific_point_knot (re-colored) Color = CAJUN CRAZE 170,66,37
Stamps
Delightful Dozen (127597) – cheers, Color = CAJUN CRAZE 170,66,37
Punches
Basics/1.25 Square Punch,  Filled with: Textured Card Stock – pool party
Photos
Serioulsy Teen Kit (133475)- Seriously Teen Designer Series Paper- wasabi brick wall (re-colored) Color = REALLY RUST 199,113,80
Serioulsy Teen Designer Series Papermidnight muse (re-colored) Color = TEMPTING TURQUOISE 75,196,213

Washi Wednesdays – Gingham Garden Washi Tape

Label Love with Gingham Garden Washi TapeI’m starting a new recurring posting on Wednesdays called Washi Wednesday. Washi tape is a semi-transparent tape that is repositionable. You can easily tear off the length you want by hand. It has been popular in the paper-crafting market for several years and this year, Stampin’ Up! developed their own designs of washi tape prints to coordinate with our wonderful designer series papers. If you are like me, you like the washi tape but wonder what to do with it except to use it as just tape. On Washi Wednesdays I will share various ways to use this great product.

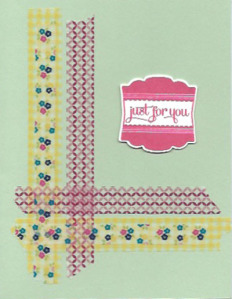
Today I have a card where I used the Gingham Garden Washi Tape (129314). I put down the yellow gingham tape, then the red tape, and finally the flowery tape. This gives the appearance of a woven pattern. Using the Washi tape is an easy way to make stripes on your card. If you have different ways to use your washi tape, send me an e-mail and I’ll share your idea here.

Supplies:
Stamps: Label Love (130622-c, 130619-w)
Paper – Pistachio Pudding (131294) and Whisper White (100730) card stock
Ink – Melon Mambo (126948)
Other – Artisan Label Punch (130920), Gingham Garden Washi Tape (129314)

MDS Monday – Adventure Awaits

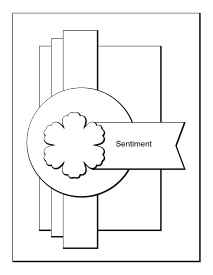
Good morning! It is Monday and I have a masculine digital Birthday card for you. This was for a sketch challenge on SUDSOL, a demo only group. Here is the sketch:

SUDSOL sketch Challenge 224and here is my MDS version:

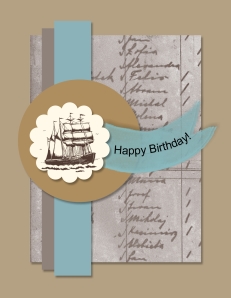
Adventure Awaits digital birthday cardThe tricky part of this card is to get the text to curve like the banner I used. To do this you create your text in a text box. Next, you go to the freeform section of the Design Center and add a line. Play with the line until it curves like the banner and then reduce the opacity to 0. While the line (which is now invisible) is selected, hold down the shift key and right-click on the text. This opens a pull-down menu with the option to attach to shape. Click on that and….voila! Your text is now curved! You can change the color of the text, the font, and the size of the text by double clicking on it. You can also play with the amount of curve in the text by pulling on the corner boxes when the text is highlighted.

The banner is from the My Digital Class Beautiful Today Kit. This kit has beautiful watercolor images which means that they are less opaque than usual. So that the background would not show through the banner, I copied it and pasted it in place for a total of three layers. This gave it the opacity I needed. Have you tried this online MDS class that Stampin’ Up! has created? Just the elements included in the kit are worth the price of the class. See them here and then click on the image to order the class.

My Digital Class Beautiful Today Kit

Have fun playing with attaching text to shapes and have fun playing with the sketch. I’d love to see what you do with it. Create a card and then email it to me. I’ll share it on my blog.

SUPPLIES:
MDS software digital download (130646), MDS software disc (130647), or 30-day Free Trial of MDS (130910)
Background
Card Stock/Crumb Cake
Stamps
My Digital Class Beautiful Today Kit (1359130 – banner 2, Color = BAJA BREEZE 141,189,193
Adventure Awaits  (129871) – vintage ship, Color = EARLY ESPRESSO 80,57,49
Punches
1.25 Square Punch,  Filled with: Nautical Expedition Designer Series Paper (124111)- 5
1.25 Square Punch, Fill Color = 143,130,123
1.25 Square Punch, Fill Color = 139,178,185
1.25 Circle Punch, Fill Color = BAKED BROWN SUGAR 174,142,94
Scallop Circle Punch, Fill Color = VERY VANILLA 254,249,232

MDS Monday – Watercolor Washes with the Be Yourself May Kit

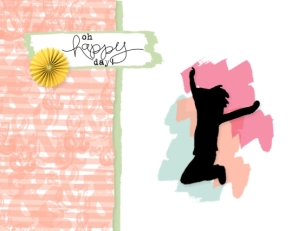
Be Yourself May KitThe sketch for MDS Monday this week is a challenge to use watercolor washes in the background. Three of the stamp sets that have watercolor washes are the Be Yourself May Kit (133246), Watercolored Winter Kit (136678), and the My Digital Class Beautiful Today Kit (135913). I chose to use the Be Yourself May Kit watercolor washes for this card. I love the exuberance of the image, greeting, and watercolor washes on this card.

Did you know you can achieve torn edges on layers digitally? Create a photo box and drag your choice of designer series paper or a photo into the box. Then right click on the photo box and the option for ripped photo will be in the list of options. Click on that option. The photo box will be outlined in red and a small square appears on each side of the box. Click on the squares to rip that side of the photo.  Each time you click on the square you will get a different tear. You can also adjust the width of the tear in this screen. I wanted to have two layers torn so I layered two photo boxes filling one with the Amped Up Ampersands – 4 designer series paper and one with Pistachio Pudding color. I encourage you to check out this feature of the photo box options. Email me a copy of your creation and I will share it on my blog.

As you can see, there is unlimited creativity available using MDS and I have such fun challenging myself to reproduce digitally techniques that are done with traditional inks, stamps, and paper. But…you can quickly create simple cards and scrapbook pages using MDS as well. Have you given it a try? You can purchase the software program for only $19.95, download it to your computer and be creating in less than an hour. If you are not quite sure but want to try it out with no commitment, you can download the free 30-day trial. Then before the 30 days are up and you find how much fun it is, you can order the permanent copy of the program and all the projects you have created are seamlessly folded into your continuing library. Click on any of the links below to order.

Supplies:
MDS software digital download (130646), MDS software disc (130647), or 30-day Free Trial of MDS (130910)
Embellishments
Designer Rosettes (131525) – small pointed crumb cake (re-colored) Color = SUMMER SUN 255,196,56
Stamps
Be Yourself May Kit (133246) – wash 2, Color = SOFT SKY 199,227,220; Color = CRISP CANTALOUPE 253,173,150; Color = STRAWBERRY SLUSH 239,79,117
Be Yourself May Kit – silhouette 2, Color = 0,0,0
Be Yourself May  Kit – wash 1, Color = PISTACHIO PUDDING 201,221,176; Color = WHISPER WHITE
Bloomin Marvelous (from a SAB disc) – oh happy day, Color = 0,0,0
Photos
Card Stock/Pistachio Pudding
Amped Up Ampersands Kit (134844) – Amped Up Ampersands Designer Series Paper – 4

Spotlight Stamping Technique with MDS

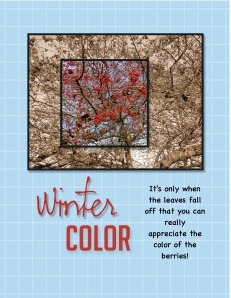
scrapbook page using digital spotlight techniqueYesterday I shared this digital scrapbook page with you and promised to share the technique with you today. As I said yesterday, I started out playing with the photo spread across 5 smaller squares. The photo was all in color. Then I decided to see what it would look like if I ungrouped the squares and made all but one of them sepia toned. That was sort of cool and that brought to mind the spotlight technique in traditional stamping. So I started over with a blank page.

I added the large photo box and then added the smaller one. I added a drop shadow and black mat to both photo boxes. I positioned the smaller box over the larger one and then grouped them. You have to have the positioning the way you want it because once you add the photo, the content of each box stays the same no matter where you move the photo box.

Next I dragged the photo onto the grouped photo boxes. Then I ungrouped them, selected the larger box and clicked on the photo effect button in the DESIGN CENTER under photos. This opens a variety of things you can do with your photo. I chose ‘sepia’.

And there you have it…a perfect spotlight done digitally!

I didn’t have the word ‘color’ by itself in my MDS library so I used the ‘color me creative’ stamp from the Color Me Creative Kit we received at convention the year MDS 2 was released. I used the crop tool to crop out all but the word ‘color’. I used the color picker feature to color both words of the title with one of the colors in the berries in the photo.

So my challenge to you now is…go forth and try creating a spotlight on your card or scrapbook page. Again…send me a photo of your creation. I just might share it on my blog!

Supplies:
MDS software digital download (130646), MDS software disc (130647), or 30-day Free Trial of MDS (130910)
Stamps
  Color Me Creative Designer Kit– color me creative (cropped)
Punches
Holiday Celebration Punches (131309) – winter
Photos
Designer Series Paper/Grid/Bashful Blue Grid (118858) also comes with MDS software

MDS Monday – Festive Flurry Digital Kit

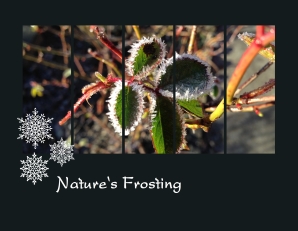
Festive Flurry Digital KitOnce in a while you take a special photo that demands special treatment. I created this scrapbook page for the MDS Monday Challenge 49. The sketch has five elongated photo boxes on the page and this photo of frost crystals on the edges of my rosebush leaves is the perfect photo to add across all the photo boxes. I wanted the frost to be the highlight of the page so kept the rest very simple by just adding three lacy white snowflakes from the Festive Flurry Kit.

It is a snap to add one photo across several photo boxes using MDS. Add a photo box, size it and adjust the shape as desired. Then copy and paste to get the desired number of boxes. Arrange them as desired, then select all of them by holding down the shift key while clicking on each box and group them. While the group is selected, drag your photo into the photo box group. Voila! The photo is divided into all the boxes. Experiment with the sizes of the boxes and the alignment of them.

I am going to play with this technique a bit more today and will post a couple of different versions tomorrow. Email me your creations using this technique and I will share them here.

Supplies:MDS software digital download (130646), MDS software disc (130647), or 30-day Free Trial of MDS (130910)
Stamps: Festive Flurry Kit (135250)

Happy Mistake – Festive Flurry

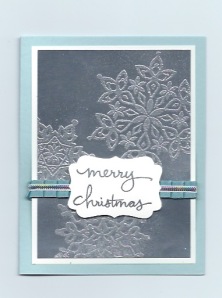
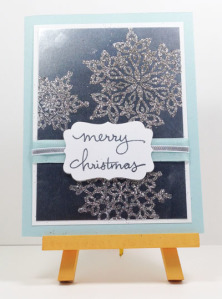
Sometimes a mistake can turn out to be even better than what a stamper had planned. In this case, it is not better than the original plan but definitely a good discovery. I was working on my Christmas cards. One step in the process was to stamp the Festive Flurry images on the Silver Foil sheets and emboss with Heat & Stick Powder, then sprinkle silver glitter over the images. All was going well until I took a break for the day. The next time I worked on them I grabbed the little jar that was at hand and sprinkled the powder over the images. I was mystified for a moment or two that the glitter wasn’t sparkling like usual. Hmmm….THEN I looked at the jar! I had picked up the silver embossing powder instead of the glitter. Oops! I decided to go ahead and heat emboss the images and was pleased with the end result.

Festive Flurry Christmas card
What do you think? Don’t the snowflakes look like they have been crocheted with silver thread? The lumpiness of the Heat & Stick Powder created a different texture to the heated silver embossing powder. Fortunately, I only had done 6 of these before I discovered my mistake. Here is the original card. Oh yeah…I also forgot to check if I had enough of the Pool Party Seam Binding ribbon and ran out of it. Fortunately, the retired Baja Breeze pleated ribbon I had left over works well too.

Festive Flurry Christmas card

Supplies:

Stamp Sets – Festive Flurry (131788-wood, 131781-clear), Endless Wishes (133455 – sold out)

Ink – Versamark (102283)

Pper – Soft Sky (131203) and Whisper White (100730) card stock, Silver Foil Sheets (132178)

Other – Decorative Label Punch (120907), Heat & Stick Powder (100625), Silver Glitter (132205), Silver Stampin’ Emboss Powder (109131), Embossing Buddy (103083), Heat Tool (129053), Soft Sky 1/2″ Seam Binding (131210)