Tag Archives: Halloween card

Scary Cute Pop-upCard

photo is of a Halloween Scary Cute Pop-up Card

This scary cute pop-up card is such fun to play with. What you are seeing is the card in the closed. The magic happens when you open the card. The photo shows the card flattened open but it is 3 dimensional otherwise. I love how the black cat pops up! I can play with it for minutes at a time. 🙂
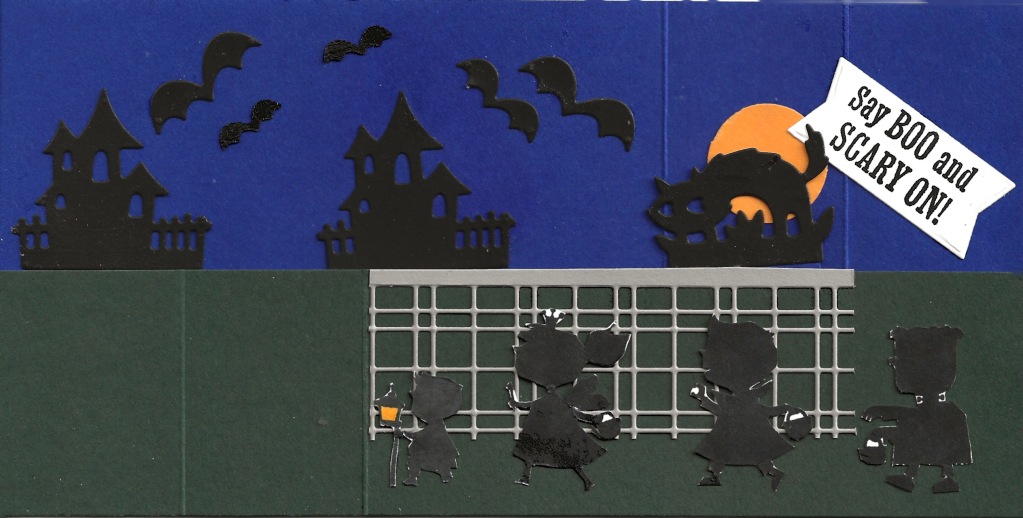
Halloween Scary Cute Pop-up card opened

The images of the children do not have a corresponding die so I fussy cut them out. The tricky part of the card is getting the pop-up feature to work properly without any of the cat showing out the bottom of the card when it is closed. The fence is cut out with part of a Split Card Textures die

Supplies Used for Scary Cute Pop-up Card

  • Scary Cute Bundle (159852)
  • Starry Sky Cardstock (159263) 8 1/2″ x 4 1/4″ scored at 5 1/2″ and 7″, 1 1/2″ x 1 1/4″ for pop-up
  • Evening Evergreen Cardstock (155574) 8 1/2″ x 2″ scored at 5 1/2″ and 7″, 3 7/8″ x 2″
  • Basic Black Cardstock (121045) scraps for cat, haunted houses and bats
  • Gray Granite Cardstock (146983) 4 3/4″ x 1″ for fence
  • Basic White Cardstock (159276) scrap for tag, scrap to stamp children on
  • Mango Melody Cardstock (146989) scrap for moon
  • Tuxedo Black Memento Ink (132708) and Dark Mango Melody Stampin’ Blend (retired) use marker instead
  • Split Card Textures Dies (159162)
  • 1″ Circle Punch – retired
  • Paper Snips (103579)
  • Paper Trimmer (152392)
  • Stampin’ Cut & Emboss Machine (149653)
  • adhesives of choice
  • you can find these supplies in a shopping cart in my online store for your convenience. Click here.

Once you have gathered your supplies, watch this FaceBook Live I did to see how to put the card together.

For other samples of cards using this Scary Cute bundle, click here and here.

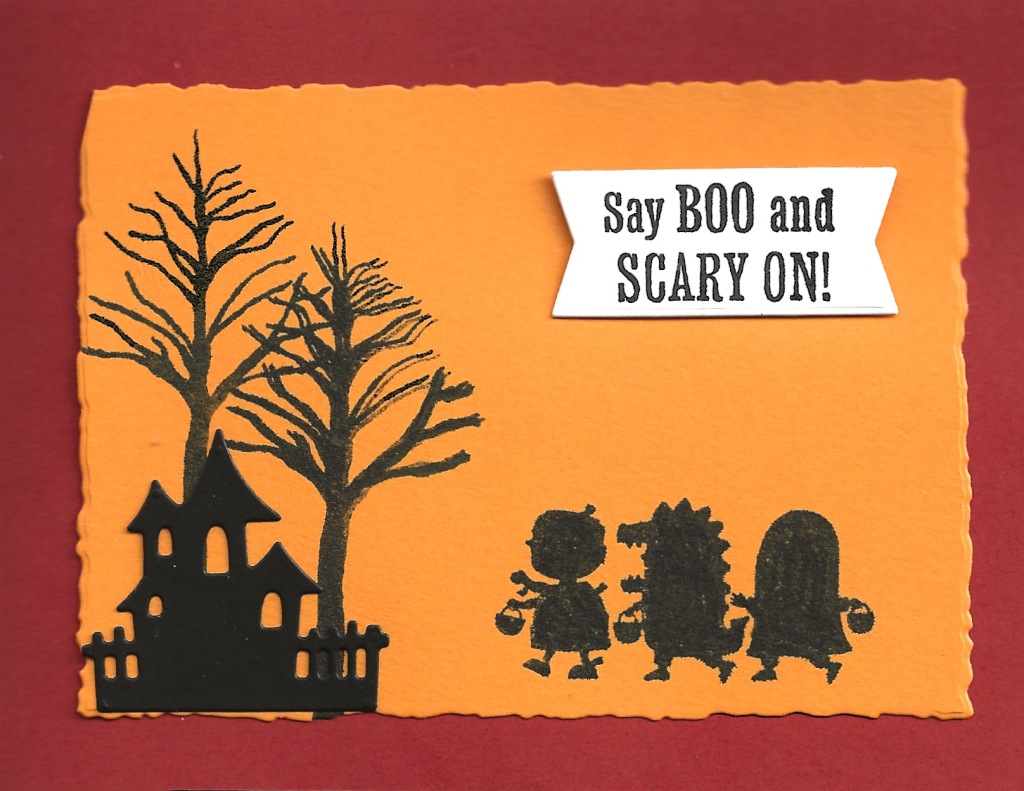
Scary Cute W-Fold Card

photo shows the front of a Scary Cute W-fold Card

I am delighted to share this Scary Cute W Fold card with you. My Bundle of the Month is the Scary Cute Bundle (159852). When you purchase this bundle from me during September, I will send you a free bundle of 5 tutorials to make cards and a treat holder using this bundle. I shared another card using this Scary Cute bundle in this post.

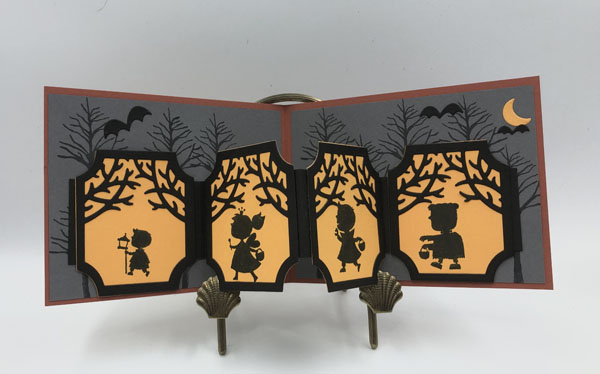
While the card front is cute, look at the inside! This is where the cuteness explodes.

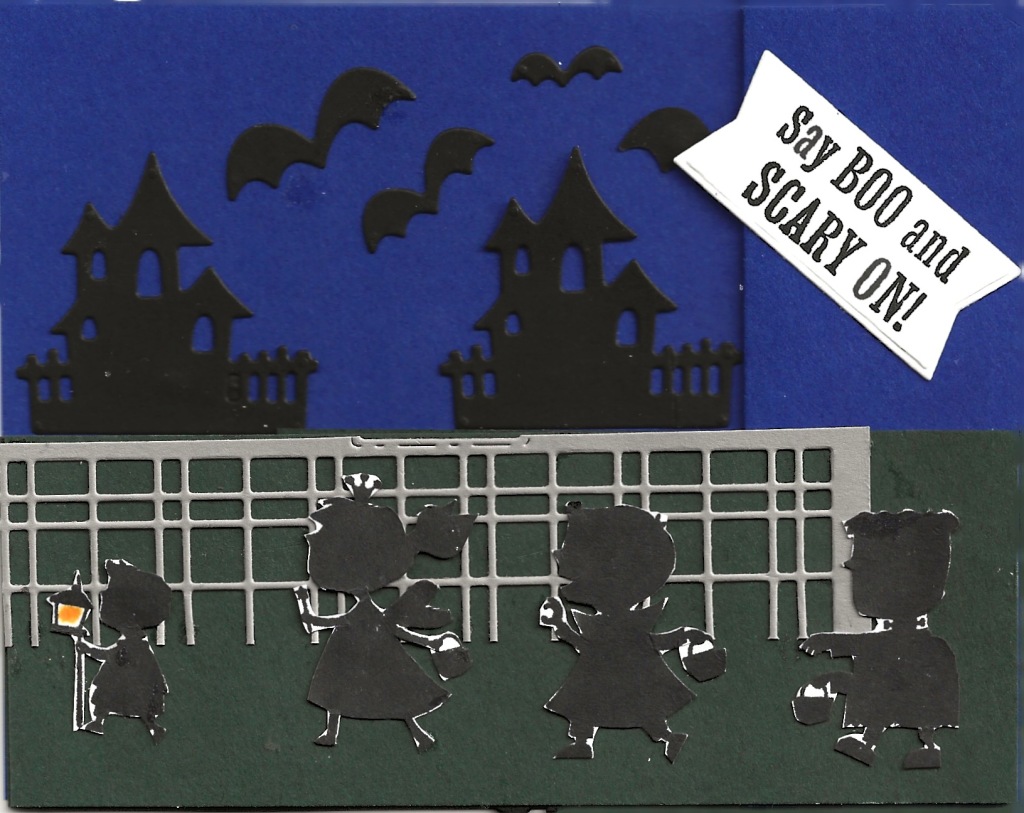
image is of the Scary Cute W Fold card opened

Imagine the kids out Trick-0r-Treating on a dark night with the light of street lights lighting their way. Here are the supplies I used to make this darling card.

Supplies Used

  • Scary Cute Bundle (159852)
  • Beauty of Friendship stamp set (154983)
  • Deckled Rectangle Dies (159173)
  • Cajun Craze Cardstock (119684) 11″ x 4 1/4″ scored and folded at 5 1/2″
  • Basic Gray Cardstock (121044) 2 – 5 1/4″ x 4″
  • Mango Melody Cardstock (146989) 8 1/2″ x 5 1/2″, 5″ x 4″
  • Basic Black Cardstock (121045) 8 1/2″ x 5 1/2″; 11″ x 1 3/4″ scored at 2 3/4″, 5 1/2″ and 8 1/4″; scraps
  • Basic White Cardstock (159276) Scrap
  • Tuxedo Black Memento Stamp Pad (132708)
  • Multipurpose Liquid Glue (110755)
  • Stampin’ Seal (152813)
  • Stampin’ Cut & Emboss Machine (149653)
  • These items are in a shopping cart for your convenience. You can delete items you already have from the cart.

Once you have the supplies ready, watch this video of my Friday Facebook Live and stamp long with me to make this Scary Cute W Fold Halloween Card.

Scary Cute Parade Twisted Easel Card

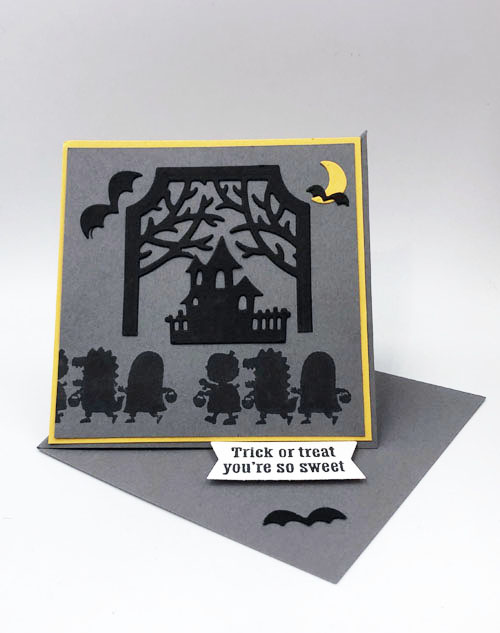
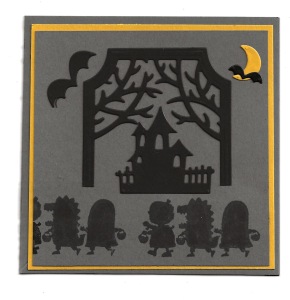
photo shows a Scary Cute Parade Fancy Fold card

I’m delighted to share this Scary Cute Parade Twisted Easel Card with you. I am using the Scary Cute Bundle (159852) found on page 56 of the July – December mini catalog. This is an easy fancy fold to make and folds flat to mail.

image is of the Scary Cute Parade Fancy Fold Card flattened for mailing

Supplies for Scary Cute Parade Fancy Fold Card

  • Scary Cute Bundle (159852)
  • Basic Gray Cardstock (121044) 8 1/2″ x 4 1/4″, 3 7/8″ x 3 7/8″
  • Basic Black Cardstock (121045) 5 1/2″ x 4″
  • Crushed Curry Cardstock (131199) 4″ x 4″
  • Memento Ink Pad (132708)
  • Stampin’ Seal (152813)
  • Multipurpose Liquid Glue (110755)
  • Paper Trimmer (152392)
  • Mini Stampin’ Cut & Emboss Machine (150673) or Stampin’ Cut & Emboss Machine (149653)
  • Click here to be taken to a shopping cart in my online store with these supplies in the cart. You can remove any of the things you already have.

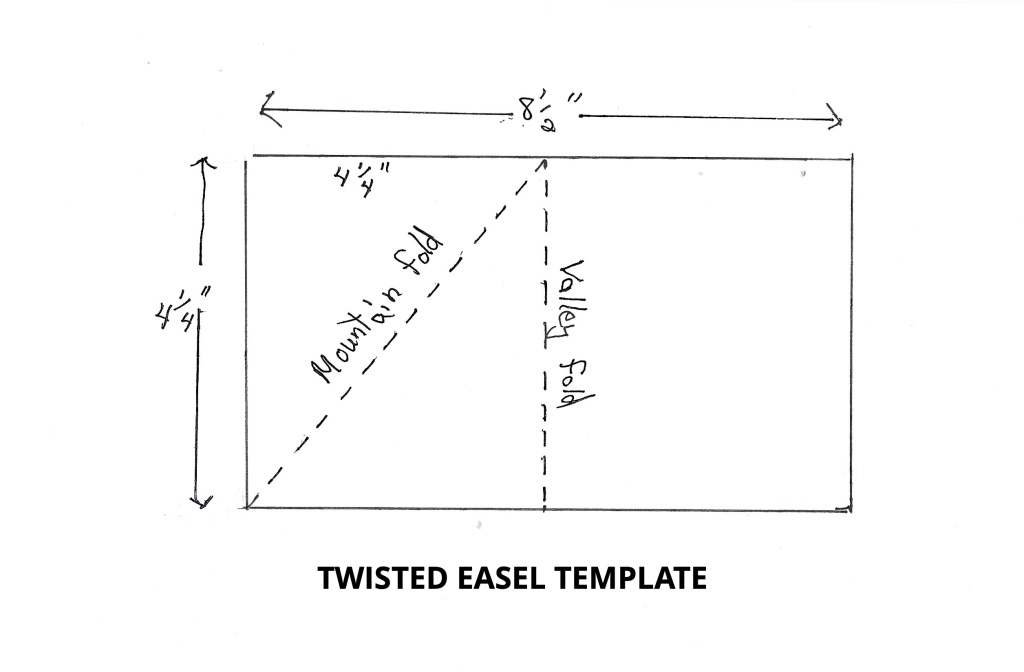
Scoring Template

image is a scoring template for the Twisted Easel fancy fold

I hope you will order the supplies to make this card from me and stamp along with the video.

Thanks for visiting my blog. Please leave me a comment so I know you have been here.

Clever Cats Slide & Lock Card

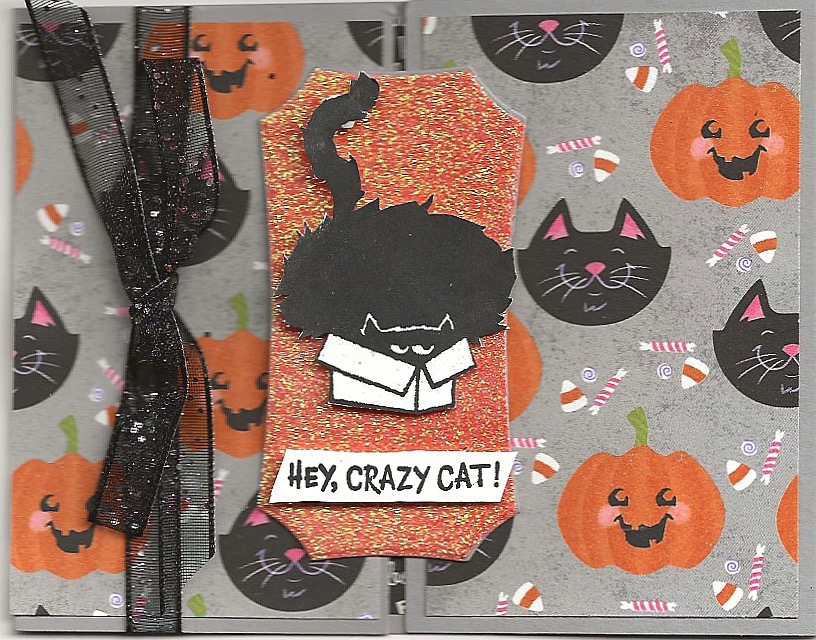
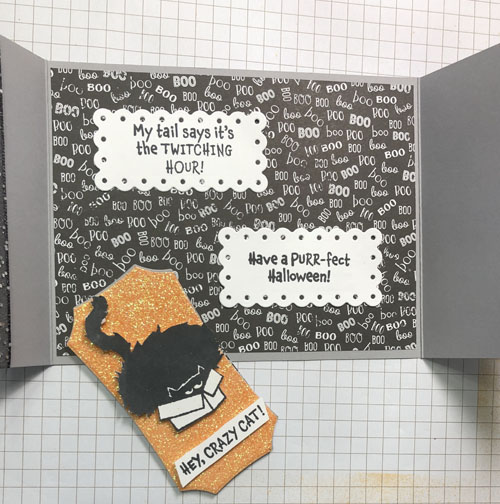
handmade Clever Cats Slide & Lock Halloween card created with the Clever Cats stamp set

If you have been following me, you know that I love fancy fold cards and this Clever Cats Slide & Lock card is one of my favorites. I love the Clever Cats stamp set (156490) found in the July – December mini catalog. The fancy fold part of this card is that the label slides out to allow the recipient to open the gatefold card.

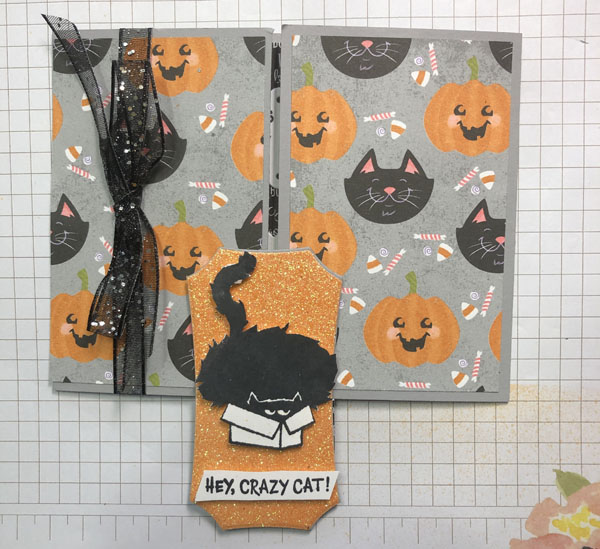
Clever Cats Slide & Lock card showing the slide part of the card being removed

And then when the slide is removed, this is what the Slide & Lock Clever Cats card looks like.

This photo shows the Slide & Lock Clever Cats card fully opened.

SUPPLIES USED

  • Stamp set – Clever Cats
  • Inks – Pumpkin Pie Refill, Memento Ink
  • Paper including cutting measurements – Smoky Slate (11″ x 4 1/4″plus 2 scraps1 1/2″ square), Basic White (scraps), Cute Halloween 6″ x 6″ Designer Series Paper (5 1/4″ x 4″ plus 2 scraps 1 1/2″ square), Glimmer Paper – retired (scrap)
  • Scalloped Contours dies
  • Halloween Magic Dies – retired
  • Stampin’ Spritzers
  • Tear & Tape, Stampin’ Seal
  • Order these supplies here. You can delete from the shopping cart what you already have.

I encourage you to give this fancy fold a try. If you do, I’d love to see what you come up with. Please email me a photo of it and if you have any questions or need clarification of some of the steps, be sure to contact me at sue@soggystamper.com.

Stunning Shimmery Halloween Card

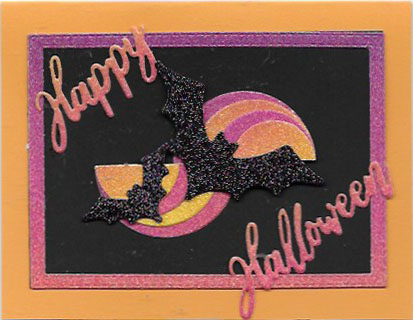
Handmade stunning shimmery Halloween card

This stunning shimmery Halloween card is easy to make using the split-circle technique. I designed this card for an Facebook Groups class I’m holding Sunday afternoon. Due to copyright laws, we aren’t allowed to include stamped images in card kits. Therefore I used a collection of dies to make this card.

The split-circle technique gives that swoop of color in the center of the card. You cut out four circles in increasing size using alternating colors/designs of cardstock/designer series papers. In this case I used the Rainbow Glimmer paper on the purple to yellow side of the sheet. I used the layering circle dies starting with the smallest circle. I labeled the dies in increasing size starting with the smallest being one and the largest being 8. I used #1 – #4 dies for the circles. Then cut the circles in half and adhere together as shown. For your convenience I have listed the place to position each circle on your paper trimmer to have them cut in half. Notice that each die goes up exactly 1/8″ plus the 1/16″. I could have given the measurements all in sixteenths but I found it easier to find the eights on the ruler and then add the 1/16″.

  • #1 4/8″ + 1/16″
  • #2 5/8″ + 1/16+
  • #3 6/8″ + 1/16″
  • #4 7/8″ + 1/16″

I used the next to the largest stitched rectangle to cut the Basic Black background. The frame was cut from the Rainbow Glimmer paper by nesting the third largest die inside the next larger die. I placed #2 and #4 circle dies inside the rectangles to conserve paper.

Supplies Used for the Stunning Shimmery Halloween Card

  • Mango Melody Cardstock – 8 1/2″ x 5 1/2″ scored at 4 1/4″ and folded for card base
  • Basic Black Cardstock – 4 3/4″ x 3 1/2″
  • Rainbow Glimmer Paper – purple to yellow edge of sheet 5 1/2″ x 5″
  • Black Glitter Paper – 4″ x 2″
  • Layering Circles Dies
  • Stitched Rectangles Dies
  • Word Wishes Dies
  • Halloween Magic Dies

Are you ready to make your own stunning Halloween card? Then click on the photo of the card to go to the shopping cart filled with the supplies you need. I have a video demonstrating how to make this on my YouTube channel. While you are there, subscribe so you receive notification when I upload my next video.