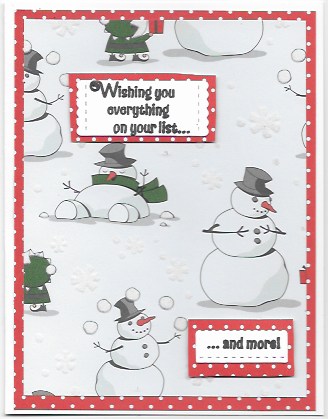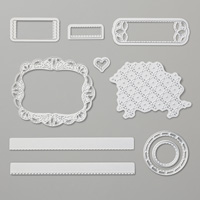
Last Day for Snowflake Showcase Stamp Sets and Dies

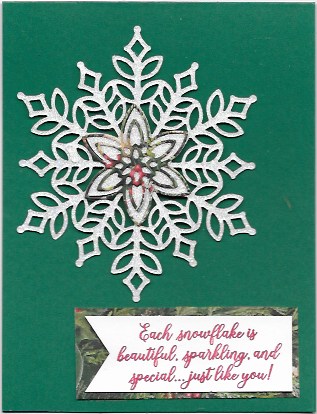
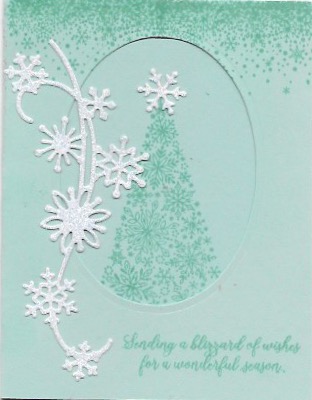
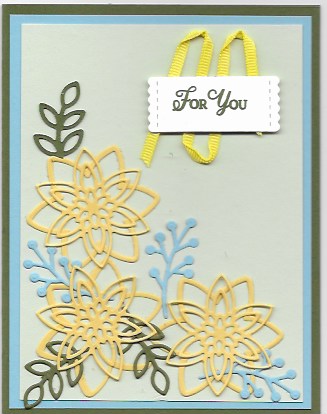
Handmade Christmas Card created with Snow Is Glistening stamp set and Snowfall Thinlits DiesHandmade Christmas Card created with Snow Is Glistening Stamp set and Snowfall Thinlits Dies


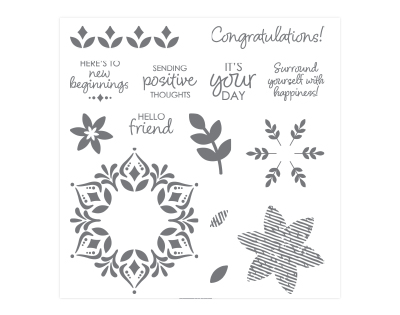
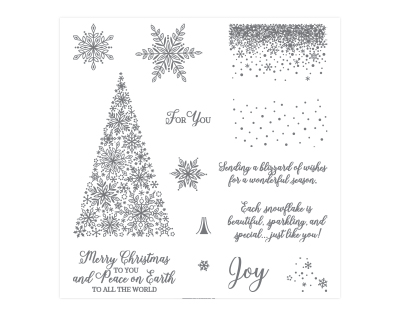
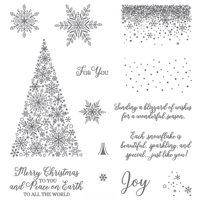
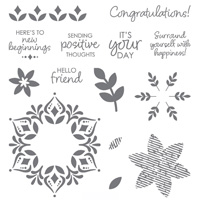
Today is the last day to order the wonderful Snow Is Glistening and Happiness Surrounds stamp sets. Look at what you get in these sets!

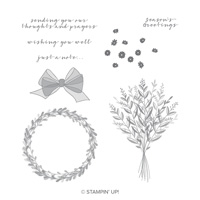
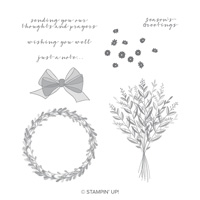
Image of Happiness Surrounds stamp setimage of Snow Is Glistening stamp set


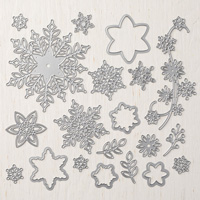
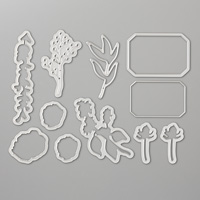
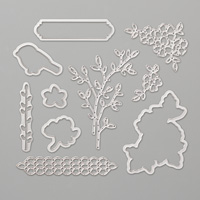
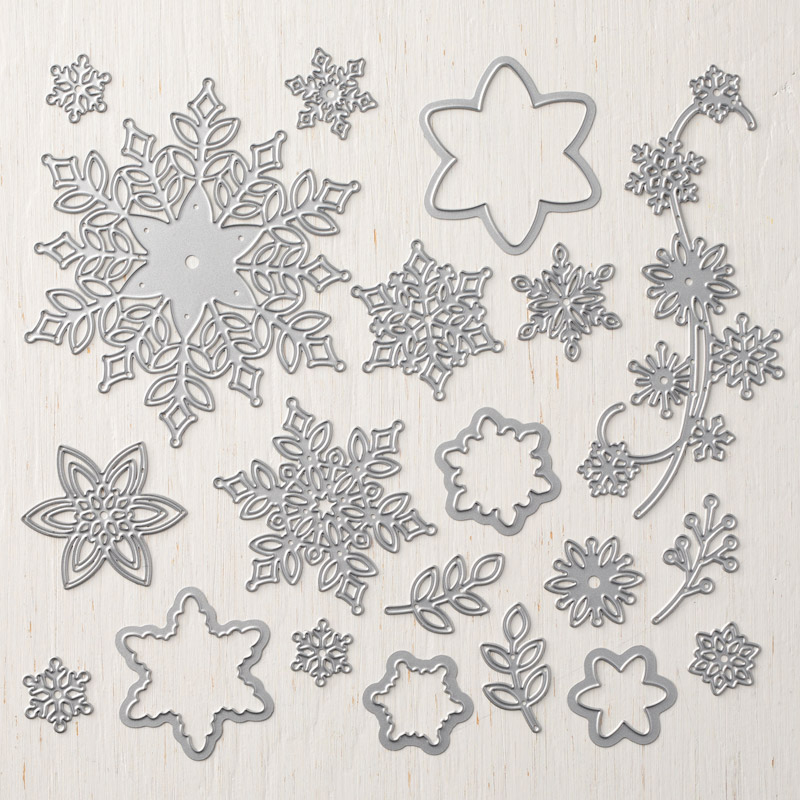
And of course you NEED the corresponding Snowfall Thinlits Dies! This collection of dies is massive and I absolutely love the snowflake flourish. Check them out

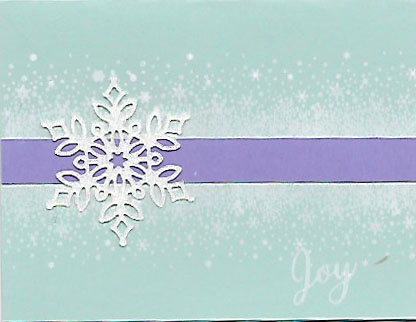
Photo of the Snaowfall Thinlits DiesI created the above cards with these stamps and dies. Check out two other cards I posted here. You can find these items in my online store by clicking on the images below. I promise you will love these sets and dies if you love snowflakes!

Snowflake Showcase…get your’s now!

Card created with Snowfall Thinlits Dies and Snow Is Glistening stamp set

Floral greeting card created with Smmpw Os Glistening stamp set and Snowfall Thinlits dies


Do you love snowflakes as much as I do? Then you will want to jump on the November Special, Snowflake Showcase. This special offering of exciting snowflake dies and two stamp sets begins Nov 1 and lasts until Nov 30 or until supplies run out. I know for sure that they will run out because this special is just so great! Just look at all the dies you get when you order  the Snowfall Thinlits Dies (149692)! I especially love the flourish of snowflakes and did you see that some of the dies are leaves and flowers. Yep, this exclusive offering covers both winter and spring.Photo of the Snaowfall Thinlits DiesThere are corresponding stamp sets as well.

image of Snow Is Glistening stamp set  Image of Happiness Surrounds stamp set

Happiness Surrounds  (149744)                                               Snow is Glistening (149742)

Do you see the exciting possibilities with these stamp sets and dies? But wait! There are also Snnowflake Trinkets (149620) and White Velvet Sheets (149619) to step your cards up a couple notches higher. Check this exclusive promotion in my online store and place your order early!

Wow! Four Weeks of 12 Weeks of Christmas Gone!

photo shows 12 Weeks of Christmas N]AnnouncementYou’ve already missed four weeks of my 12 Weeks of Christmas but you can receive the next 8 weeks if you get onto my mailing list now. What is my 12 Weeks of Christmas you ask? It is my gift to my mailing list subscribers. Each Wednesday I send a tutorial for a cool Christmas card, gift idea, gift wrap or tag. But you have to be on my list to received it. Just fill out the form to the right to subscribe. You’ll be glad you did!

High Tide Diorama

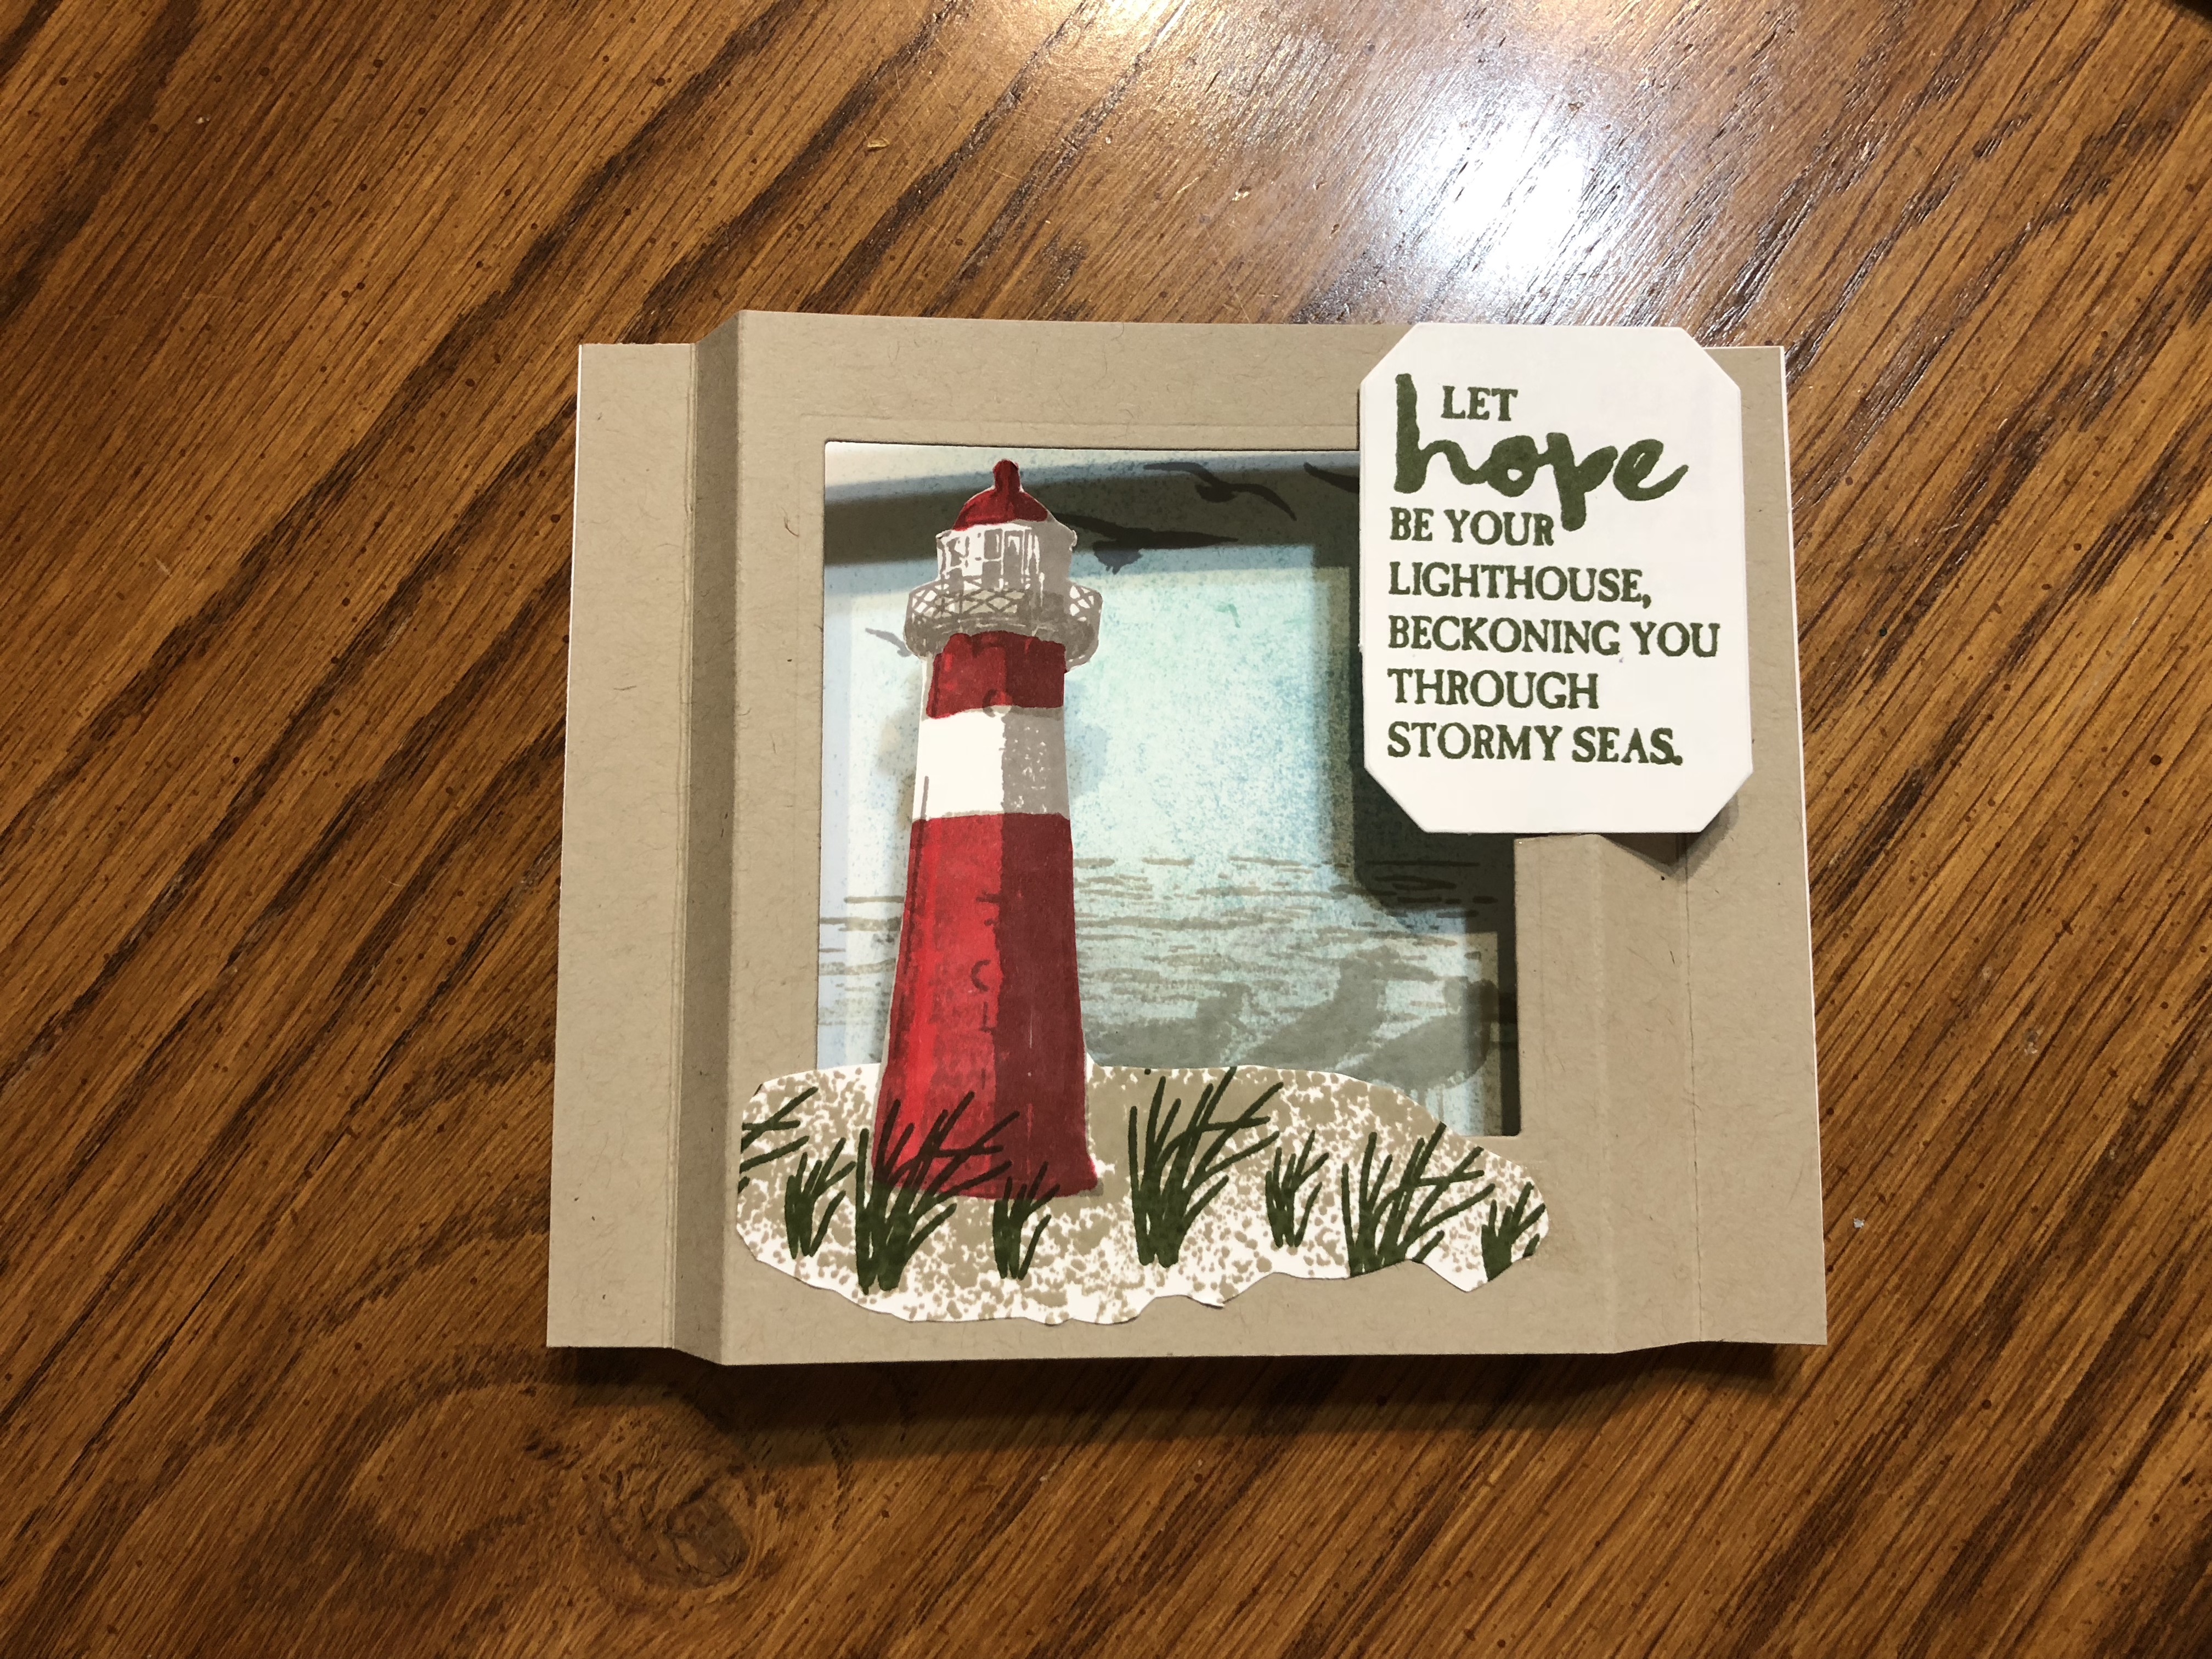
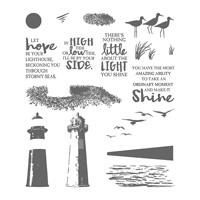
Diorama card using High Tide stamp setI love some of the sayings in the High Tide stamp set and the grass, sea gulls, and shore bird images. While playing with the light house, I was inspired to make a diorama card. This one is a simple one with only two layers so it can easily be sent in the mail. Enjoy this tutorial!

Directions for Diorama card:
1. Cut two pieces cardstock 5 1/2″ x 4 1/4″. Score the short ends at 1/2″ and 1″. Make mountain folds at 1″ and valley folds at 1/2″ scores.
2. Stamp/decorate one piece for the background on the side of the cardstock that has valley folds at 1″ score line.
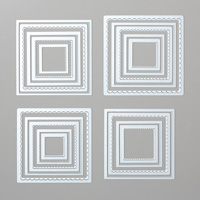
3. On other piece use a die to cut an opening in the center of the piece. I used the largest plain square die of the Layering Squares Framelits. The greeting was cut out with the frame from the Frosted Bouquet Framelits.
4. Stamp, color, and cut out desired images to decorate the front of the card and adhere as desired.
5. Apply Multipurpose Liquid Glue to the ends just to the 1/2″ score line and glue the front to the back. I recommend the liquid glue over using Tear & Tape as you can briefly adjust the placement to get the edges lined up.
6. Stamp or write a greeting on the back. This lays flat and fits into a medium envelope/invitation size envelope for mailing.

Order supplies you need to make my card for yourself by clicking on the images below to be taken to my online store. When ordering use U42UER4K and I’ll send you a free gift.

It’s Fall and Paper Pumpkin Time – Flash Sale!

Banner for Flash Paper Pumpkin SaleBeen thinking about subscribing to Paper Pumpkin? Now is your chance to check it out for only $5. This is more than 50% off but the opportunity is only while a limited number of kits are available beginning this Monday! Check this video below out and then head to www.paperpumkin.com on Monday to subscribe. Please name me as your demo. Thanks!

Only 4 Hours Left!

photo shows 12 Weeks of Christmas N]Announcement

If you are not on my mailing list by 1 pm Pacific time today, you will miss the beginning of my 12 Weeks of Christmas gift to my subscribers. Sign up now! The form is to the right and it is easy to fill out.

12 Weeks of Christmas Coming Soon!

photo shows 12 Weeks of Christmas N]Announcement

There is only one day left for you to subscribe to my newsletter and begin receiving the  exciting I’m giving my subscribers each week from now to Christmas. You must be a subscriber to receive the awesome weekly tutorial to make a card, gift, tag or Christmas wrap. Sign up now by filling out the form to the right. I know you will love the projects!

Wishing You Well

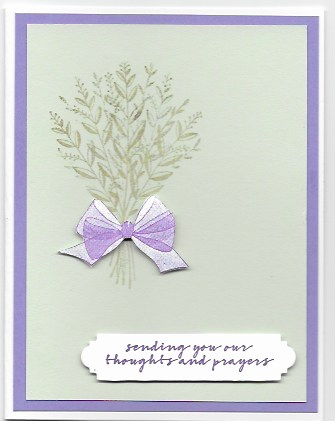
Handmade card created with the Wishing You Well stamp setThis Wishing You Well stamp set didn’t catch my eye until I started seeing samples created with it. I have fallen in love with this beautiful bow that looks like organdy. This stamp set is one of those DistINKtive stamp sets that were created so that the multistamped effect is actually just one stamp. The best way to ink up this kind of stamp is to sponge the ink on. That way you don’t get blobs of ink on the image. It is hard to see in the photo but after inking up the stamp with the sprigs with Crumb Cake ink, I sponged Champagne Mist Shimmer Paint on the stamp to give it a nice shine. I used the label die from the Petals & More Thinlits Dies and fussy cut the bow. To create this card for yourself, click on the images below to order the supplies I used.

Signs of Santa Bundle

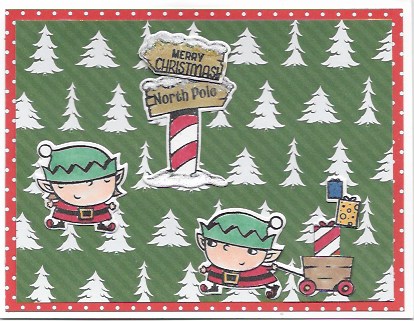
Christmas Card created with Signs of Santa stamp set

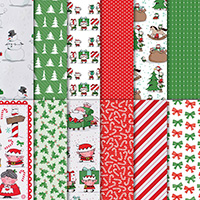
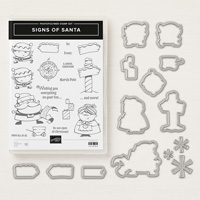
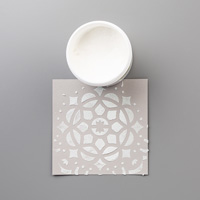
The Signs of Santa Bundle is one of my favorite bundles in the Holiday catalog. The faces of the elves, Santa, and Mrs. Santa cheer me up! On this card I chose to use the elves. They are on their way with their wagon of presents to bring a Merry Christmas from the North Pole. I used the tree pattern of the Santa’s Workshop Specialty Designer Series Paper layered on the red dotted pattern as the background. Of course the elves would have to travel through a forest. Right? I added a little ‘snow’ on the signs with the Shimmery White embossing paste. The images were stamped on Shimmer White cardstock with Memento ink and colored with Stampin’ Blends…my favorite way to color!

You can order the supplies to create this card for yourself through my online store. Just click on the images below.

Coming Next Week! 12 Weeks of Christmas Gift

photo shows 12 Weeks of Christmas N]AnnouncementAnnouncing! One week until I begin my 12 Weeks of Christmas gift. I’ll be sending you a fantastic tutorial each week for the 12 weeks between now and Christmas. It will be a tutorial for a great card, tag, or gift wrap. The thing is that you have to be on my mailing list to get these wonderful tutorials. Sign up now so you don’t miss a single one. Fill out the form on your right to subscribe.


Love the Santa’s Workshop Specialty DSP!

card created with Santa's Workshop SDSPThe Santa’s Workshop Specialty Designer Series Paper is so much fun to use in creating cards. Actually, all you have to do is mount a piece of the paper to your card front and add a greeting and your card is finished! The paper does all the work for you. This paper is special because it has flocked snowflakes on it. You can order it and the corresponding Signs of Santa Bundle from my online store by clicking on the images below.

Loving the Frost White Shimmer Paint

photo shows my messy work area


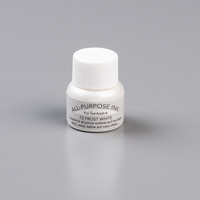
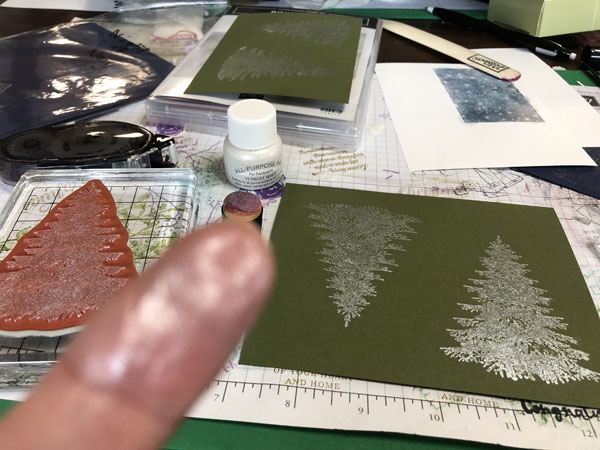
Yes, I am in love with all the Shimmer Paints reintroduced in the 2018 Holiday Catalog on pg.38! Stampin’ Up! sold them several years ago and I bought several bottles of the Frost White Shimmer Paint when they were retired. I am so excited that they are once again offered.

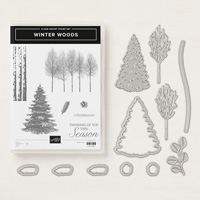
This photo is the beginning of making swap cards for On Stage in Orlando when Stampin’ Up! will end a year of celebrating their 30th anniversary with a huge party. I have sponged Frost White Shimmer Paint onto the evergreen tree stamp from the Winter Woods stamp set and then stamped it on Mossy Meadow cardstock. I’m making 32 identical cards for this swap so have stamped it 32 times pus a couple extra for good measure. The next step will be to cut them all out with the corresponding die.

When making a large number of the same card, you do it assembly line style. You cut all the card bases, cut all of a second layer, stamp all the images and cut out those needed to be cut out, tie all the bows you might be using, and stamp your greeting on all the top layers of the card front before putting everything together. Then you assemble all the cards step by step. This is a much more efficient way to do it. And now with the Stamparatus (146276), you can position your stamps on the plates once and put each piece of cardstock to be stamped into position, ink the stamp and stamp it then remove the cardstock and put the next piece in without having to move the stamp. It’s much faster!

I will share the finished card with you in a couple of days. Be sure to come visit again! You can order the Winter Woods bundle by clicking on the images below.
Timeless Tidings


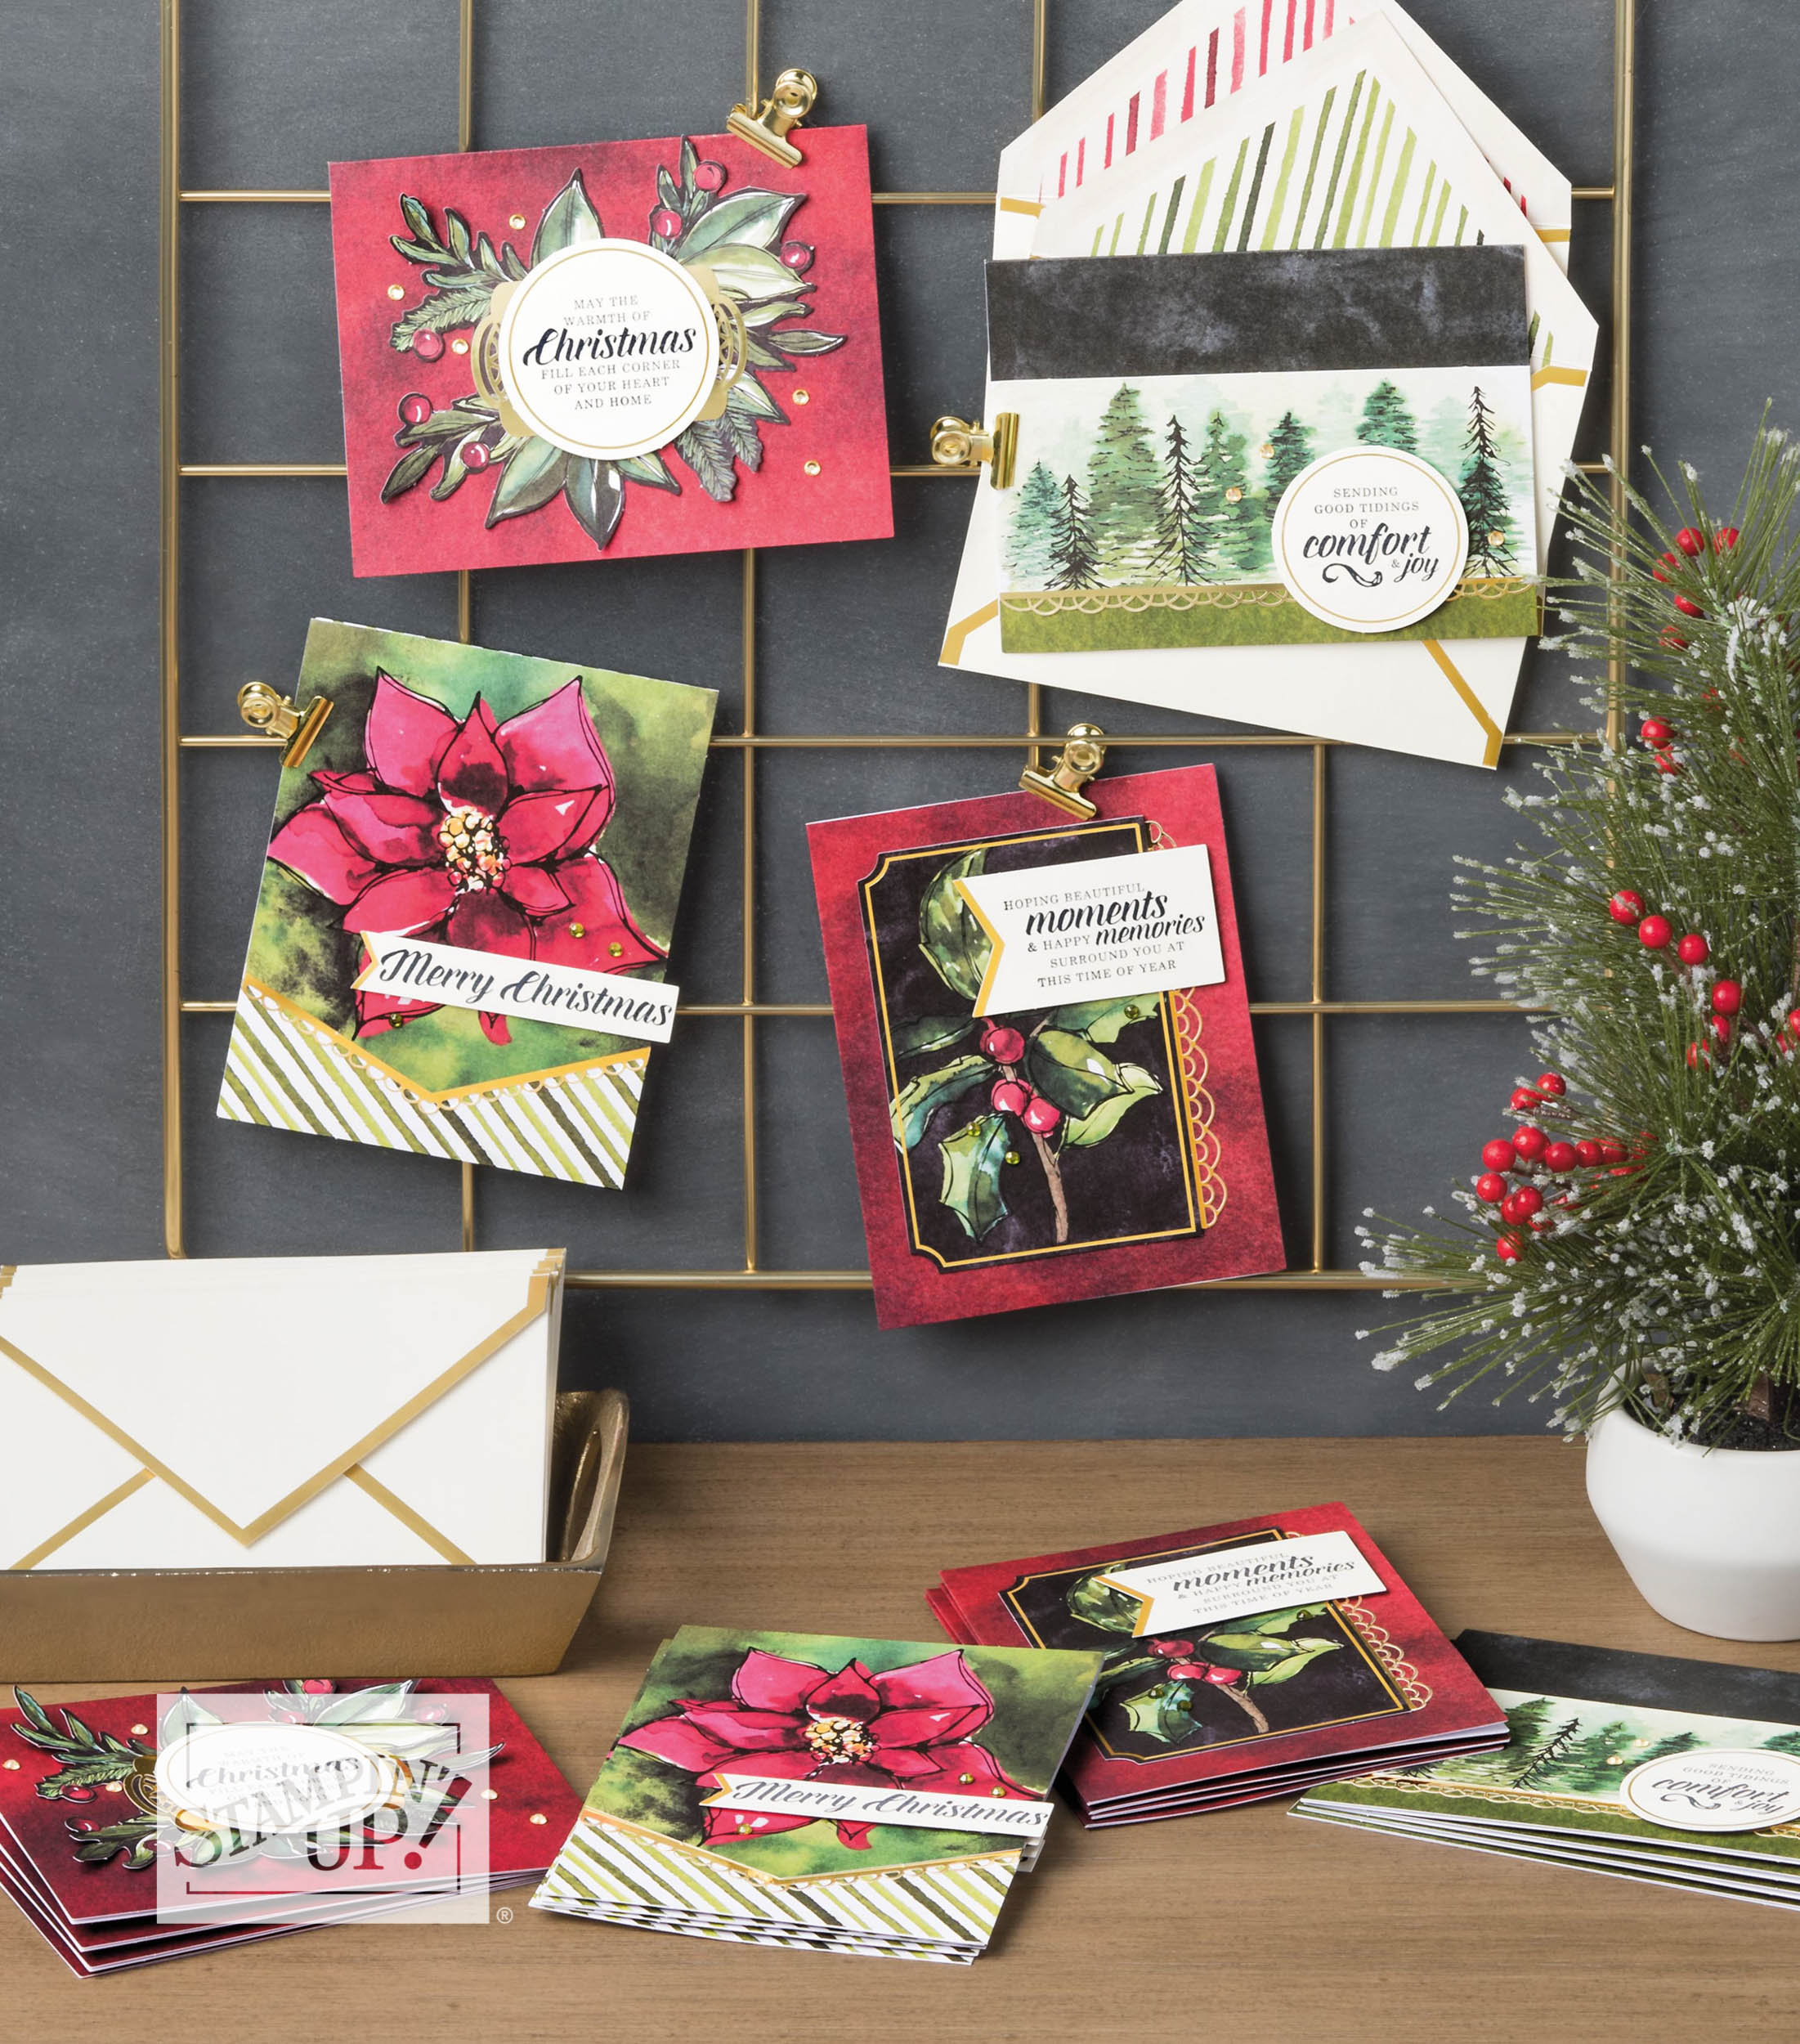
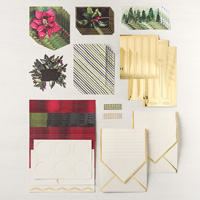
Card Samples using the KitOne of my favorite kits from the new Holiday catalog is the Timeless Tidings Project Kit (148028). This is a card kit with all the supplies you need except the stamp set, ink, and adhesives to make 20 gorgeous cards. Even envelopes with gold edges are included in the kit! You either have to order the Timeless Tidings stamp set (w-148939, c-148936) to complete the cards or come to my Timeless Tidings class scheduled for Saturday, October 13 at 10:30 am at my house. I’ll provide the ink, adhesive, and the stamp set. Contact me if you want to come. The fee of $35 includes your own kit and a light salad lunch and must be paid by October 1st so your kit will arrive in time.
Should you order the stamp set as well as the kit, here is an alternative use for the set.
handmade card using Timeless Traditions stamp set and Santa's Workshop Specialty Designer Series Paper

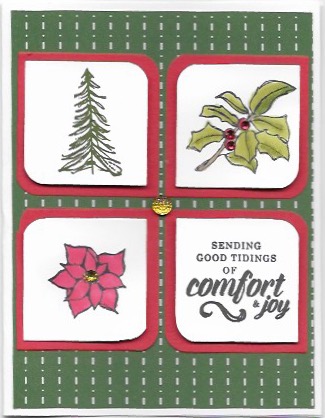
I have had a card on my stamping desk for at least two years that used this basic design meaning to copy it. Now is the time. I stamped four images from the Timeless Tidings stamp set on Whisper White cardstock with Memento ink, colored them with Stampin’ Blends, and cut them out with the #4 Layering Square framelit (counting the smallest as #1. Then I cut out four squares using the #5 framelit from Real Red cardstock. I used the corner rounder punch found on the Detailed Trio Punch (146320) on two opposite corners of all the pieces. I adhered the Real Red pieces to the cardfront with SNAIL adhesive and added the Whisper White layers with Stampin’ Dimensionals. The background layer on the cardfront is one of the patterns in the Santa’s Workshop Specialty Designer Series Paper (147809). I colored three small rhinestones with Dark Cherry Cobbler Stampin’ Blend and one with Dark Mango Melody Stampin’ Blend and adhered them to the images as shown. The center gem is a clear Faceted Gem (144142) which I colored with the Dark Mango Melody Stampin’ Blend. You could also use one of the gold Faceted Gems if you have them.

You will really enjoy this quick and beautiful combination of the Timeless Tidings Project Kit and the corresponding Timeless Tidings stamp set. Order yours today here.

cGet Set, Get Ready, Go Shopping!

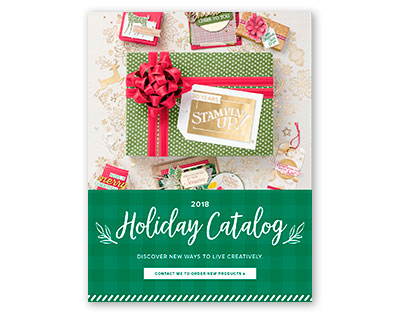
Cover of 2018 Holiday Catalog


Now we can order from the exciting 2018 Holiday catalog! There are so many wonderful stamp sets, designer series papers, and accessories in this catalog to make creating your fall/winter themed cards, scrapbook pages, and home decor items.Watch this video from Stampin’ Up! to see some things created with the products.

Now click on the catalog picture on the side bar to go to access the Holiday catalog online. Better yet, if you haven’t already received a catalog, send me your address and phone number and I’ll contact you about sending you one. There really is nothing better than holding the catalog in your hands and drooling repeatedly on the wonderful things inside!

Leave a comment below about what your favorite item is.

Color Your Season Promotion

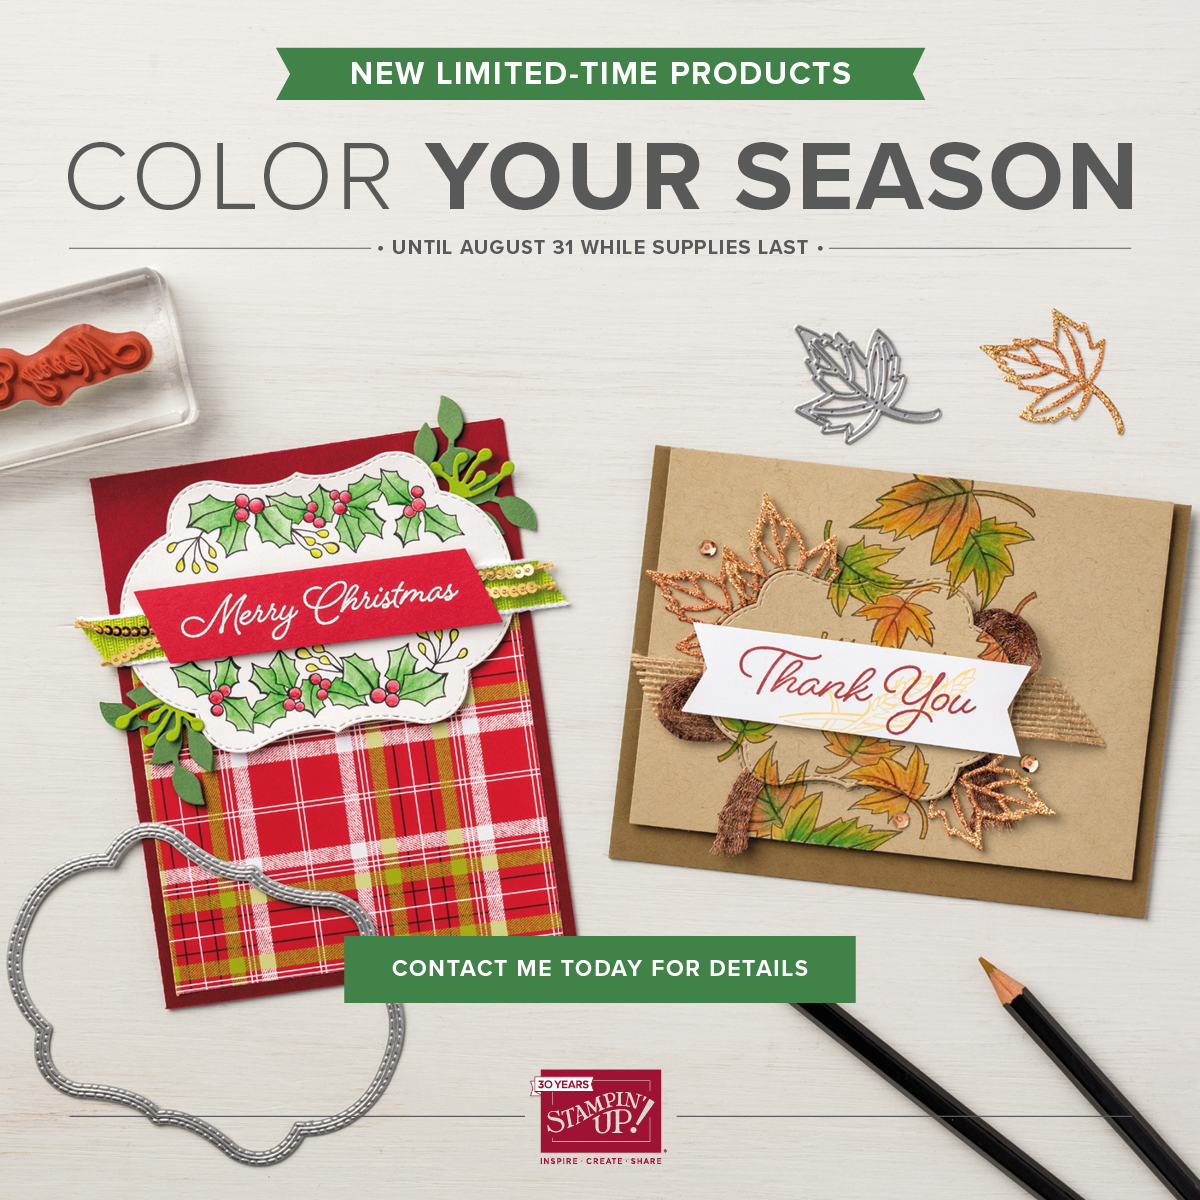
Picture of Stamin' Up!'s Color Your Season August Promotion


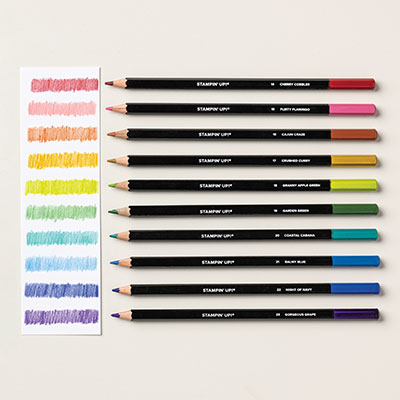
Stampin’ Up! is offering a very special Color Your Season bundle of a very versatile stamp set covering a variety of seasons and set of dies that contains dies to cut out some of the images in the stamp set plus three sizes of label dies that not only cut but also emboss stitching on both sides of the cut! At the same time, they are offering as a separate item, Watercolor Pencils Assortment 2, a second set of watercolor pencils in some of the new Stampin’ Up! colors. This set of watercolor pencils is on an ‘as supplies last’ basis but may be in a future catalog. The Color Your Season bundle is only available this month and as quantities last. Watch this video as Shannon West, one of the Stampin’ Up! employees demonstrates the versatility of this bundle and watercolor pencils. Then hurry over to my online store or click on the images below to order your bundle and set of watercolor pencils while they are still available. You will be so happy you did!