Category Archives: General Cards

Weekly Deals for Week Beginning 8-19

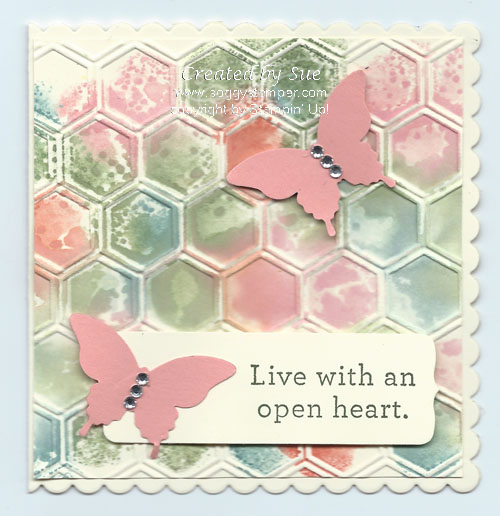
handmade card using the square framelits, elegant butterfly punch and honeycomb embossing folderI created this card to feature some of the items that are in this week’s Weekly Deals. One of the items is the Squares Collection Framelits (130921). To get a scalloped edge card like this, cut a piece of 11″ x 4 1/4″ cardstock. Fold it in half. Then place the scalloped square framelit so that the fold is inside one of the edges of the framelit. Then run it through the Big Shot. This makes a 4″ x 4 1/2″ card.

I learned the background from my friend Margaret Raburn. I sponged Crisp Cantaloupe, Lost Lagoon, Tangelo Twist, and Mossy Meadow ink onto the embossing folder. Then I misted it with water, placed my cardstock on it and ran the embossing folder through the Big Shot. The greeting is from the An Open Heart Stamp set. Tiny rhinestones add glitz to the butterflies. Click on the images below for more details and to order the An Open Heart stamp set.

On to the Weekly Deals…

Work of Art Card #4

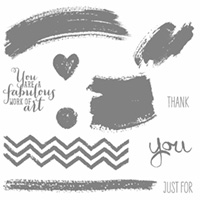
Ready for another example of a card created with Work of Art (wood – 134111, clear – 134114)? Here you go!

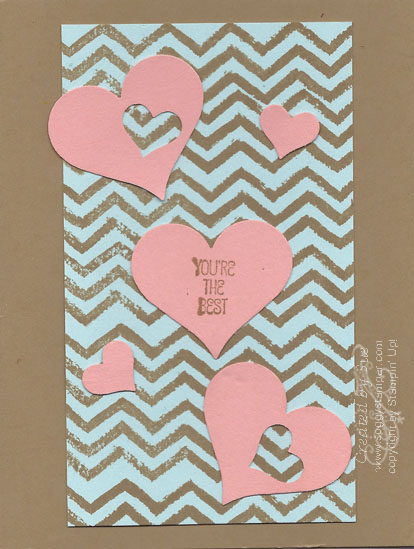
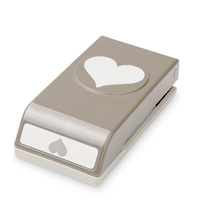
Handmade card using the chevron pattern of the Work of Art stamp setThis time I repeatedly stamped the chevron image on Soft Sky cardstock with Baked Brown Sugar ink. I punched the hearts out of Crisp Cantaloupe cardstock with the new Sweetheart Punch (133786) and the little heart from the Itty Bitty Accents Punch Pack (133787). The greeting is from the Honeycomb Hello stamp set (wood – 134075, clear – 134078). The Honeycomb Hello set has perfectly-sized greetings to fit on punched shapes and is therefore so useful. You can find other samples on these earlier posts here, here, and here. Stay tuned for my last sample.

To order the supplies for this card, click on the links below.

Terrific Tuesday and New Weekly Deals

Digital travel card using Travel Log digital kit

Supplies used: MDS software digital download (130646), MDS software disc (130647), or 30-day Free Trial of MDS (130910); Travel Log Kit (126022)


What a Terrific Tuesday! Today is a bright sunny day with a lovely cooling breeze. It’s a perfect summer day. It’s also the day for new Weekly Deals from Stampin’ Up!. There are two digital downloads discounted this week. I chose to use the Travel Log Kit (126022) to make this card for a friend who is on a road trip from Florida to South Dakota with two granddaughters. She shares pictures she takes along the way on FaceBook so I am vicariously traveling with her.

Check out the new Weekly Deals below and click on the links for more details and to order those you need.

More Work of Art

I have shared a couple of cards I created using the very versatile stamp set Work of Art (w-134111, c-134114), here and here. Today I want to share another Work of Art card which was one of my convention swap cards. The flower card on the first link was my second swap card.

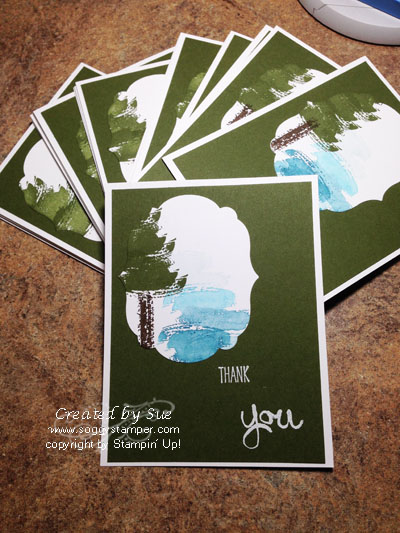
Work of Art Scene cardI used only two of the pieces of the stamp set for this card and the greeting images that come with the set. Do you see a tree and a lake or a tree and a tumbling stream? Leave a comment below. I’d love to know what you see in this picture. Stay tuned for a couple more ideas on how to use this set.

Supplies:
Stamps – Work of Art (wood – 134111, clear – 134114)
Inks – Mossy Meadow (133645), Early Espresso (126974),, Soft Sky (131181), Tempting Turquoise (126952), Island Indigo (126986)
Cardstock – Whisper White (100730), Mossy Meadow (133676)
Other – White Embossing powder (109132), Labels Collection Framelits (125598)

Washi Wednesday Faux Shaker Card

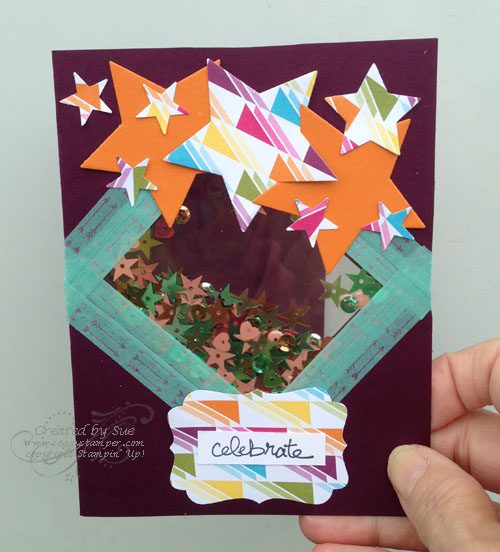
Washi tape faux shaker cardYes, I know it is Thursday but I just couldn’t get this card finished yesterday. Do you know how it is when you just can’t figure out how to finish the card? Well, that was the case yesterday. I played with it all day and still wasn’t satisfied. Then today I got out my new star framelits and went star crazy! :o)

To make a faux shaker card, put sequins or small punchies or beads into a small cellophane bag and seal the top. I didn’t have any small ones so I cut down a medium clear envelope (102619) and attached it on two sides with Retro Fresh Washi Tape (133001) to the card front. I wanted the faux shaker to be seen from both sides of the card front so I cut out a rectangle before adhering the piece of clear envelope. Then I put sequins in and sealed the two open sides when I attached the envelope to the rest of the card. I added another round of washi tape to widen the border around the shaker part.

Don’t you love the font of the greeting? It is one of the Hostess stamp sets, Good Greetings, in the Fall/Holiday catalog which you will be able to order from beginning August 28. I got to see a preview of the Holiday catalog during the live-streamed opening of the 2014 Stampin’ Up! annual convention. (It was a fair substitute for actually being  there.) You will be delighted and excited by all the new products in this catalog. Are you wondering why I already have this set? It’s because I am a demonstrator and earned this set from my June sales. If you would like to learn how you can get early access to new stamp sets and start your own paper-crafting business, give me a call or email me. I’d love to have discussions with you on the benefits of being your own boss.

Supplies: To order these supplies to make this card, visit my online store or click on the links. I appreciate your business!StampsGood Greetings
PaperWhisper White (100730), Pumpkin Pie (105117), and Blackberry Bliss (133675) cardstock, Sweet Taffy Designer Series Paper (133693)
InkTuxedo Black Memento Pad (132706)
OtherStars Framelits (133723), Retro Fresh Designer Washi Tape (133001), Decorative Label Punch (120907), Medium Clear Envelopes (102619)

Work of Art Abstract Flower

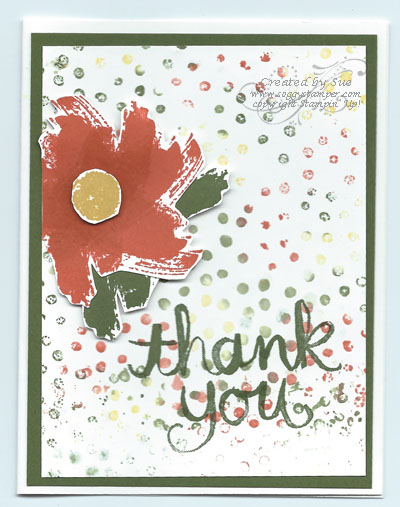
Work of Art Abstract FlowerAt the New Catalog Premiere I attended in April, we were given the Work of Art stamp set. Several demonstrators have used the swishes in the set to stamp flowers so I gave it a try. I have fallen in love with this set because of it’s versatility. Check it out below. I also used the Watercolor Thank You stamp set. This single stamp only comes in wood mount.

Work of Art index

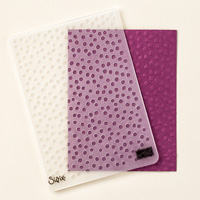
I created the background by sponging Tangelo Twist, Lost Lagoon, Hello Honey, Mossy Meadow and Blackberry Bliss on one side of the Decorative Dots embossing folder. I then lightly misted the ink with water and laid a piece of Whisper White cardstock onto the folder. I lightly pressed the folder closed but did not run it through the Big Shot. I love the impressionistic effect of the colored dots.

To order the supplies used in this card, just click on the links below or visit my online store.

My Digital Studio Monday – Ombre Challenge

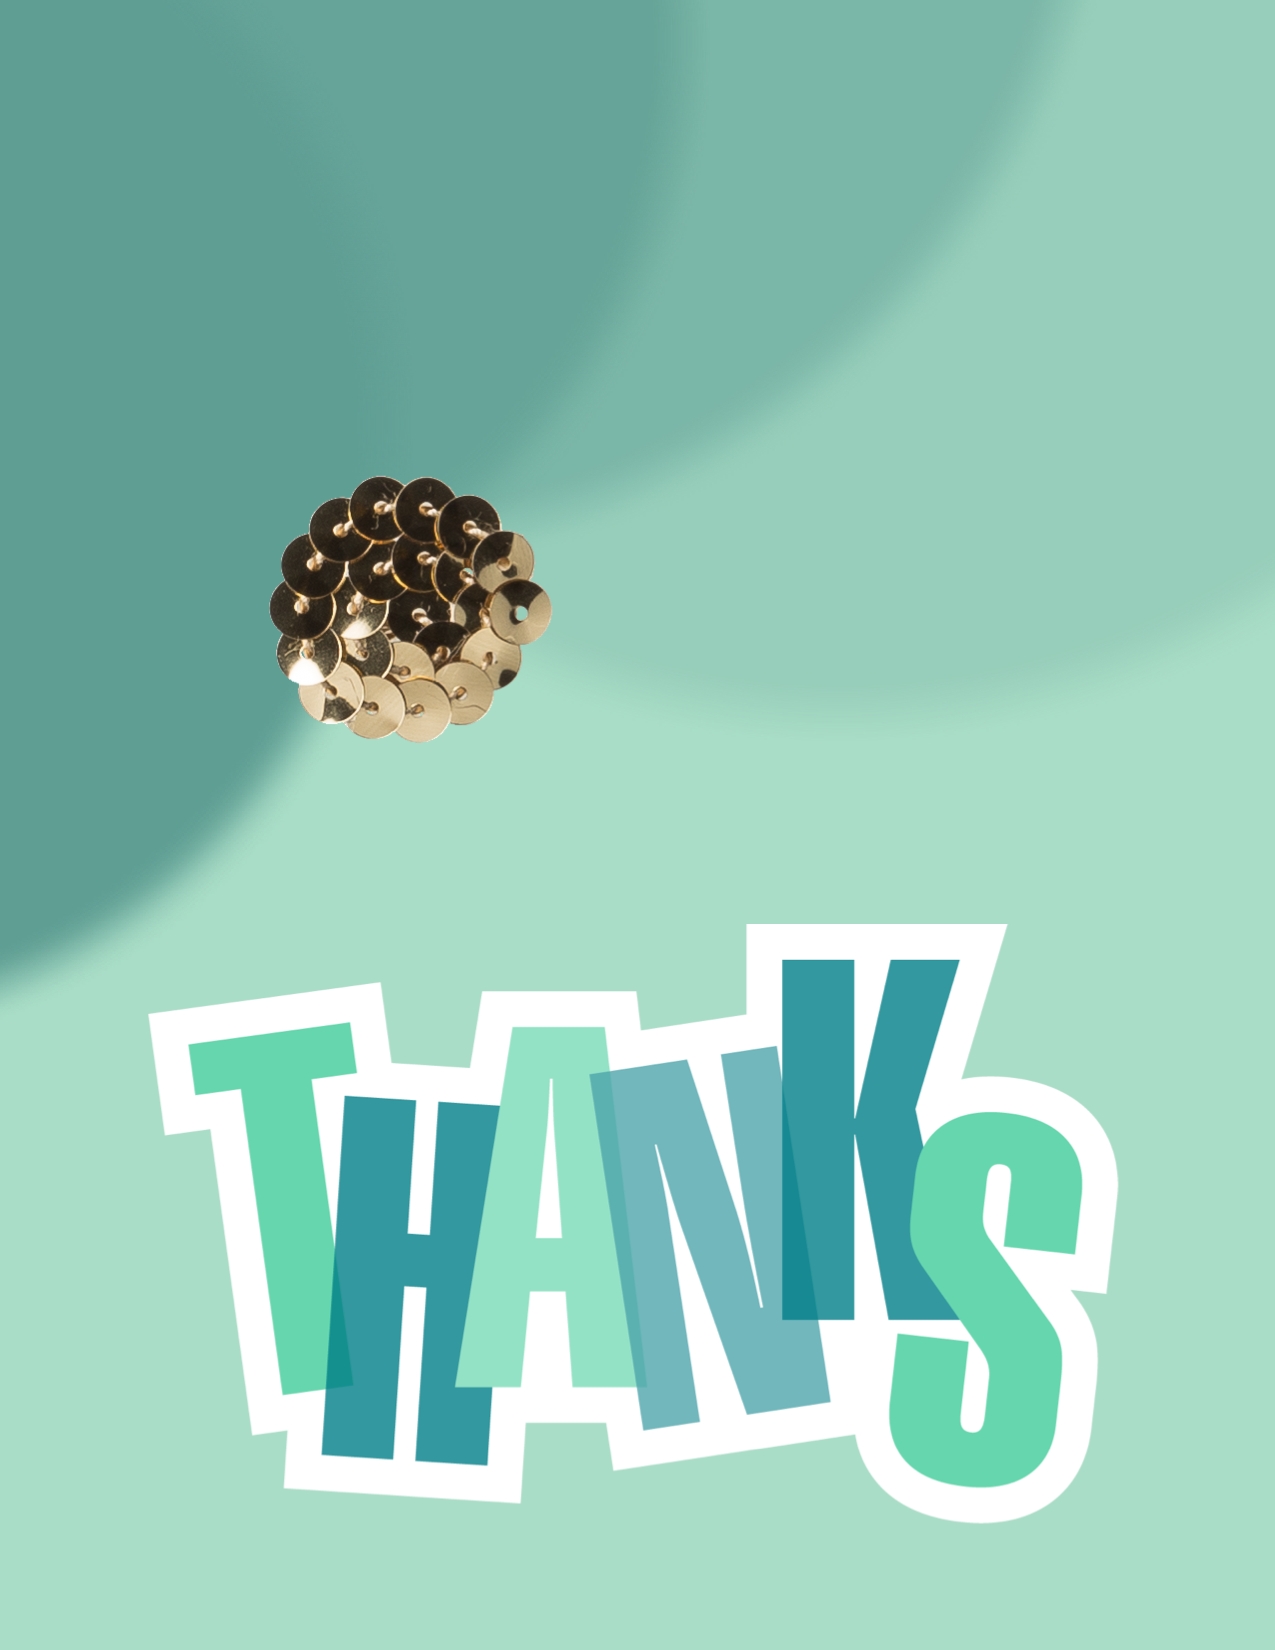
Digital card using an ombre techniqueThe challenge for MDSM71 was to create a scrapbook page or greeting card using an ombre background. Here is my take on the challenge. You can see the specific sketch here. I decided to use circles and create the ombre effect using dropped shadows to give a smoother transition from one color to another.

To use the dropped shadow in place of a punch

  1. Add a punch shape to your project. Fill it with any designer series paper. The design does not matter as you will be removing it from the punch.
  2. Double click on the punch and use the negative magnifying glass to decrease the size of the paper until it is quite small. This makes the next step easier.
  3. Drag the dsp out of the punch and click OK.
  4. Add a drop shadow of 100% opacity and full blur. Change color from the default black to whatever color desired and click OK. Now you have just the drop shadow showing across the whole punch. On this card I repeated the process using the same color drop shadow but decreasing the opacities to 75%, 50%, and 25%. I love the softness of the blend between the different circles. You can still see edges but they are quite subtle.

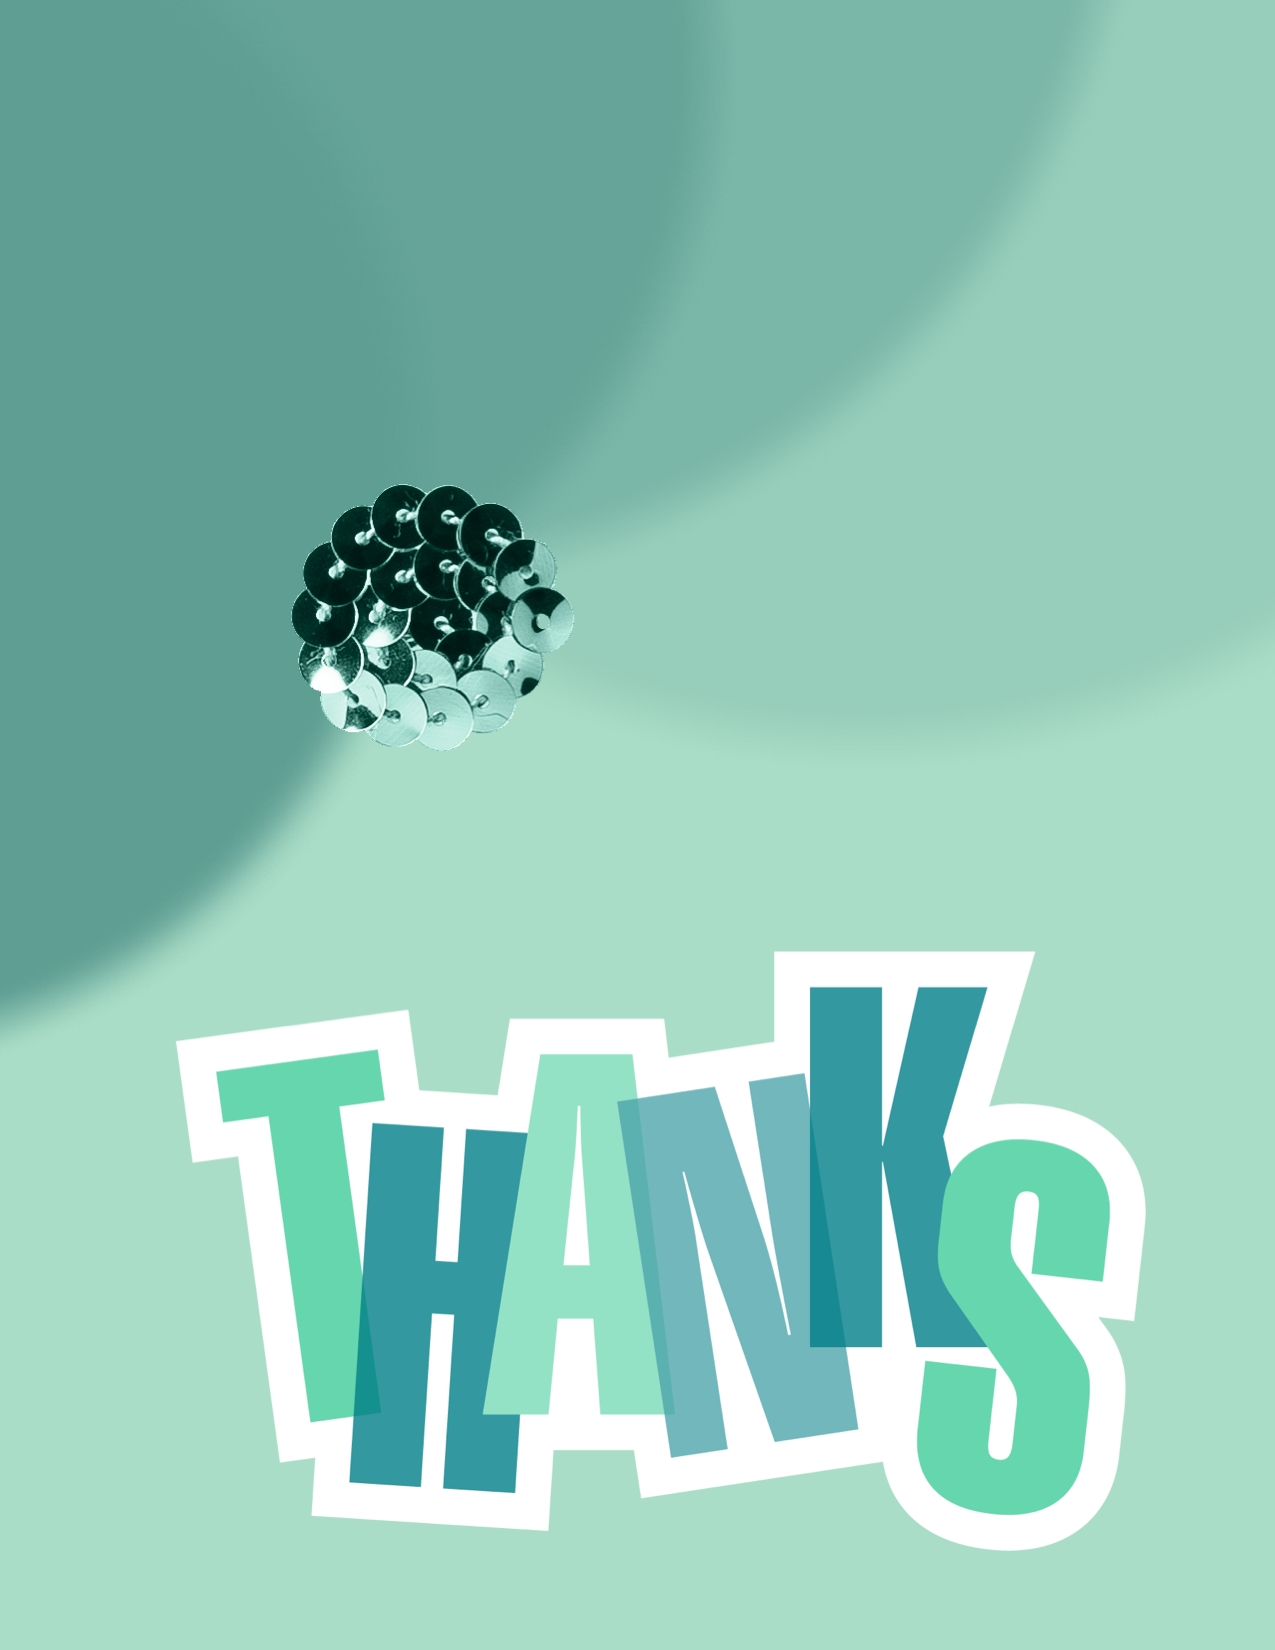
I felt someting needed to be addedI added at the point where the edges of the circles intersected and tried several different bows, a button and a couple other things but wasn’t satisfied. I settled on the gold sequins circle and do really like the effect on the card. But I started playing with recoloring the sequins. I tried white but didn’t like that. Then I recolored the circle with Lost Lagoon. I do like that almost as well as the gold. I switched back and forth several times (isn’t MDS wonderful at letting us change our minds!) and can’t decide so I will show you the Lost Lagoon version as well.

Digital ombre card with Lost Lagoon recolored sequinsWhich one do you like best? Leave a comment below! Thanks.

Supplies
MDS software digital download (130646), MDS software disc (130647), or 30-day Free Trial of MDS (130910)
Background – Card Stock/Pool Party
EmbellishmentsIn Any Event Card Templates (136574) – embellishments – thanks
Gold Sequin Trim (137609) – circle
Punches
Basics/1.25 Circle Punch (comes with program)

Order online 24/7 by visiting my online store.


Terrific Tuesday – Weekly Deals and In Any Event

Good morning this Terrific Tuesday. We have some terrific Weekly Deals for you. You will need to snap these up while the prices are so great! The price will go back up next Tuesday.

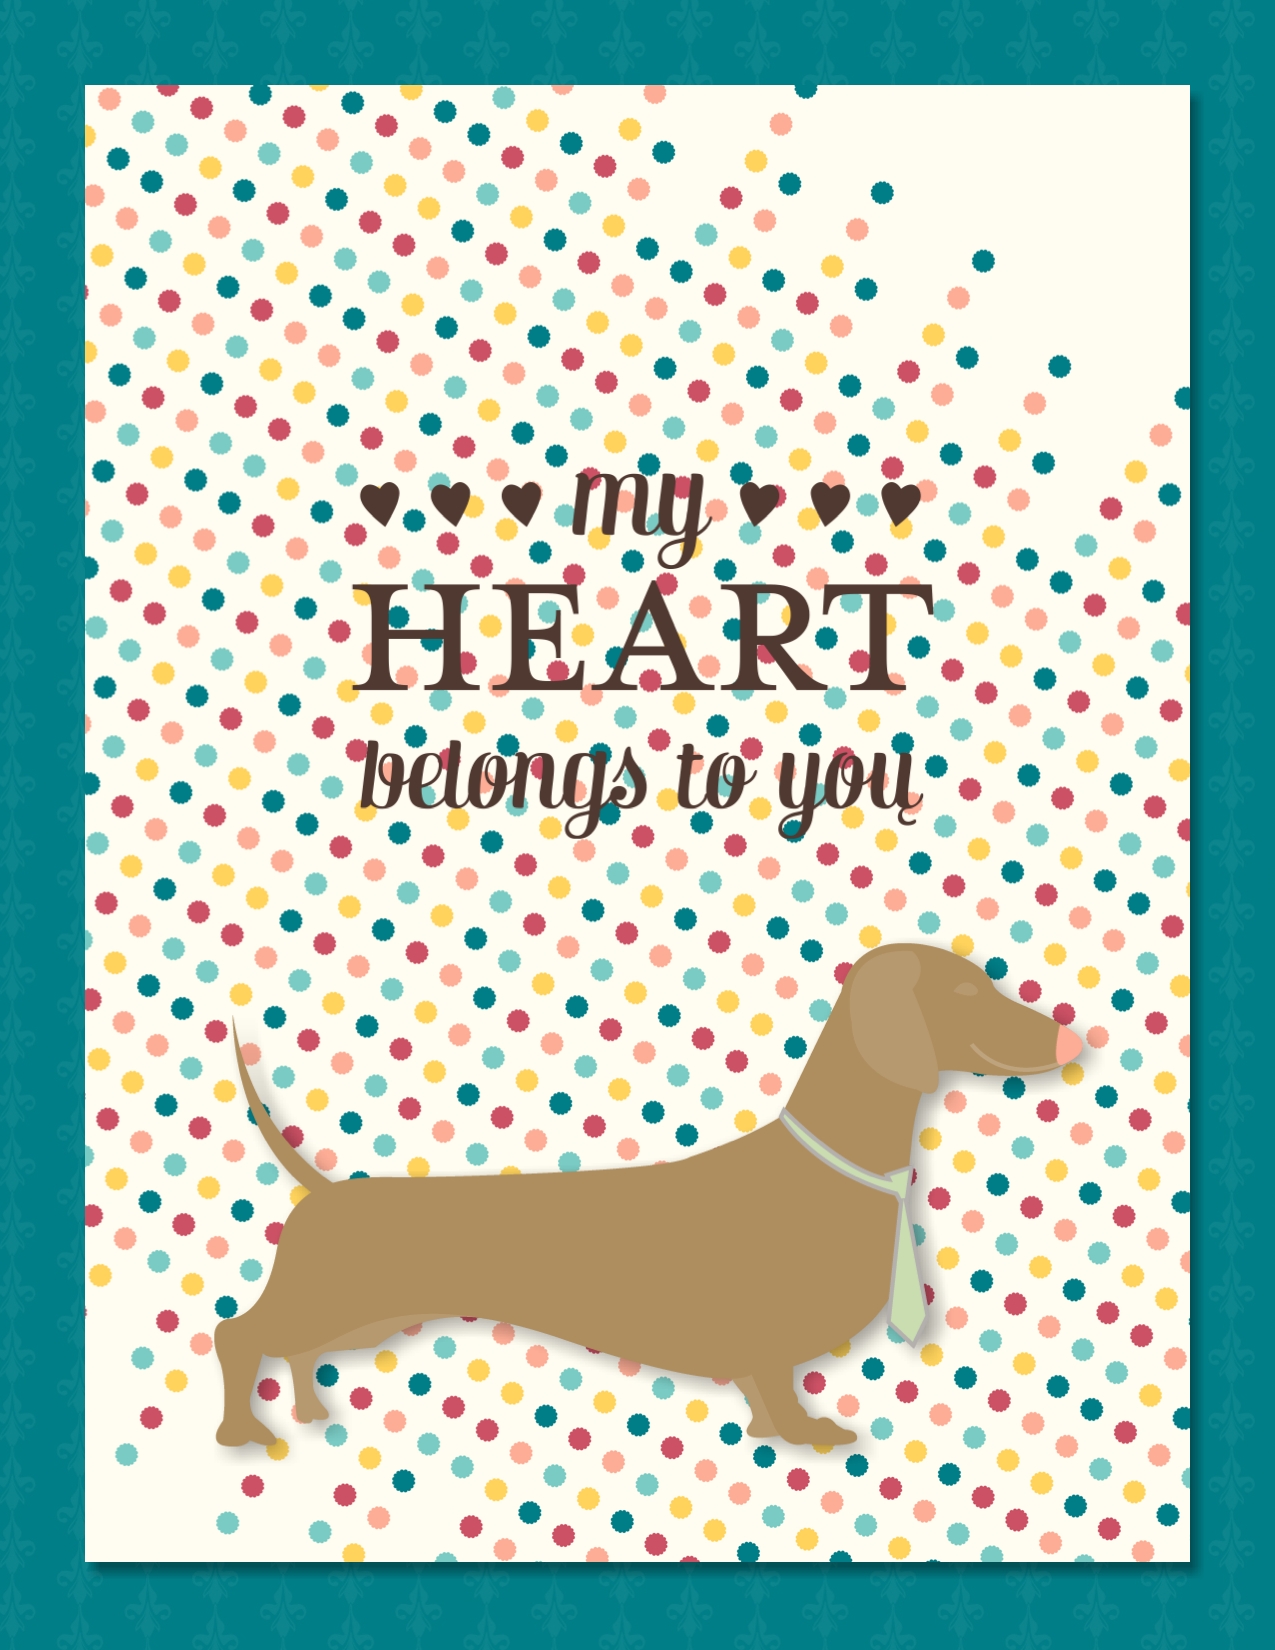
On this Terrific Tuesday I want to feature one of the June MDS digital downloads, In Any Event Card Templates (136574). What  deal this is! For just $12.95 you get 8 5″ x 7″ greeting card templates and four double-sided 5″ x 7″ postcard templates plus 30 piece SVG stamp set, 5 designer series papers, and 19 embellishments. There are greetings for almost any sort of occasion you might need. The real kicker for me though was that one of the embellishments is a dachshund!!! If you have been following me for very long, you probably have gathered that our beloved fur babies are mini-dachshunds. Of course I ‘needed’ this digital download!
Want to see what I created with it? Lookie!
Digital greeting card with dochshund on itThe greeting speaks well for both our dogs and for us. 🙂
You will really love this In Any Event digital download! Either click on the links below to order or visit my online store to order. Thanks for your business.
Supplies:
MDS software digital download (130646), MDS software disc (130647), or 30-day Free Trial of MDS (130910)
Background – In Any Event Card Templates (136574) – designer series paper – 4Embellishments – In Any Event – embellishments/In Any Event – dog

Stamps – In Any Event – my heart belongs to you, Color = EARLY ESPRESSO

Punches
Basics/1.25 Square Punch,  Filled with: In Any Event – designer series paper – 5

Washi Wednesday – Reverse Washi Tech

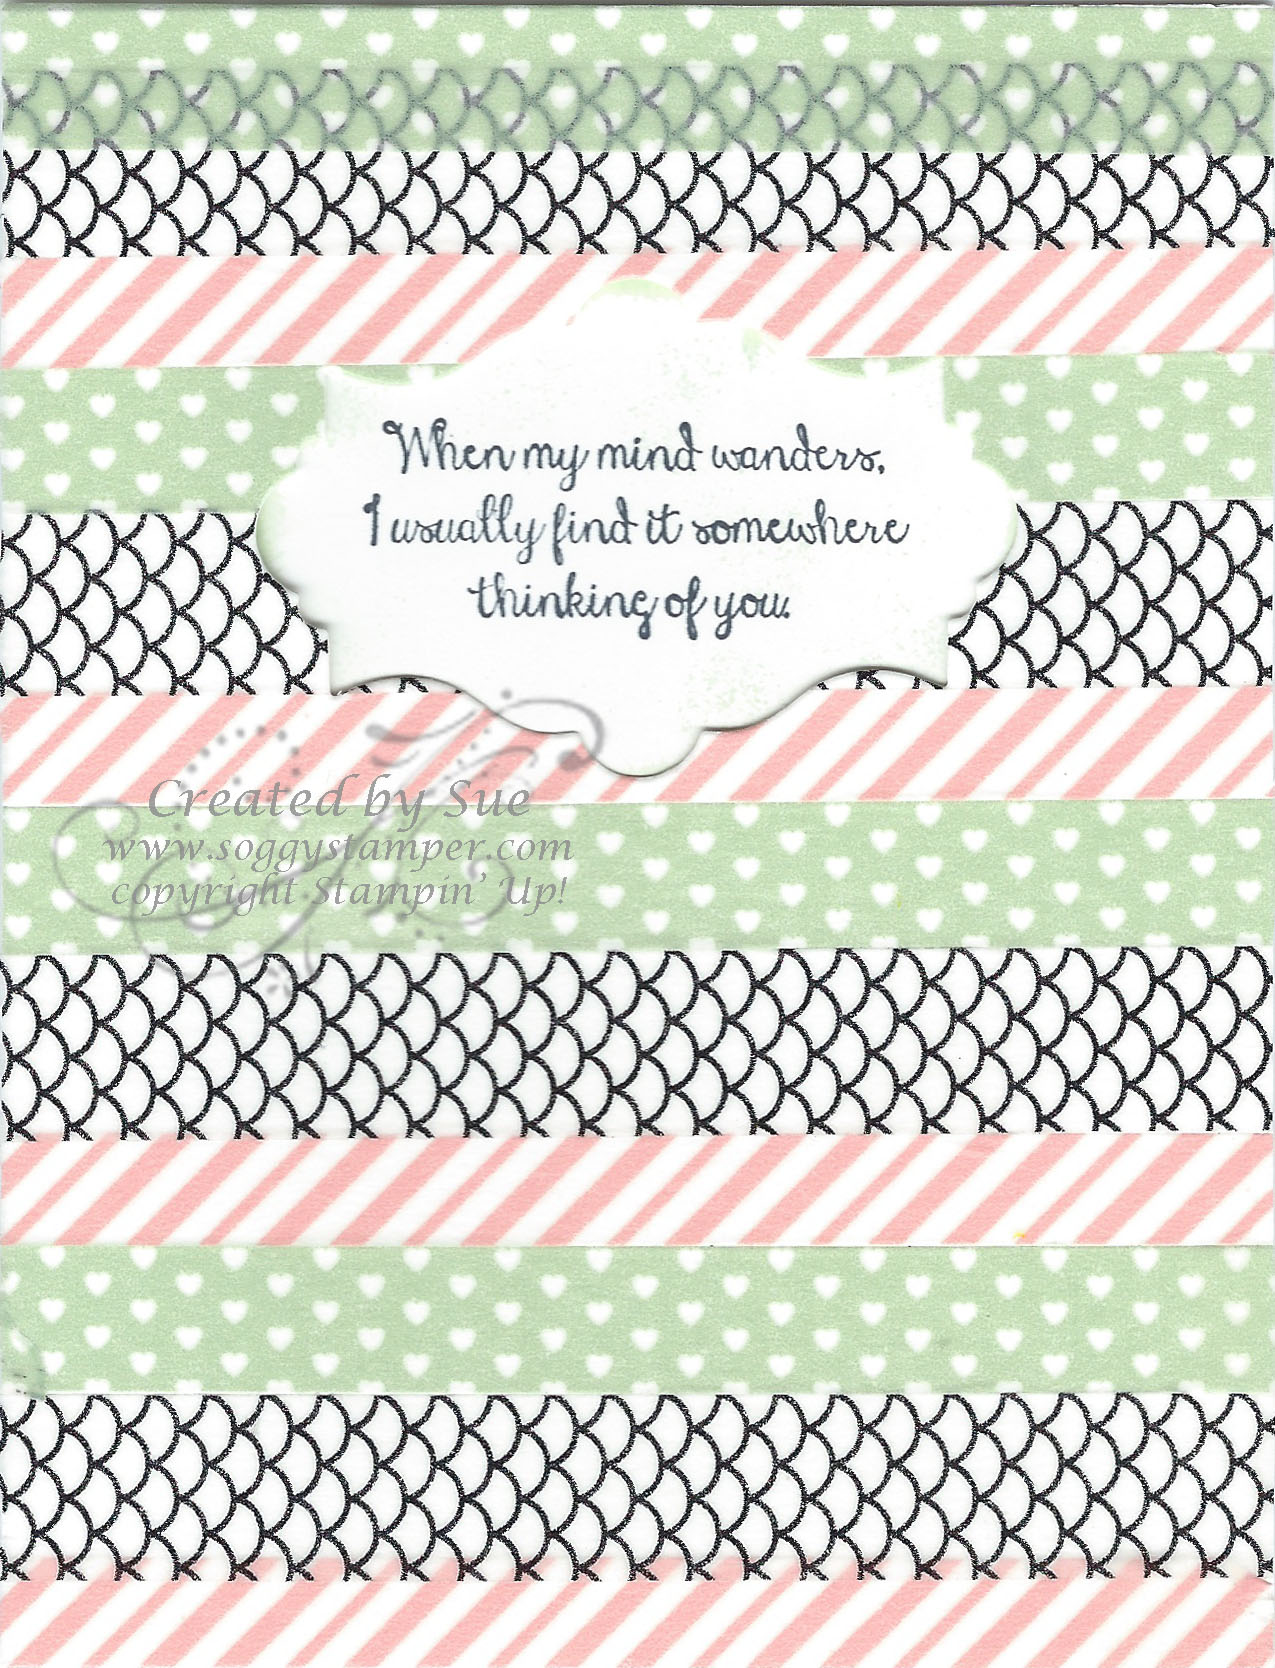
Reverse Washi cardSome time back, I had a customer ask me for different ways to use Washi tape. As a response, I created Washi Wednesday where I have been sharing different ways to use this semi-transparent and repositionable tape. You can see previous Washi Wednesday posts here, here, here, and here.

Today I have another card using Washi tape. The technique this time is called Reverse Washi and uses the new Sweet Sophie Designer Washi Tape. To do this technique, apply different patterns of Washi tape to the front of your card. Ideally you would apply them to a layer for the card front, not on the Whisper White card base like I did. Then you punch out or use a framelit to make a cutout in the card front. I used one of the Apothecary Accents Framelits. The official directions say to lightly trace around the cutout and then stamp your greeting in the tracing on the inside of your card. I just stamped through the cutout using the When my mind… from Bloom with Hope, a Hostess stamp set. However, the stamping was crooked! Don’t you just hate that? What I did to fix it was to stamp the greeting on another piece of Whisper White card stock and sponged around it with a little Pistachio Pudding ink. I then mounted this to the inside of the card centering the greeting in the cutout. Here is the inside of the card.

Washi Wednesday – Blessed Easter

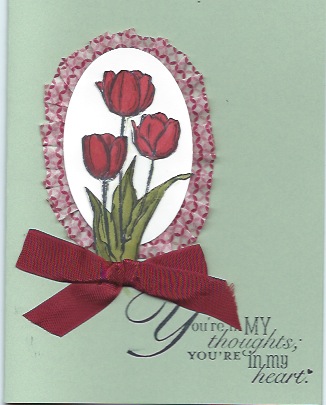
Washi Tape Medallion TechniqueHere is another way to use your Washi Tape. Punch a circle or oval and pleat the Washi tape around the circle overlapping the edge of the tape on about 1/4″ around the circle. Cover this circle or oval as in my sample with another circle, oval, or some other punched shape that covers the inside edge of the pleated Washi tape. Then use it as desired on your card.

I used the Blessed Easter stamp which is in the Occasions seasonal catalog. This stamp is a single stamp and is not being carried over to the new catalog. So you need to order it soon if you don’t already have it. You might consider cutting the greeting off and mounting it separately so you can use the tulips for other occasions. If you don’t want to separate them, you can use markers on the rubber to color just the tulips.

In this card, the image is embossed with black embossing powder. To get just this image and not the greeting, I cut a mask from copy paper and put some 2-way glue on the back of it. I allowed the glue to dry so it was temporary and stuck the mask to my stamp. Then I inked the stamp with Versamark. The mask gets the versamark on it but not the greeting under the stamp. It is important to remember to take the mask off before stamping the image on your cardstock! LOL! Yes, I say this from experience. :o)

Since two of the items used in this card, the Gingham Garden Washi tape (129314) is being retired and the Blessed Easter stamp (133212) is not being carried over to the new catalog, be sure to order them by June 4 so you don’t miss out on making this great card.

SUPPLIES:
Stamps – Blessed Easter (wood only – 133212), Word Play (retired, sorry!)
Inks – Memento Black (will be in the new catalog), Versamark (102283), Cherry Cobbler, Old Olive
Cardstock – Whisper White, Shimmery White, Pistachio Pudding
Other – Blender Pens (102845), Gingham Garden Washi Tape (129314), Cherry Cobbler 1/2″ Seam Binding Ribbon (120992), Ovals Collection Framelits Dies (129381), Black Stampin’ Emboss Powder (109133), Heat Tool (129053)
Washi Wednesday – Watercolor Wonder

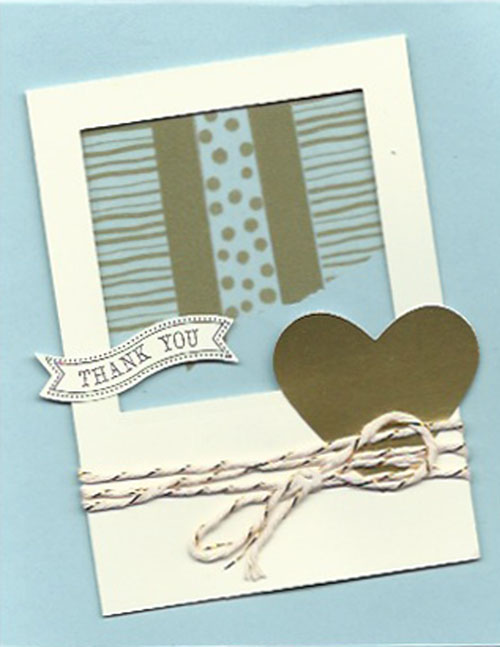
Watercolor Wonder Designer Washi TapeI received this wonderful Thank You card from a fellow demo, Mel Pigozzo. I love that it shows another way to use Washi Tape. The Watercolor Wonder Designer Washi Tape (133000) really shows up it’s gold color well on the Pool Party card stock. Mel used one of the Squares Collection Framelits (130921) to make a window in the Very Vanilla rectangle. Gold Foil Sheet (132622) was punched with the Full Heart Punch (119883) and added as an accent. The greeting is from the Bitty Banners stamp set which has already sold out and was cut out with the Bitty Banners Framelits (129267). Finally, the Very Vanilla layer was wrapped with Gold Baker’s Twine (132975).

Thanks, Mel, for this great card!

A Birthday Card For Your Dog

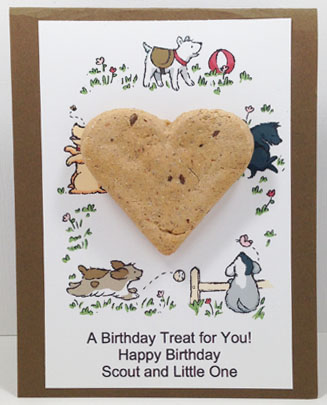
Dog birthday card using Storytime Digital KitToday is National Pet Owner’s Day. As an owner of two mini-dachshunds, I know how very much a part of the family our pets become. Now that our children are grown and on their own, our two pups have become our fur babies and are so spoiled! Their birthday is coming up in May and I decided to create this birthday card for them. This hybrid card was created with the dog frame from the Storytime Ensemble (127195) and created the greeting in a text frame. I printed it out on Whisper White card stock, trimmed it down to size, and mounted it on Baked Brown Sugar card stock. The heart is a dog biscuit I had on hand and glued to the card. This Storytime Ensemble is a darling digital download. Check it out! Just click on the image for more views and to order it.

Do you have pets in your home? Share who they are in a comment below!

Washi Wednesday – Retro Fresh

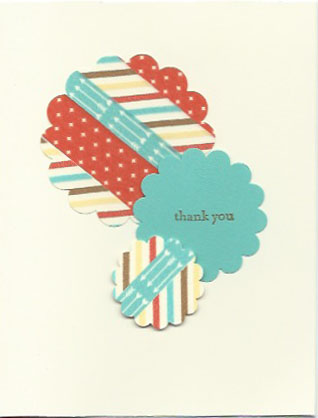
Retro Fresh This and That Designer Washi Tape Thank You cardWell I started this post when it was Wednesday but life got in the way so now it is Thursday. I really wanted to share this post with you so here goes.

I have another Washi tape card for you! I am fairly new to the Washi tape scene and didn’t know at first what to do with it other than to use it in place of scotch tape to slap photos into a Smash book. After a bit of research and browsing Pinterest and Google, I have learned there are an ever-growing amount of ways to use it. I shared in this previous post a way to use the tape to make a basket weave border on a card. This time I am sharing a Washi tape punched shape technique.

Apply strips of washi tape on a scrap piece of card stock that is a little larger than your punch. Then punch out your shape. I used a variety of sizes of scallop circle punches and the Retro Fresh This and That Designer Washi Tape (133001). The greeting is from the Teeny Tiny Wishes stamp set (wood – 128748, clear – 127802).

Repositionable washi tape comes in all kinds of widths, colors, and designs. Stampin’ Up! has the below selections for your enjoyment. Order one or two of the designs by clicking on the photos. Then share your creations by emailing a picture of your projects to me. I’ll share them on my blog.

MDS Monday – Fabulous Phrases

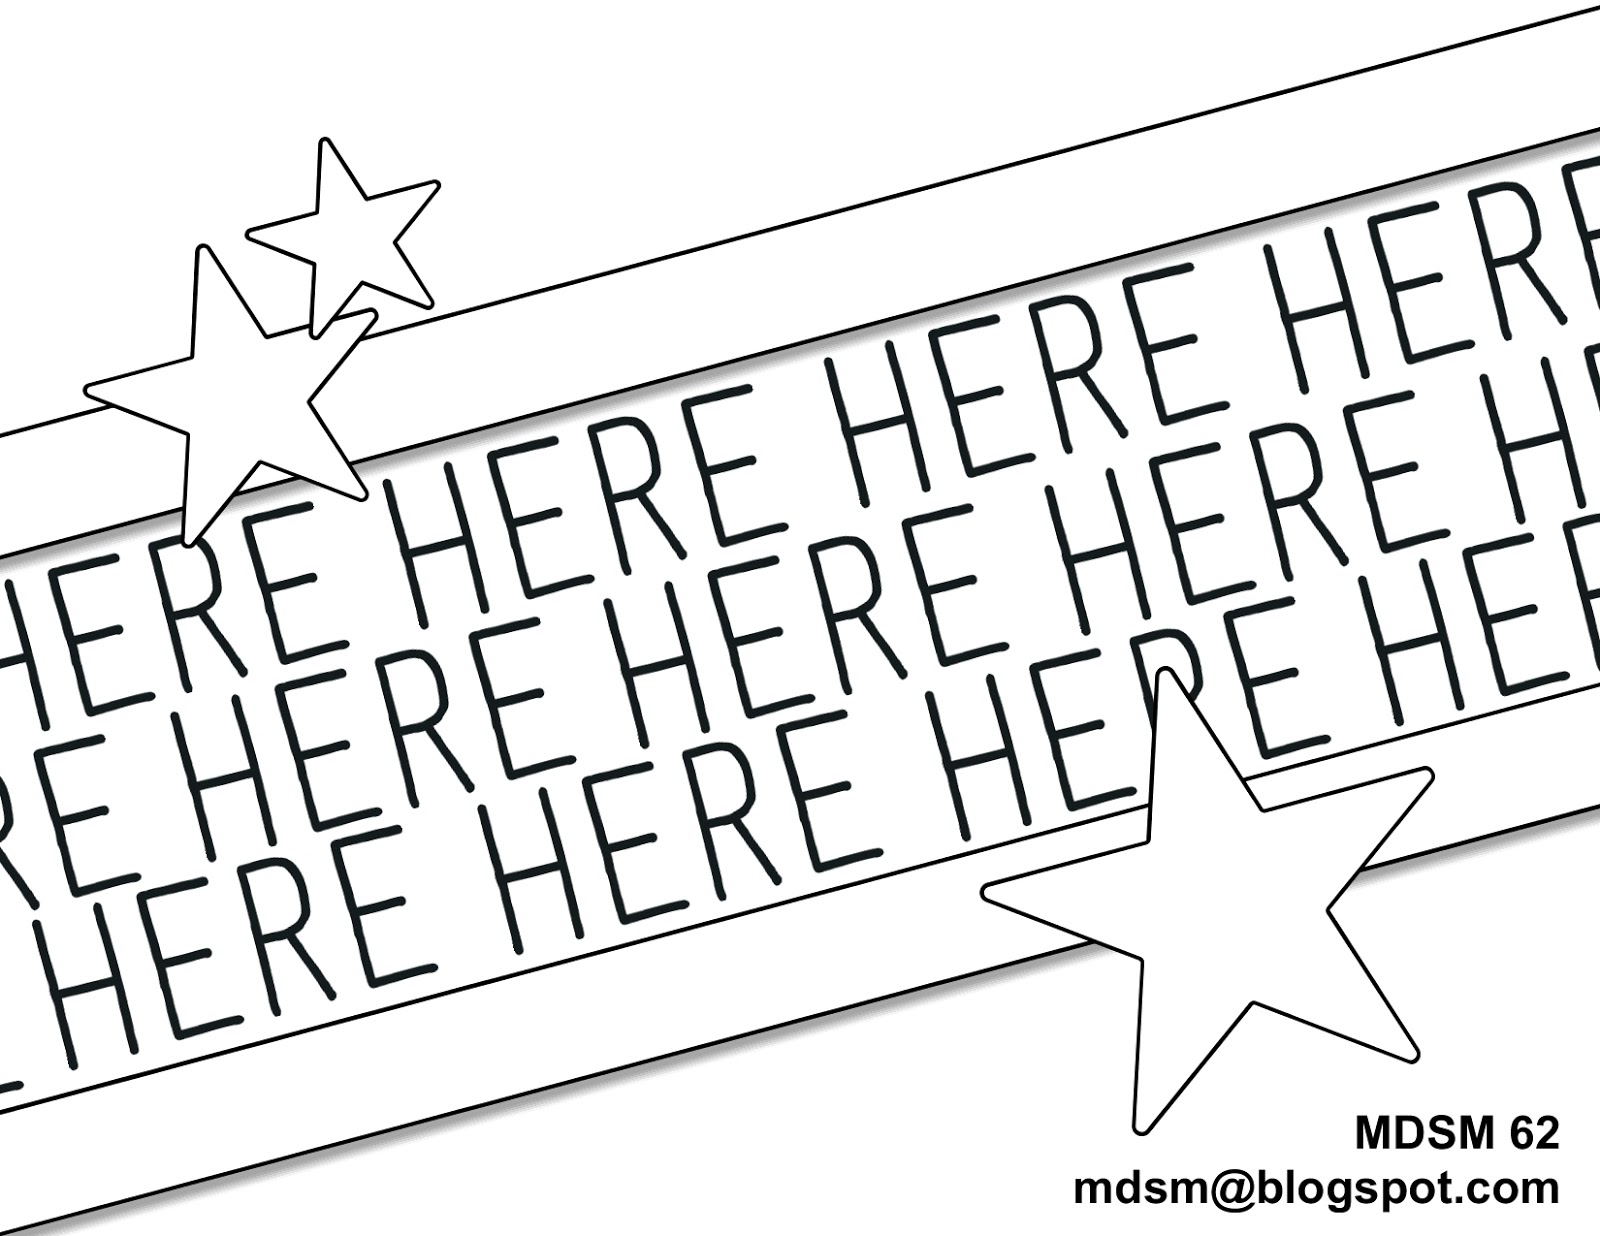
The challenge for today’s MDS Monday is to choose a designer series paper for your card and then color all the rest of the elements on the card using the color picker to choose colors in the designer series paper. We are also to use a diagonal feature. Here is the sketch:

MDSM62 SketchAnd here is my version:

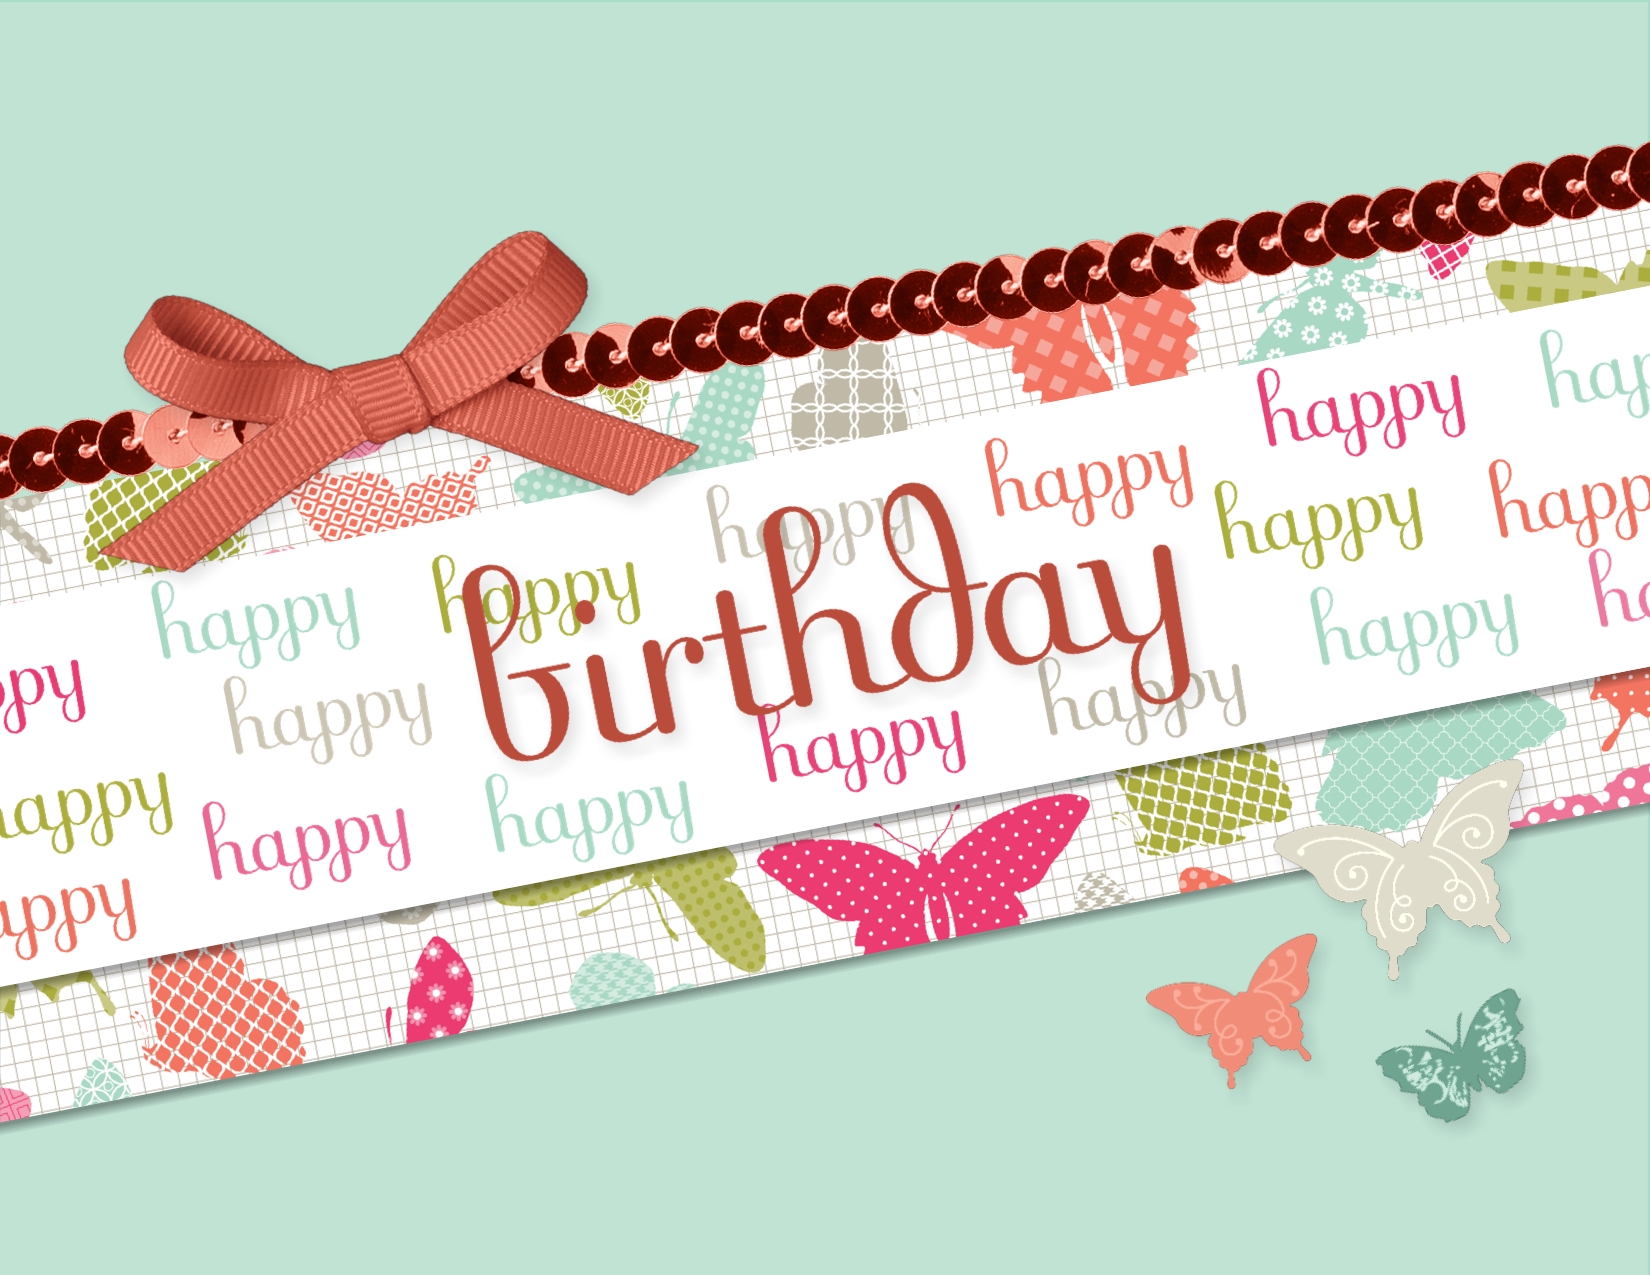
Diagonal digital birthday card using the Fabulous Phrases downloadI love the font in the Fabulous Phrases stamp brush set! I guess so much that I used the word ‘happy’ over and over again…LOL! I really, really want the recipient of this card to have the happiest birthday ever! :o)

Using the color picker tool to color elements on my projects is a technique I use all the time. I particularly like to use it to pick up colors in a photo I am using but also use it often as in this case to coordinate the colors with the designer series paper. I had originally created this card with the gold sequins that are the download. When I read the challenge again and saw that we were to use the color picker for all the elements of the card, I went back and re-colored the sequins with one of the colors in the orange butterflies. I was really surprised how beautiful the sequins turned out. They almost look like bronze or copper. Then I had to go back and change to color of the bow to go with the sequins. The Tempting Turquoise I had used for ‘birthday’ was not from the color picker either so I picked it’s color from the re-colored sequins. After all the adjustments I made from the original card, I have a card that far exceeds what I had originally planned!
Does that ever happen to you? Do you have to make adjustments like adding a layer, an embellishment, or a label to cover a goof? Or do you have to change your colors out because you don’t have enough ribbon to match what you had planned and then the end result is so much better than your original idea? Happens to me all the time! Sometimes the project takes on a life of itself.

Below are the supplies I used in this project. Click on the links to order them for yourself. Remember that most of the elements have been recolored.

Happy 1st Day of Spring!

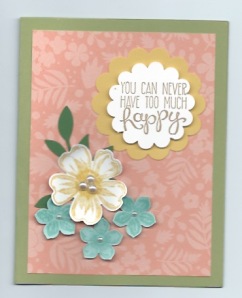
Yippee Skippee hand made cardI used the Petite Petals stamp set (w-133152, c-133155), the Petite Petals Punch (133322), the Flower Shop stamp set (w-130939, c-130942), the Pansy Punch (130698) and two scallop punches to create this card for the First Day of Spring. The saying comes from the Yippee Skippee stamp set (w-131341, c-131344). The arrival of the first day of Spring always makes me happy! To order any of the supplies needed to create this card yourself, either click on the links or visit my online store.

I choose Daffodil Delight card stock for the larger scalloped circle because it is so cheerful, sunny and I just saw a field full of daffodils on our drive over to LaConner, WA, today. Feast your eyes!

Field of Daffodils www.soggystamper.comSpring is my favorite season of the year. I love hearing the chirping of the returning birds in the trees, the flowering trees that abound here in Western Washington and all the flowers that burst into bloom. In a few more weeks the Skagit Valley where we live will celebrate the Tulip Festival. During this time, people from all over come to view the gorgeous tulip fields and to buy bulbs. Another sign of Spring is hearing lawnmowers and smelling the fresh cut grass.

What are your favorite parts of Spring? Leave a comment below.