Category Archives: General Cards

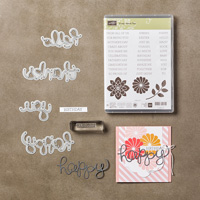
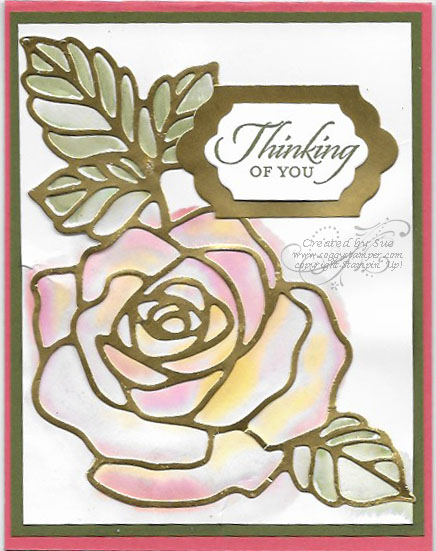
Rose Garden Thinlit Card

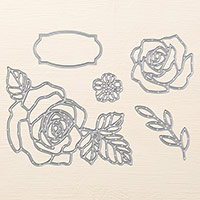
A fellow Stampin’ Up! demonstrator, Patty Bennett, posted this video on how she made a beautiful card using the Rose Garden Thinlits Dies.

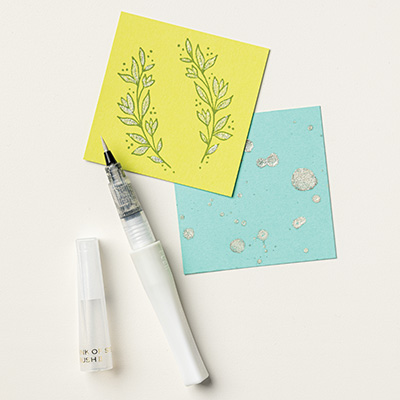
I am totally in love with Wink of Stella and had to try this technique for myself. I ordered just the Rose Garden Thinlits Dies, not the whole bundle…bummer! Here is my feeble attempt at this technique.

handmade card using Rose Garden Thinlits Dies

Some things did not work out as well for me as they did for Patty. I used the Multipurpose Liquid Glue to adhere the diecut to Whisper White cardstock. When I wet the cardstock to float the reinker/Wink of Stella mixture on the water, the diecut came unglued in places. I finally had to glue it back down using the Fine-Tipped Glue Pen. My coloring is a lot lighter than Patty’s because I forgot that when watercoloring, the color always dries lighter than when it is wet. Also, as you can see, the Whisper White cardstock would not lay flat even after it dried. So…I am really embarrassed to share this card. But…maybe you can learn from it like I have. Now I wish I had purchased the bundle because I would emboss the rose with gold embossing powder and then do the watercoloring technique. There would have been very little bleeding outside the lines. So note to self: Always order the bundle even if you don’t think you will use a part of it. You never know. This is the second time I didn’t order a bundle, just part of it and had to order the other half at full price.

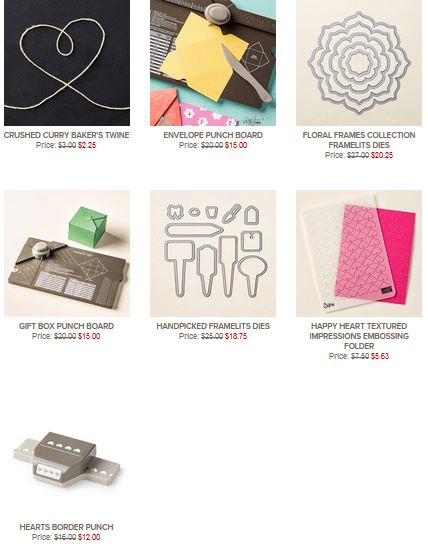
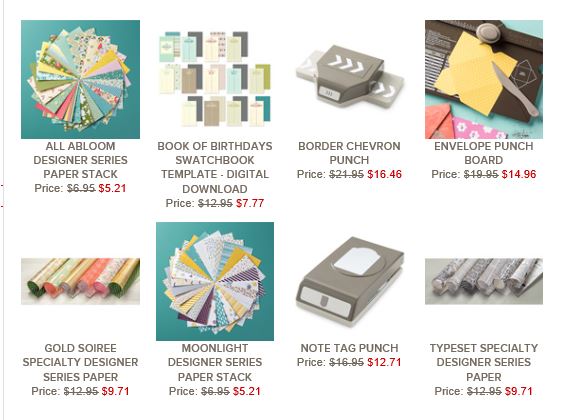
You can order the supplies used for this card by clicking on the images below. Thanks for visiting my blog.

Friends & Flowers

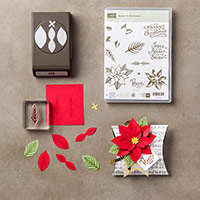
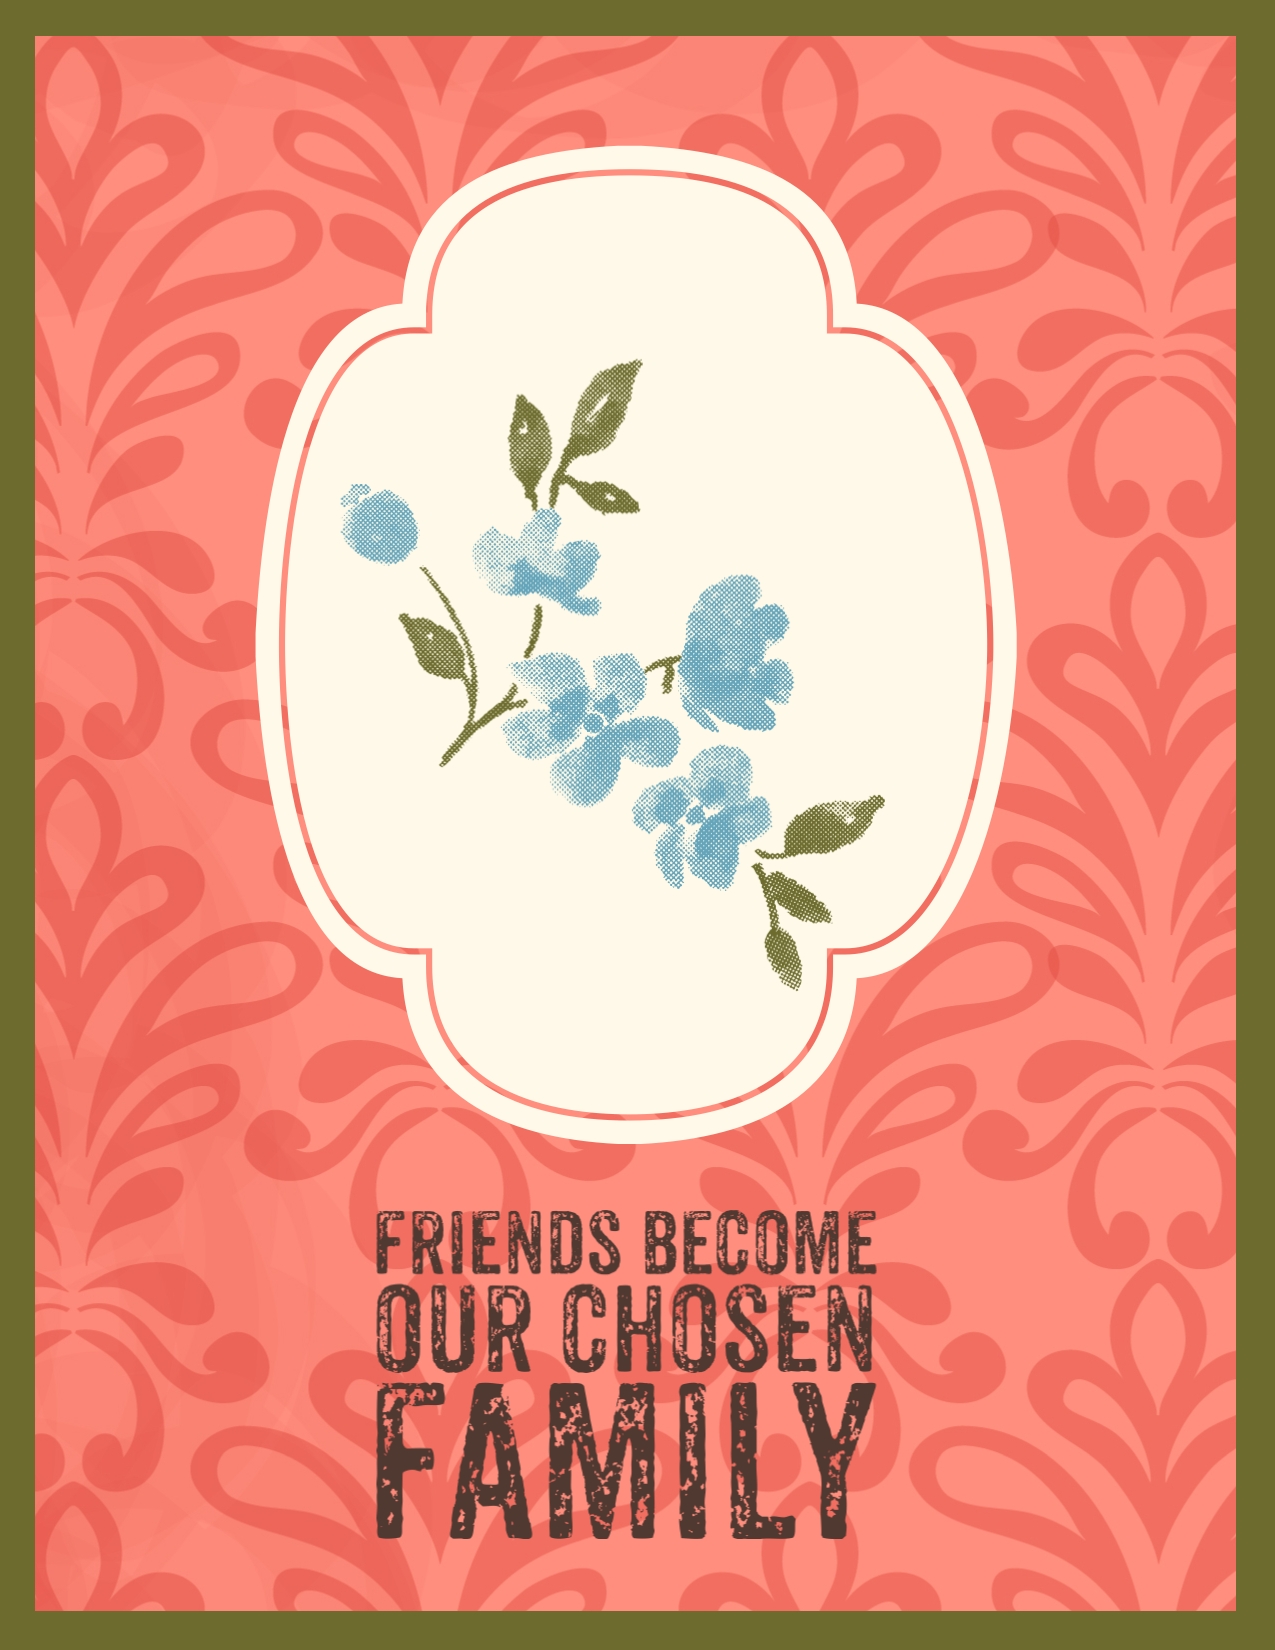
Did you get the Reason for the Season stamp set/Festive Flower Builder Punch bundle (140847) from the Holiday catalog? Then you will definitely want to get the Friends & Flowers stamp set (wood – 140508, clear – 140511) from the Occasions catalog to get added use from the Festive Flower Builder Punch. This is the stamp set I used for the this card. By the way, if you didn’t get the Reason for the Season bundle during the Holiday sales period, you can still purchase it. It has been carried over to the Occasions catalog.

General greeting card created with the Friends & Flowers stamp set

This card was such fun to make and I know our great-granddaughter will love receiving it. You can order the supplies I used by clicking on the images below. Remember that during Sale-A-Bration, you get to choose a free item from the Sale-A-Bration brochure for each $50 of product you purchase.

Happy Haunting Designer Series Paper After Halloween?

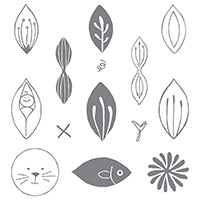
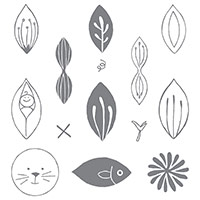
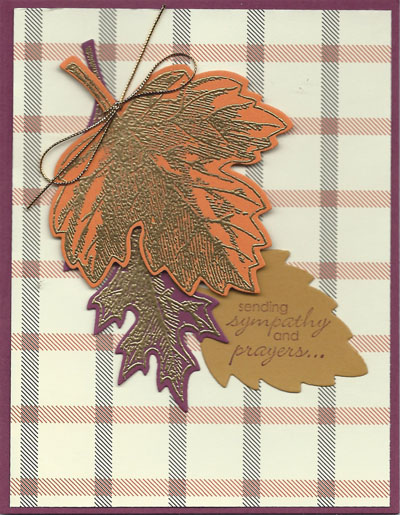
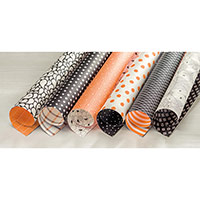
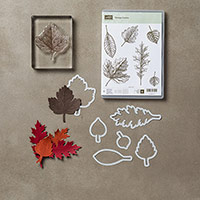
Yes! This is one of the great things about the Happy Haunting Designer Series Paper (139584). One side of each piece of the paper has a subtle design that can be used almost any time. I needed a sympathy card for a friend and wanted to use my new Vintage Leaves stamp set and Leaflets Framelits bundle that I finally ordered. It didn’t arrive in time for Thanksgiving cards but I think it works well for this sympathy card. What do you think?Sympathy card using Vintage Leaves stamp set and Happy Haunting Designer Series PaperSo take another look at the Happy Haunting Designer Series Paper and see what other ways you can use it besides Halloween. To order any of the supplies I used for this card, just click on the images below. And remember…for each $50 your order at one time, you can check off one box on my Soggy Stamper Customer Appreciation form. You can find and download the form here.

Stars, stars, stars!

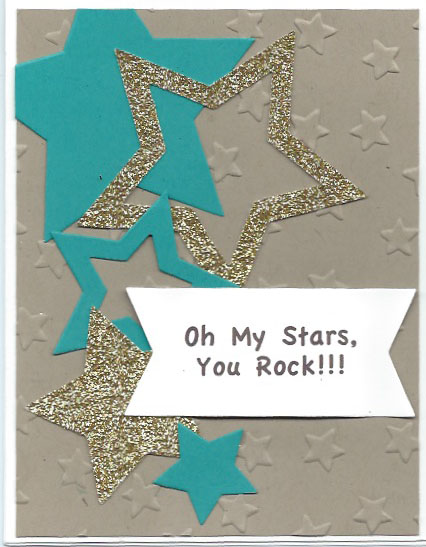
Are you a person who loves stargazing? Do you know someone you want to recognize as a ‘star’ in your life? Then you will love this card I created for a friend who has won a grant she wrote. This is the third grant in a row she has written.

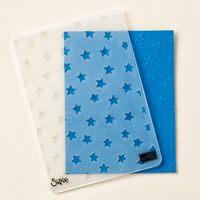
handmade congratulation card using stars framelits and Lucky Stars embossing folder

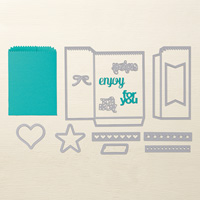
The sentiment was created on my computer using the retired MDS software program. I used the greeting “Huge Congrats” from the Watercolor Wishes kit on the inside of the card. Have you tried the thick Whisper White cardstock yet? You really should because it is perfect for card bases. I used it for the card base on this card but used the regular Whisper White for the banner. I think the lighter weight cardstock curls better. I cut the banner using the framelit from the Mini Treat Bag Thinlits Dies. See…you get a variety of dies with these sets of framelits that can be used in all sorts of projects! They give you so much value for the price.

To order the supplies you need to make this card yourself, just click on the images below.

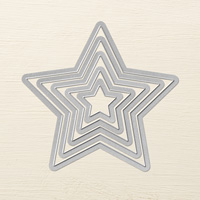
The Lucky Stars embossing folder and Stars Framelits were on the Weekly Deals a couple of weeks ago. If you are not checking them out each Tuesday, you are really missing out on some great deals. Here are this week’s deals. Click on the image to go to my online store.
Weekly Deals for 9-29-15

Weekly Deals for 9-15-15

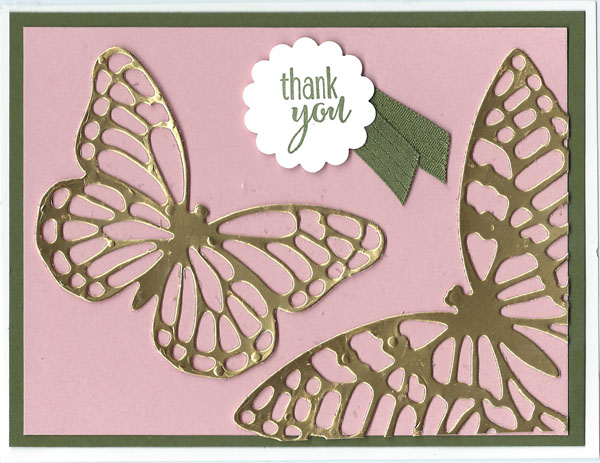
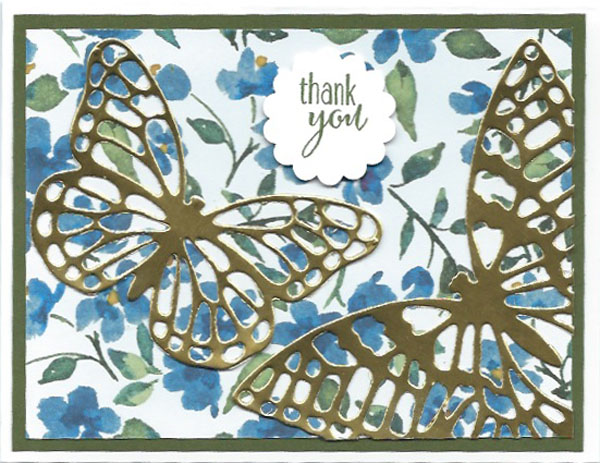
Handmade card using Butterfly Thinlits

It was love at first sight when I opened the Occasions catalog last spring and saw this wonderful set of Butterflies Thinlits (137360)! This card was my Leadership swap last January and I have used the thinlits time and time again since then. Yes, it can cut Gold Foil Sheets and even Glimmer paper. Since it is a very finely cut shape, I recommend using the Fine-Tip Glue Pen (138309) found on page 43 in the Holiday catalog. With this glue pen, you can put very tiny dots of glue even along the narrow strips of cardstock. Since this is a liquid glue, it does take a few moments to set up so you may need to hold down the butterfly for a few seconds until the glue starts to dry. Try not to move the butterfly around though because ,although the glue does dry clear, it has a bit of shine which will be noticeable if not under the butterfly.

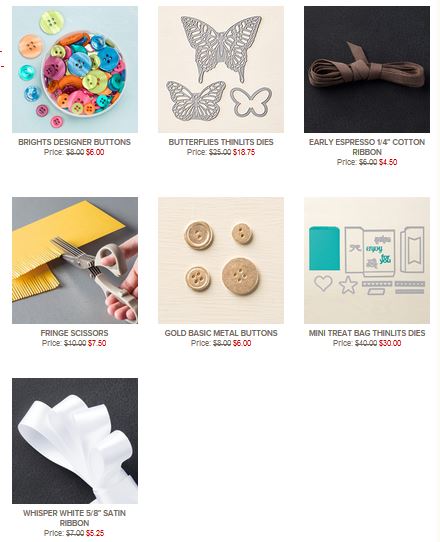
Now I have great news for you. If you don’t have this set of thinlits yet, you definitely will want to snatch up the 15% savings on it while it is on this week’s Weekly Deals. Click on the photo to go to my online store and place your order. While you are in my online store, check out the Clearance Rack. It is your last chance to get some retired items at a discount.

Weekly Deals for 9-15-15


Share an Idea Day

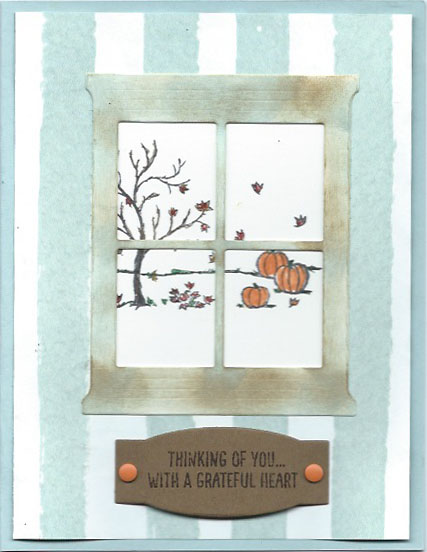
handmade card using Happy Scenes stamp set and Hearth and Home Thinlits Dies

Today I am hosting a virtual card swap in observation of Share an Idea Day. To participate in this swap, take a photo of a card you have made and share it in a comment on my facebook page. Let’s see how many cards we can share.

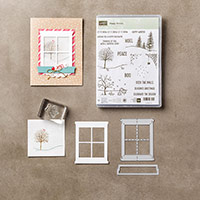
This is my swap card. I love the bundle of the Hearth & Home Thinlits Dies and the Happy Scenes stamp set. The creative options with this bundle are huge. This time I used the bundle to create a fall scene looking out the window. Who knows what I will come up with next. Be sure to check back over the next few days to find out. I started out with a Whisper White window frame but it looked too stark so I sponged Soft Suede and Soft Sky ink on it to enhance the embossed details and give the frame an aged look. Two Pumpkin Pie Candy Dots anchor the greeting. You can order the supplies by clicking on the images below.

Now…go create a card and share it here! I look forward to seeing your creations.

Here’s the Scoop

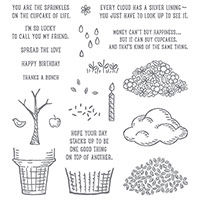
Handmade greeting card using Sprinkles of Life stamp set and Alphabet Rotary stampThe very first stamp set I ordered from the new 2015-2016 Annual Catalog was the Sprinkles of Life (139971). Not only does it have some great sayings, not only does it cover a variety of occasions, but it also has a coordinating punch Tree Builder (138295)! To top it off, Stampin’ Up! donates $3 for each of these sets purchased to the Ronald McDonald House charity. This is a win-win every way you look at it.

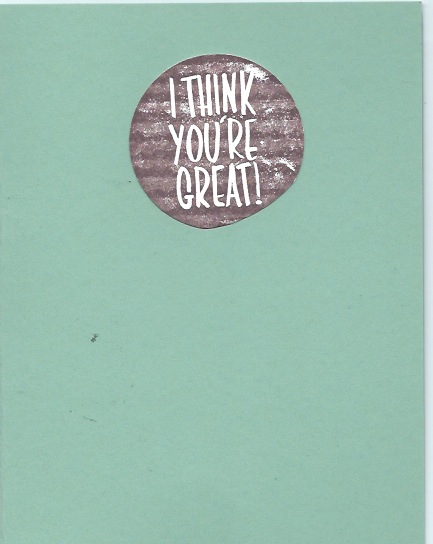
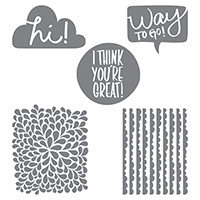
Two of the stamps in the set make an ice cream cone. I created the greeting “Here’s the Scoop…” using the Alphabet Rotary Stamp (133769). There aren’t enough spaces to spell out the whole saying so I spelled out “Heres the”, stamped it, and then spelled out “Scoop”. I added the apostrophe and the dots with the Basic Black marker. I stamped “I Think You’re Great” from the stamp set by that name (wood – 138712, clear – 139868) on the inside. This set is designed to be used with the Kissing Technique. You ink up the ‘I think you’re great!’ stamp then stamp it on an uninked stamp to remove some of the ink before stamping it on paper.

I Think You're Great stamp set and Mint Macaron cardstock

To order any of the supplies I used on this card, click on the images below. They will take you to my online store. BTW…if you want to have a copy of the new catalog to caress and pour over with your own two hands, email me your phone number and best time to call you. I’ll call you to tell you how you can get the catalog totally free.

Painted Blooms

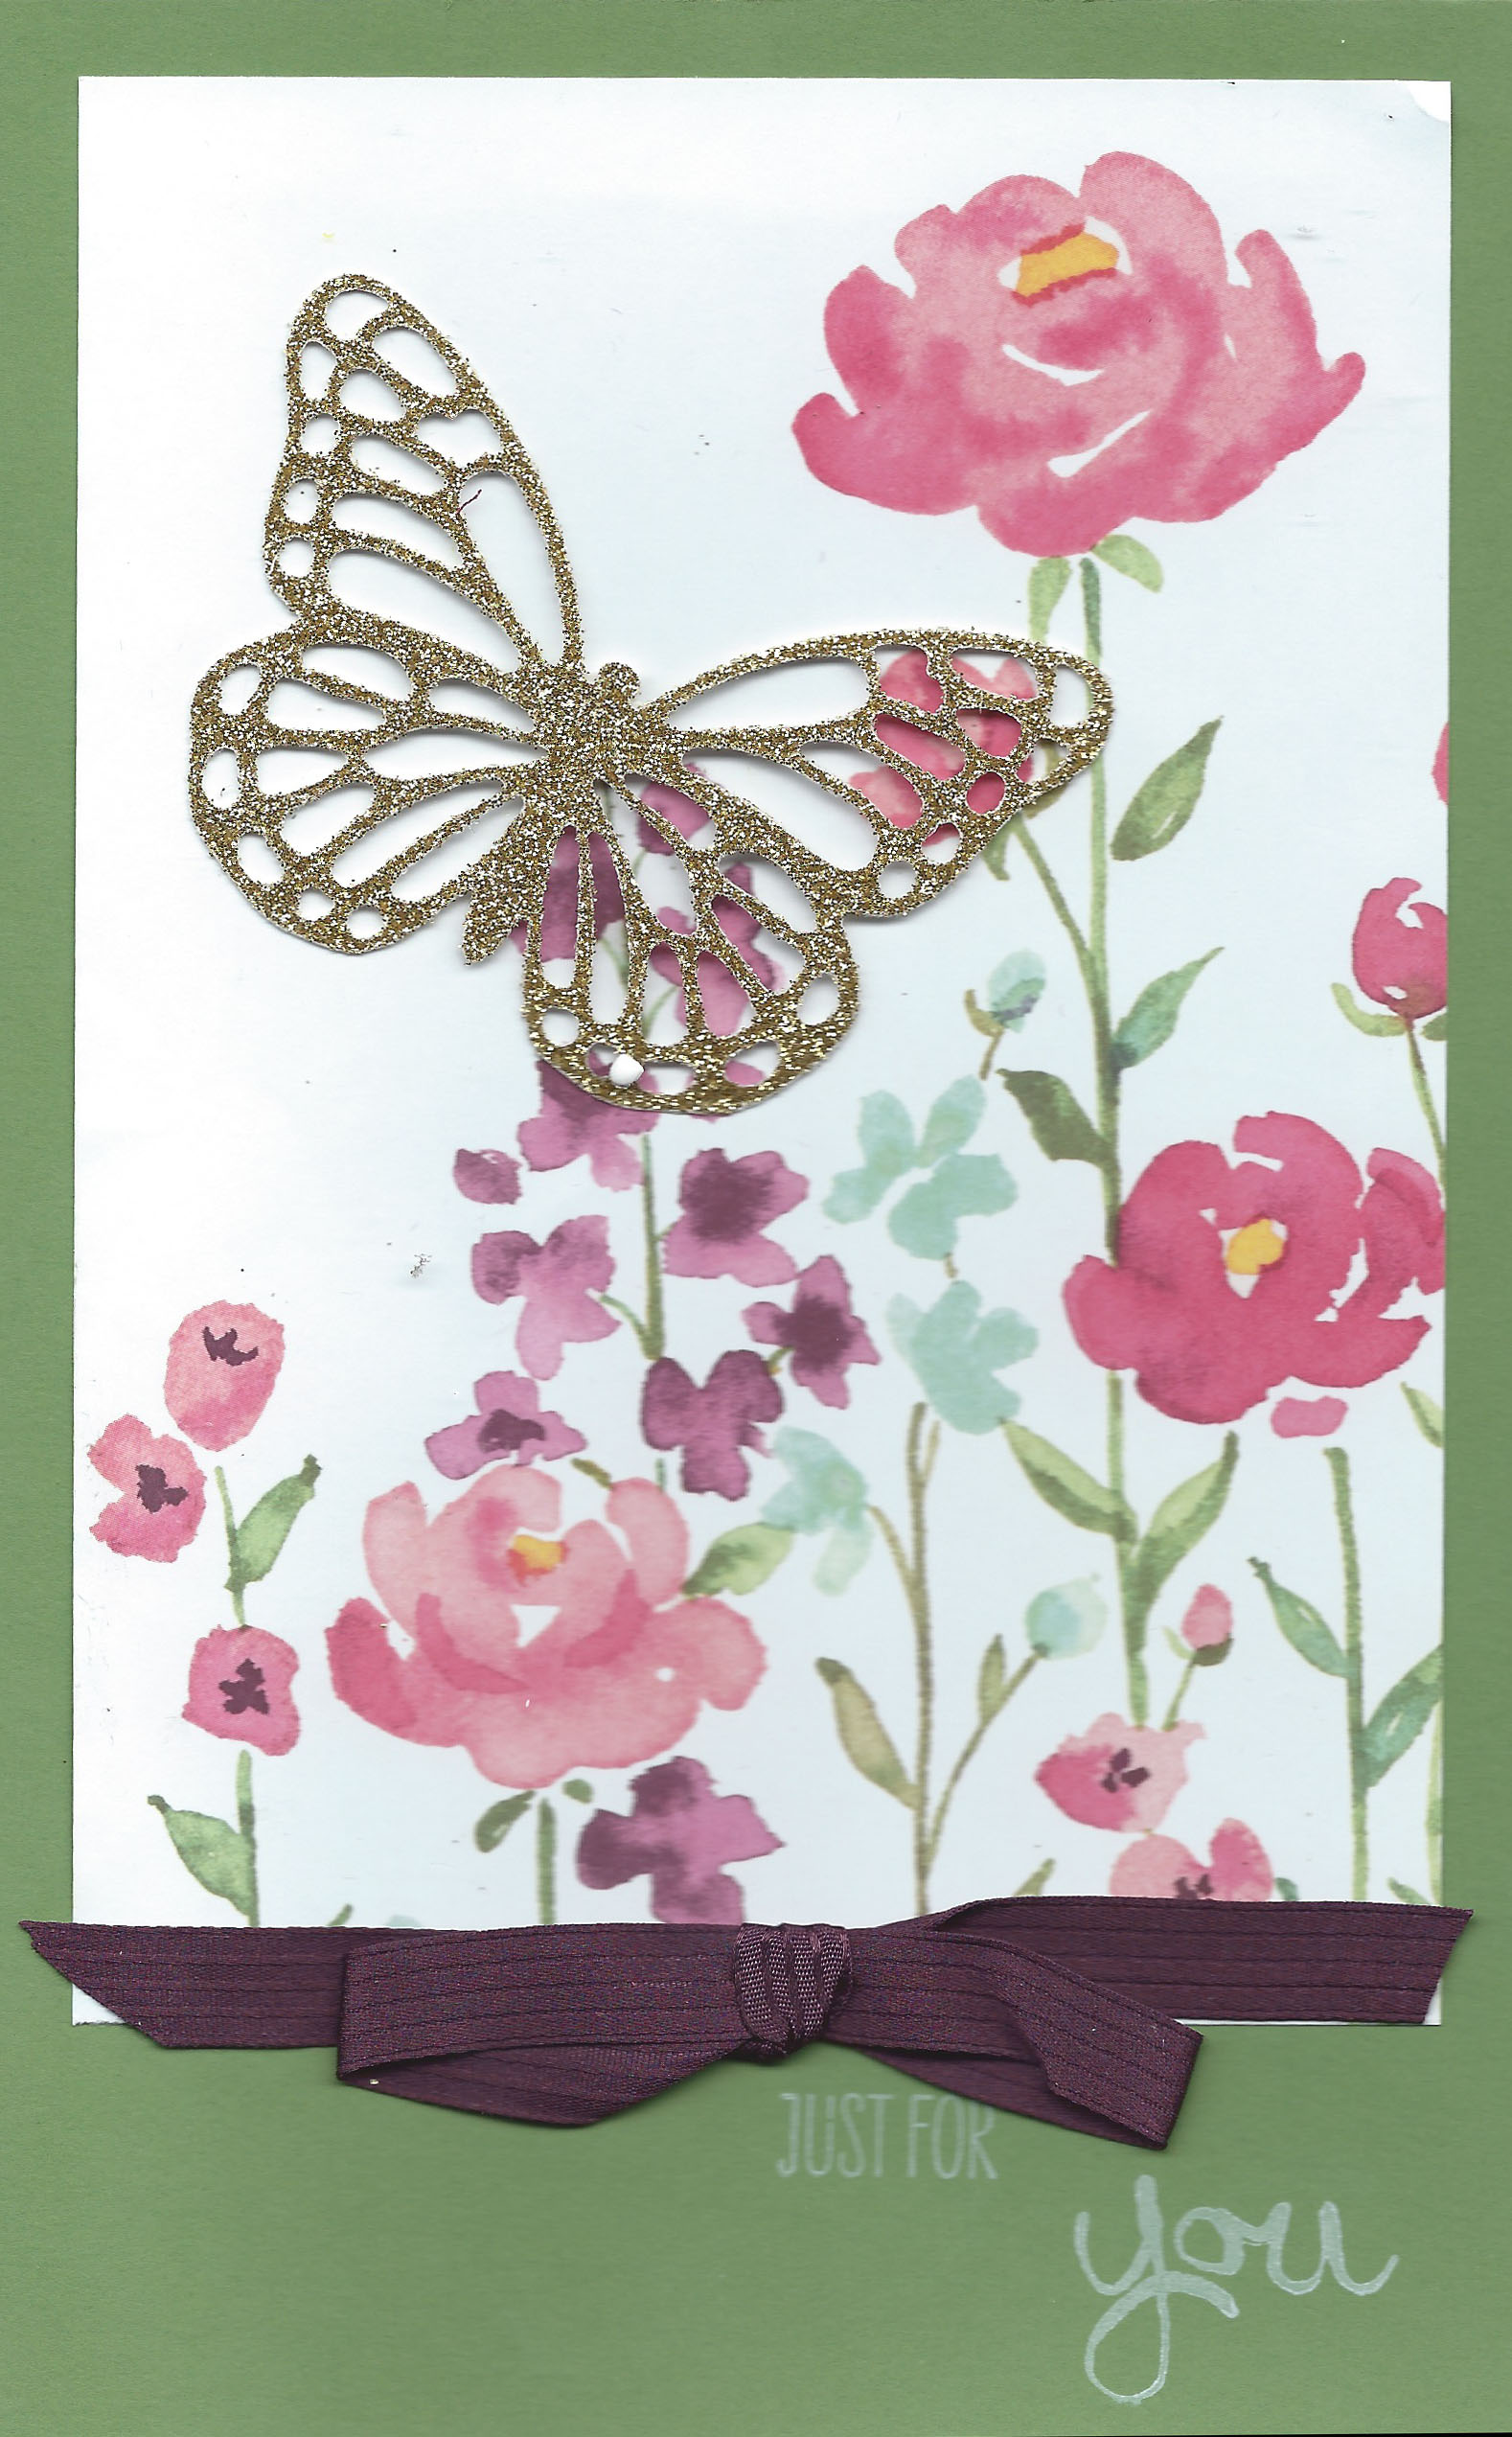
Painted Blooms handstamped card

I needed a larger card to enclose something I needed to mail so this is what I came up with in less than 15 minutes. The piece of the beautiful Painted Blooms designer series paper was laying on my desk, a reject from a previous project. It was the perfect size for this card made from a full sheet of Wild Wasabi cardstock. I had a square of Gold Glimmer Paper laying on my Big Shot table that was just the right size for cutting out the butterfly which I added with a Stampin’ Dimensional. I tied a Blackberry Bliss bow using the ‘fork’ method and added it at the bottom of the designer series paper with glue dots.

A beautiful thing about using photopolymer stamps is that you can see exactly where you are going to stamp and you can line them up perfectly on one acrylic block. The greeting is composed of two stamps from the Work of Art stamp set. I love the combination of the two fonts!

The beautiful Painted Blossoms designer series paper will not be in the new annual catalog so you have until June 2nd to stock up on it.

This month is also the time that many Stampin’ Up! stamps and other products are being retired to make room for new, exciting product. The supply of retiring stamp sets is guaranteed until May 26 but all other items are on an ‘as supply lasts’ basis, are discounted up to 50% and are beginning to sell out quickly. Go check out the retiring items now and order them while you can. My online store is here

To order the supplies I used in this card, click on the images below.


Heartfelt Thank You

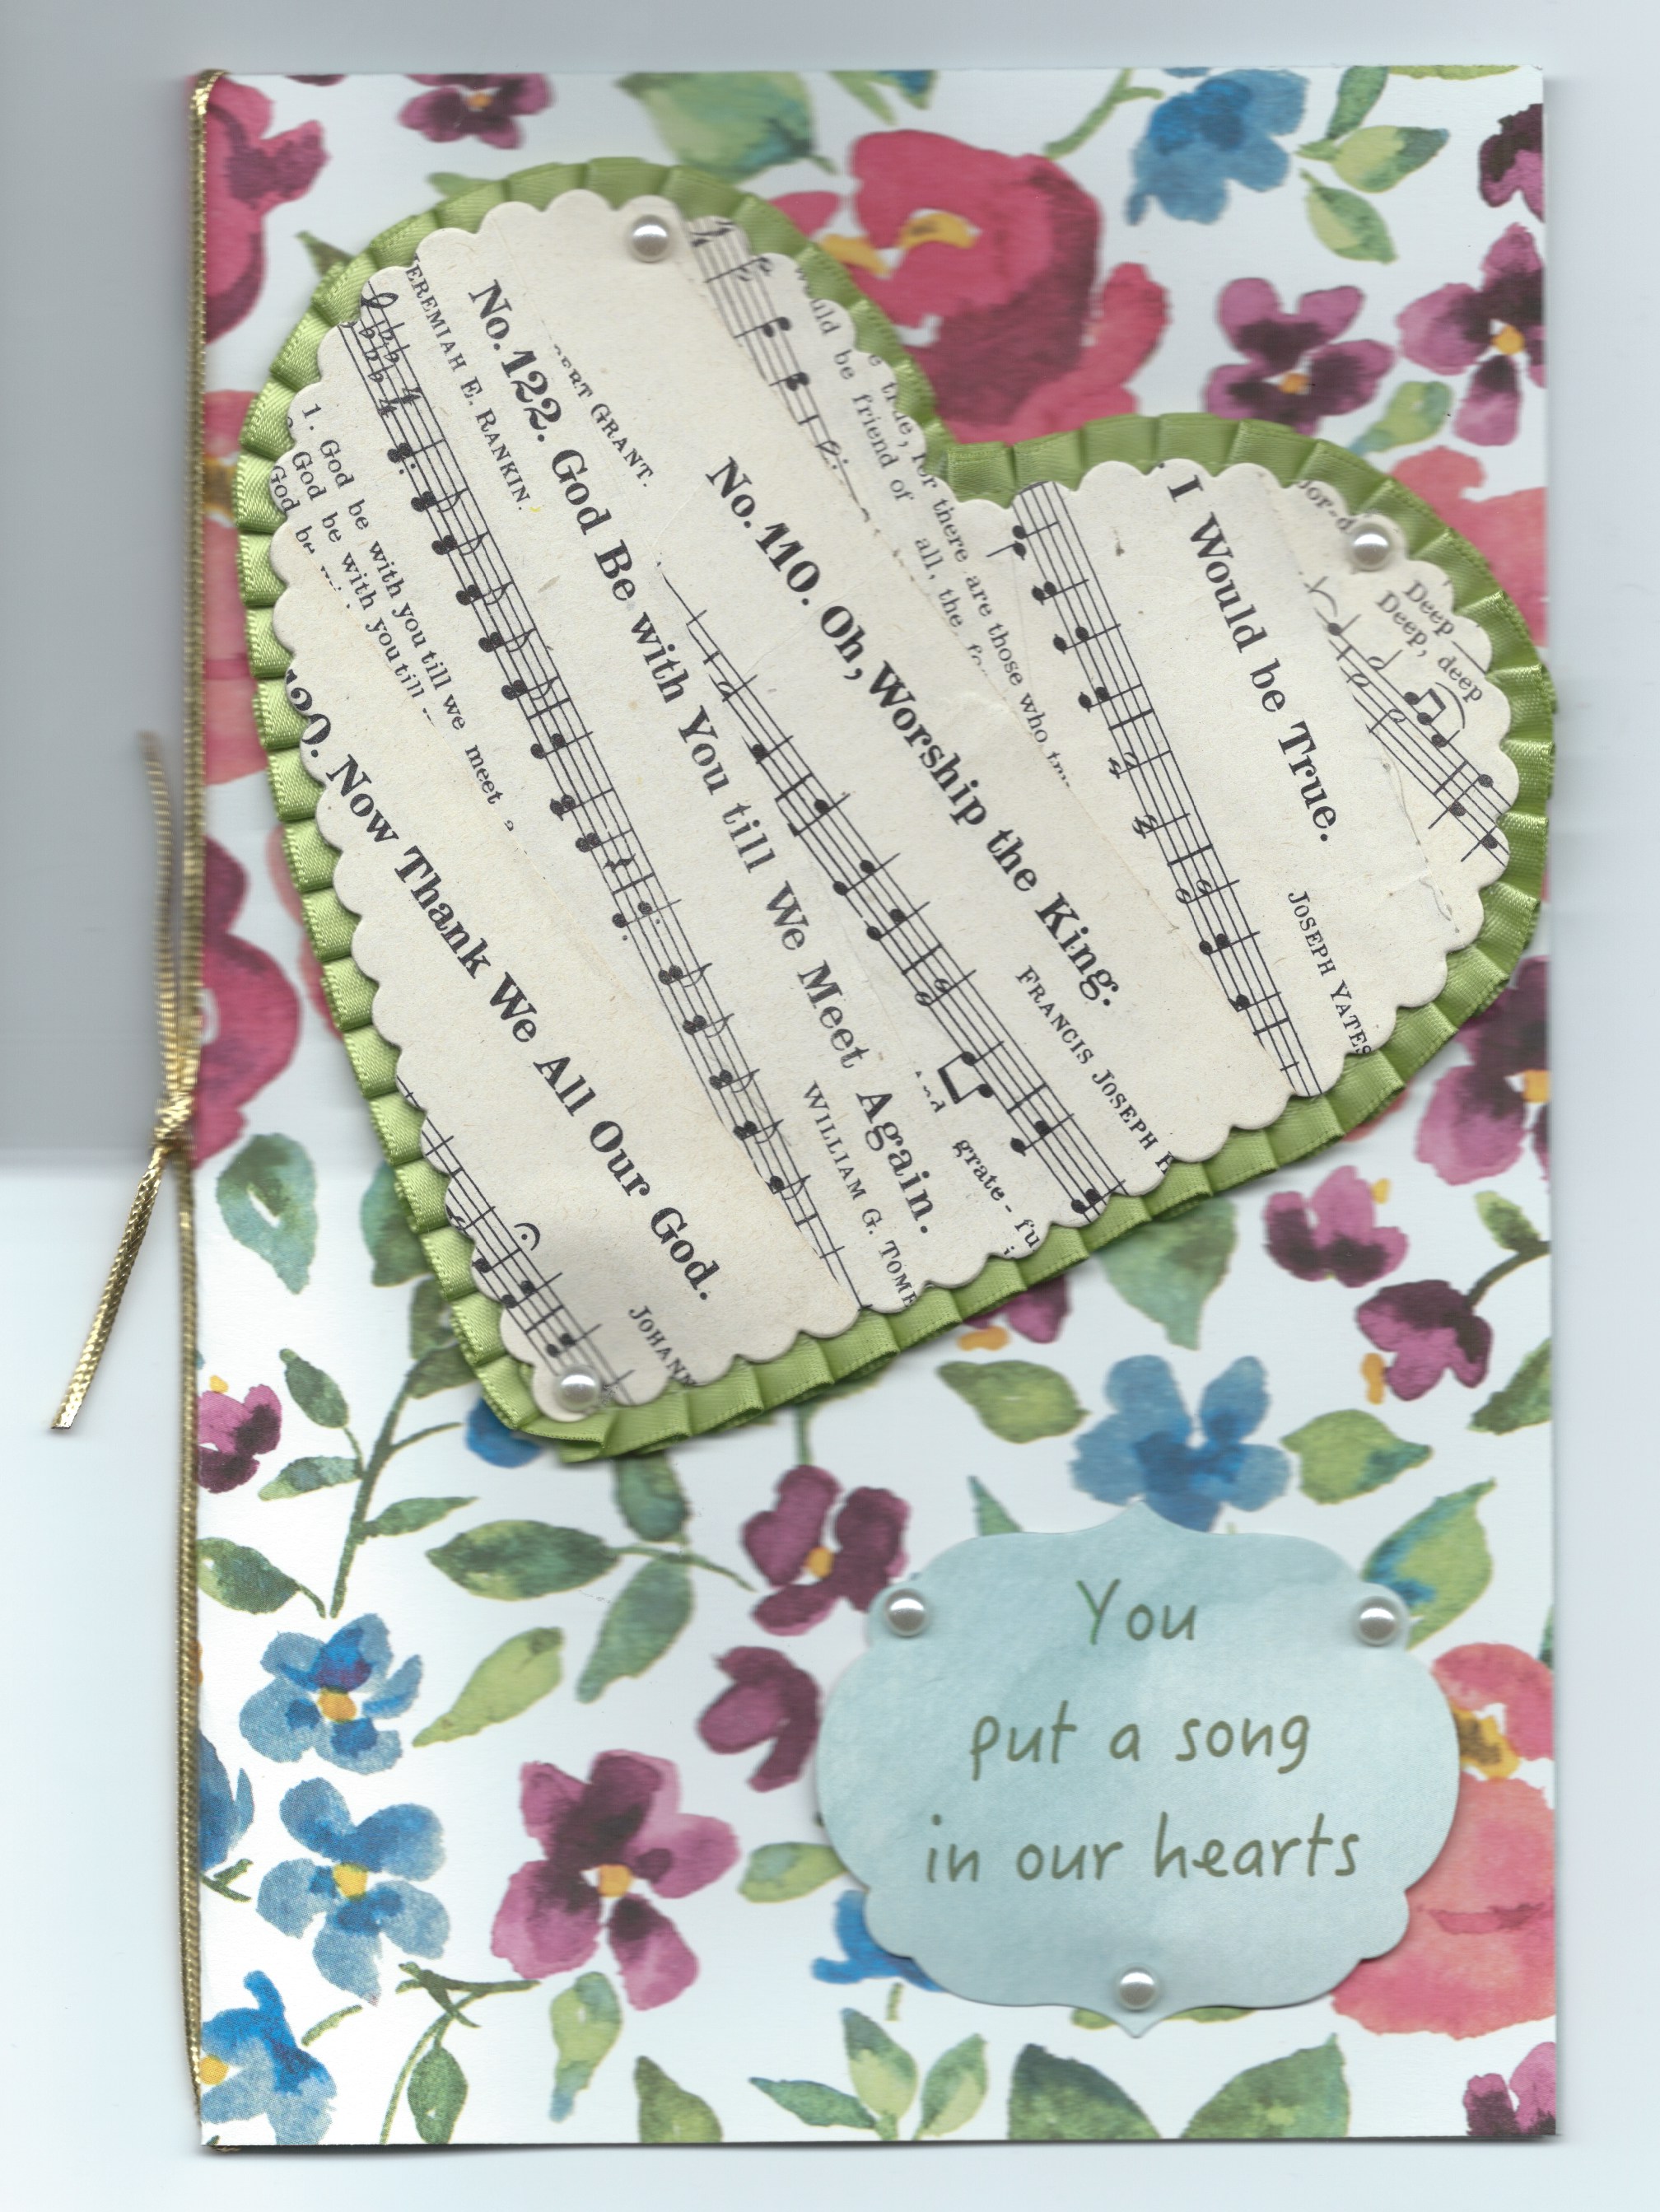
handmade thank you cardI was asked this week to make a large, very large thank you card for our church choir director. I convinced the person requesting this that a card with several pages inside would work better than a very large card. This card is a 5 1/2″ x 8 1/2″ card with two additional sheets of Whisper White cardstock inside.

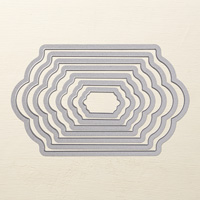
The outside is a sheet of Painted Bloom designer series paper (137784). I created the greeting in MDS and printed it out on a scrap of the reverse side of this flower design. Then I cut it out with one of the Labels Collections Framelits (125598).

I layered pieces of music cut from an old song book on Whisper White cardstock and then cut it out with the largest size die of the Hearts Collection (125599), the scalloped one. I used glue dots on the scallops to adhere some retired pleated ribbon around the heart and then mounted it on the card base with Stampin’ Dimensionals. To make this card yourself, you can trace around that scallop heart die and cut it out with your paper snips to make a mat for the heart in place of the ribbon. A few Pearl Basic Jewels (119247) gave added interest.

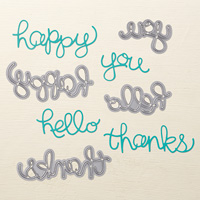
I stamped ‘from all of us’ from the Crazy about You stamp set (w – 138856, c – 138859, p – 137137) with Wild Wasabi ink on the first Whisper White page and adhered ‘Thank’ and ‘You’ cut out of Wild Wasabi with the Hello You Thinlits Dies (137363) (bundle of Crazy about You and Hello You Thinlits available, see below) underneath the stamping.

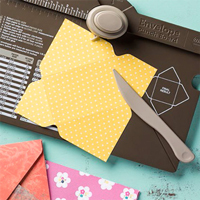
I held the cover and inside pages together with a length of retired gold cord tied around the spine of the card. Since this is a larger card, I used a sheet of Painted Blooms and the Envelope Punch Board (133774) to create an envelope.

To order the supplies I used for this card, just click on the linked photos below.

Creative Blog Hop

Welcome to the Creative Blog Hop. Margaret Raburn nominated me. I am to share one or two projects, anwer four questions about my creativity and then nominate two others to participate.

As Margaret mentioned in her blog post, I do love creating with MDS, Stampin’ Up!’s digital crafting software. So I have created this digital card for you.
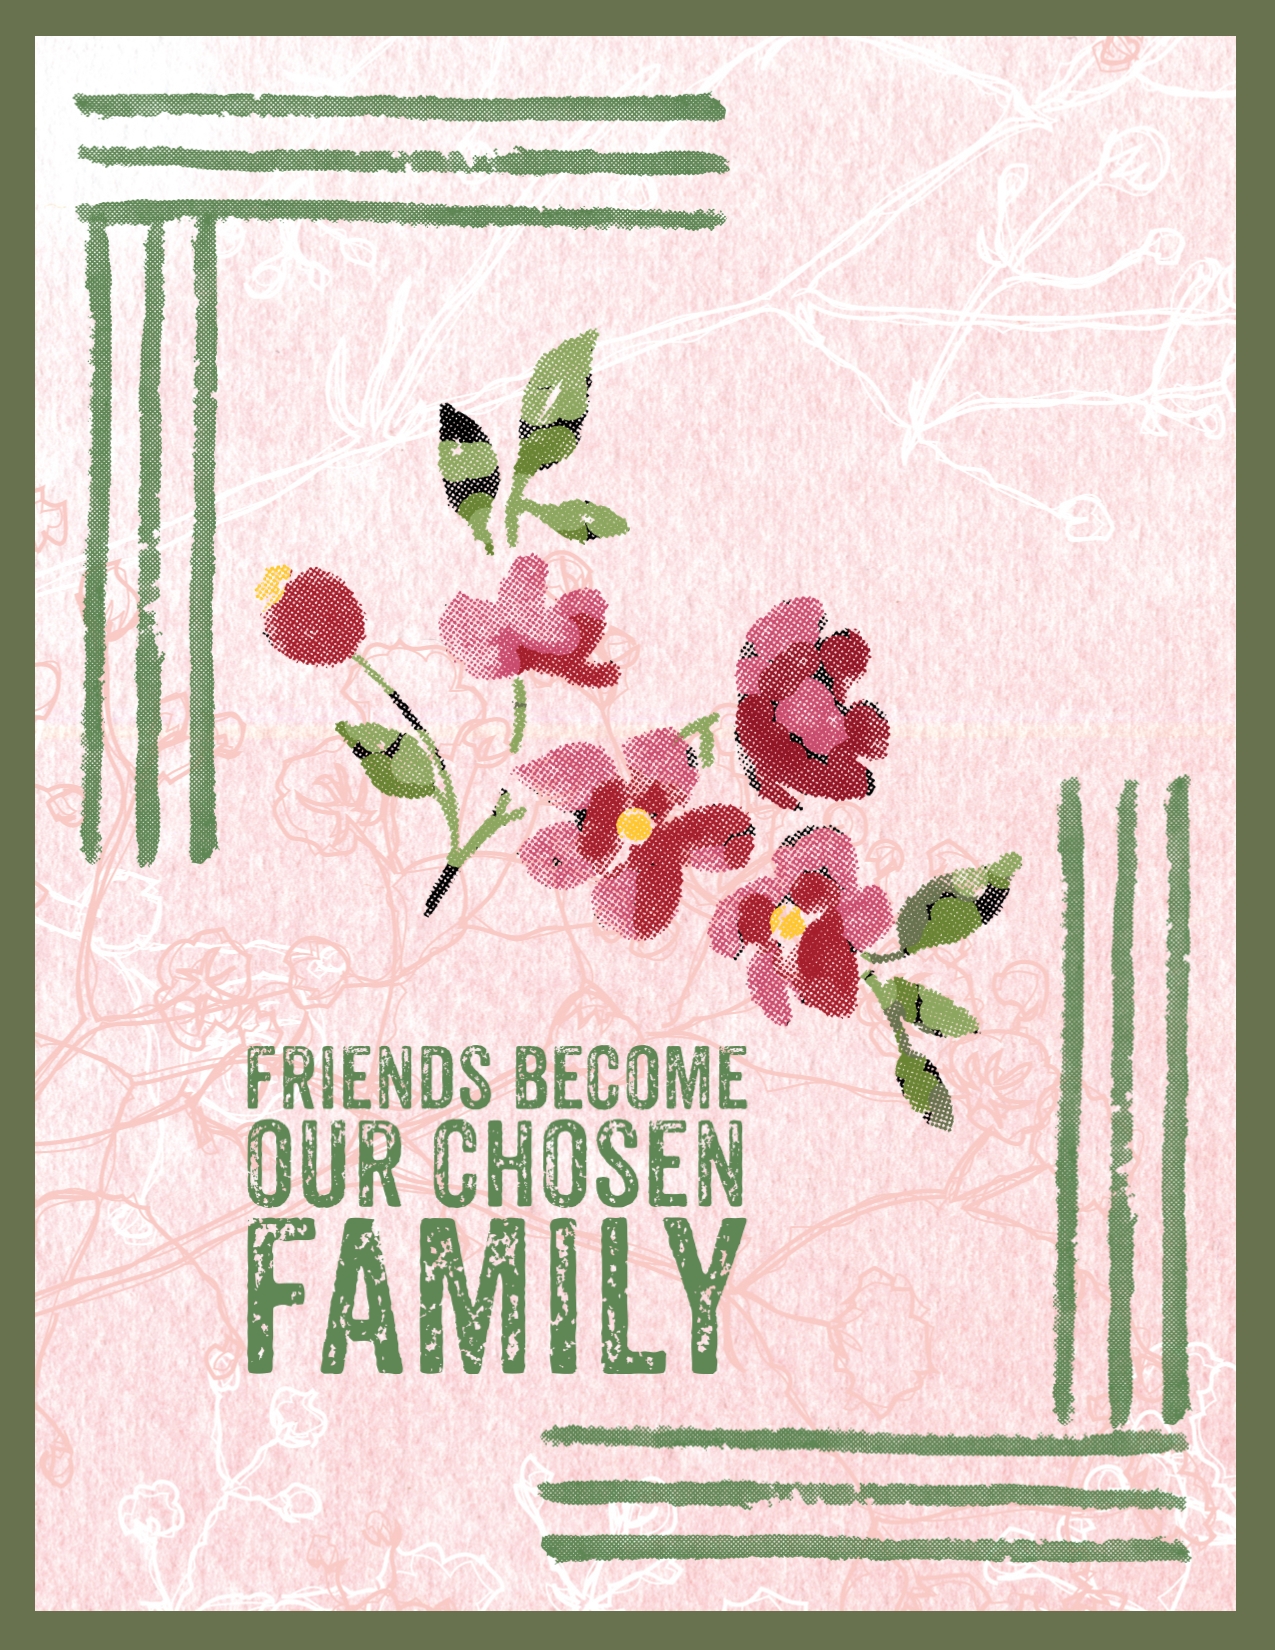
Digital greeting card created with Painted Petals stamp brush setI love it when Stampin’ Up! creates a digital version of a traditional stamp set. This card is made with the Painted Petals stamp brush set (138139) which is one of the January new downloads. The traditional Painted Petals stamp set (w 138819, c 138822, photopolymer 137146) is in the new Occasions catalog.  I don’t like leaving the background without texture so I added the Spring Shades Designer Series Paper (120172) – pattern 4 to a square punch. I used the paint tool to color the flowers and leaves.

I am as addicted to traditional stamping as I am to digital design and I absolutely love all the new stamps, papers, and accessories in the new Occasions catalog. It is so difficult for me to be frugal in my purchases when a new catalog comes out and then, once I see what others have created with a stamp set, I often just ‘have to have’ that set too.
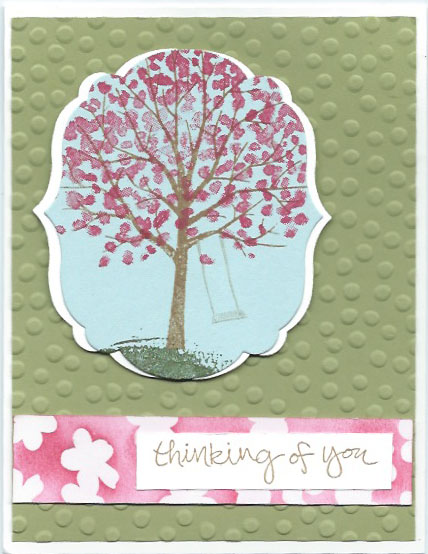
hand-stamped greeting card using the Sheltering Tree stamp set

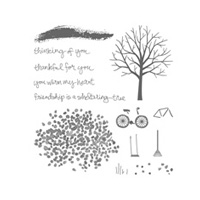
One of my favorite sets from this catalog is the Sheltering Tree set which only comes in photopolymer. Not only is the tree in this set graceful but the set also has a lot of additional things to add to the scene. In this card I cut out my image with a Labels Collection Framelit (125598). The pink floral strip of designer series paper under the greeting is one of the beautiful Irresistibly Yours Specialty Designer Series Paper (138635) which you can get for free when you make a $50 of products from me during Sale-a-Bration. I sponged or rather burnished Strawberry Slush ink into the paper. Click on the image below to see all the parts of this wonderful stamp set and order it for yourself.

Now on to the questions about my creativity.
1.  What are you working on now?
This year I decided to go to Stampin’ Up!’s Leadership so I have been working on a swap I joined with the SUDSOL group. I love the new Butterflies Thinlits Dies and am using them on the card. I’m finding that gluing them down on 40 cards is rather time consuming!

2.  How does your work differ from others in your genre?
    I find that my style is mostly simple and elegant. While I can create a fussy card, I prefer cards that highlight an image with minimal embellishments. My go-to embellishment is ribbon. I also love cards that are interactive, that are pop-ups, cards in a box, etc.

3.  Why do you create what you do?
     I find that I am usually creating at the last minute for a specific person. While I know that when I buy a Hallmark card, it wasn’t created for a specific person but when I stamp a card, I want to stamp a new card for each person. I also love to knit but stamping gives me the instant gratification I desire. I love seeing the results of my creativity in a matter of minutes.

4.  How does your creative process work?
     I start with a specific need like maybe a birthday card or sympathy card or to join a challenge. Then I choose a stamp set that works with that need and choose the colors I will use. Sometimes the colors are determined by the colors in the designer series paper I am using. Since the process is a creative one, it often evolves as I go along and the end result is different than what I initially imagined. Once in a while the end result is God inspired.

To continue the fun and creativity of this blog hop going, I have nominated Donna Bagwell and Leonie Schroeder!  I met Donna when we went to the Occasions and Sale-A-Bration Catalog Reveals together. Donna is from Sand Point, Idaho, and drove over with her husband. Ron drove me down to Seattle to the reveal and we shared dinner with Donna and John after the event. I have known Leonie through a couple of online demonstrator groups and hope to meet her in person some day. She lives in Australia and I think it is so cool to have international friends. Donna and Leonie will be posting their blog hop post on Monday, January 19 but you can see their blogs now by clicking on their full names above. Thanks ladies for agreeing to participate.
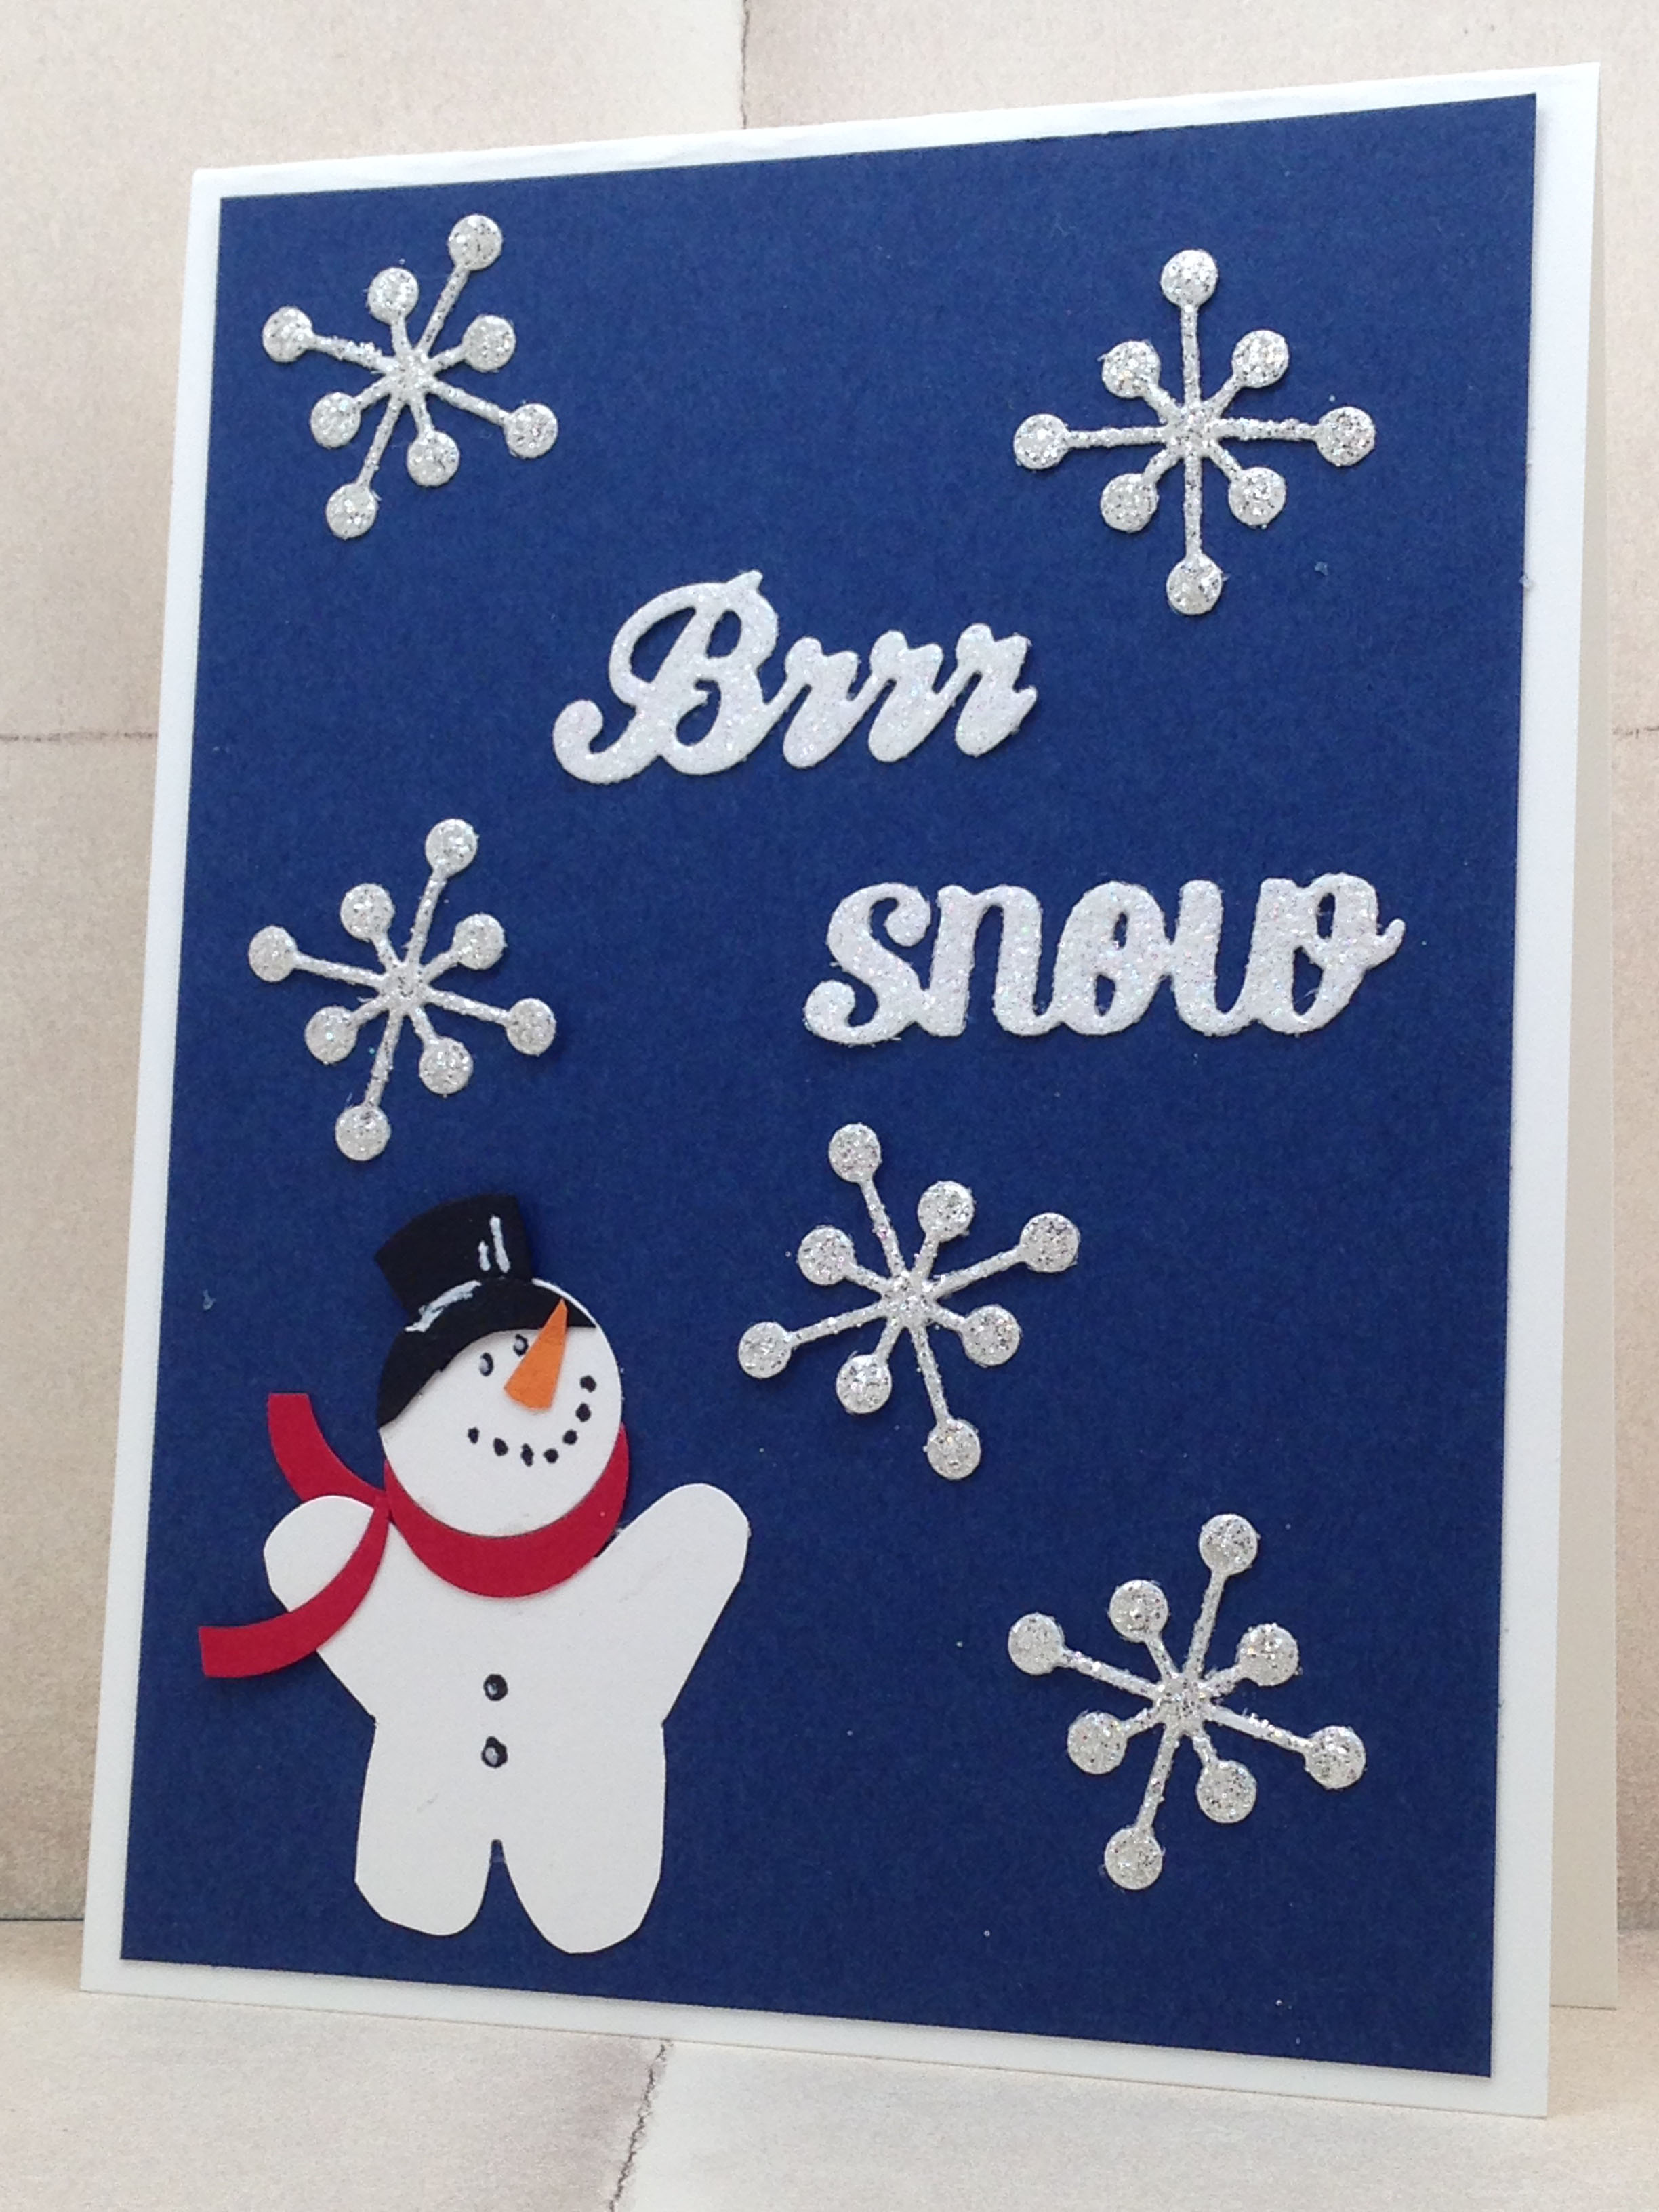
Brrr…It’s Cold!

This card is for all you east of the Rocky Mountains who are shivering with the extremely cold weather.

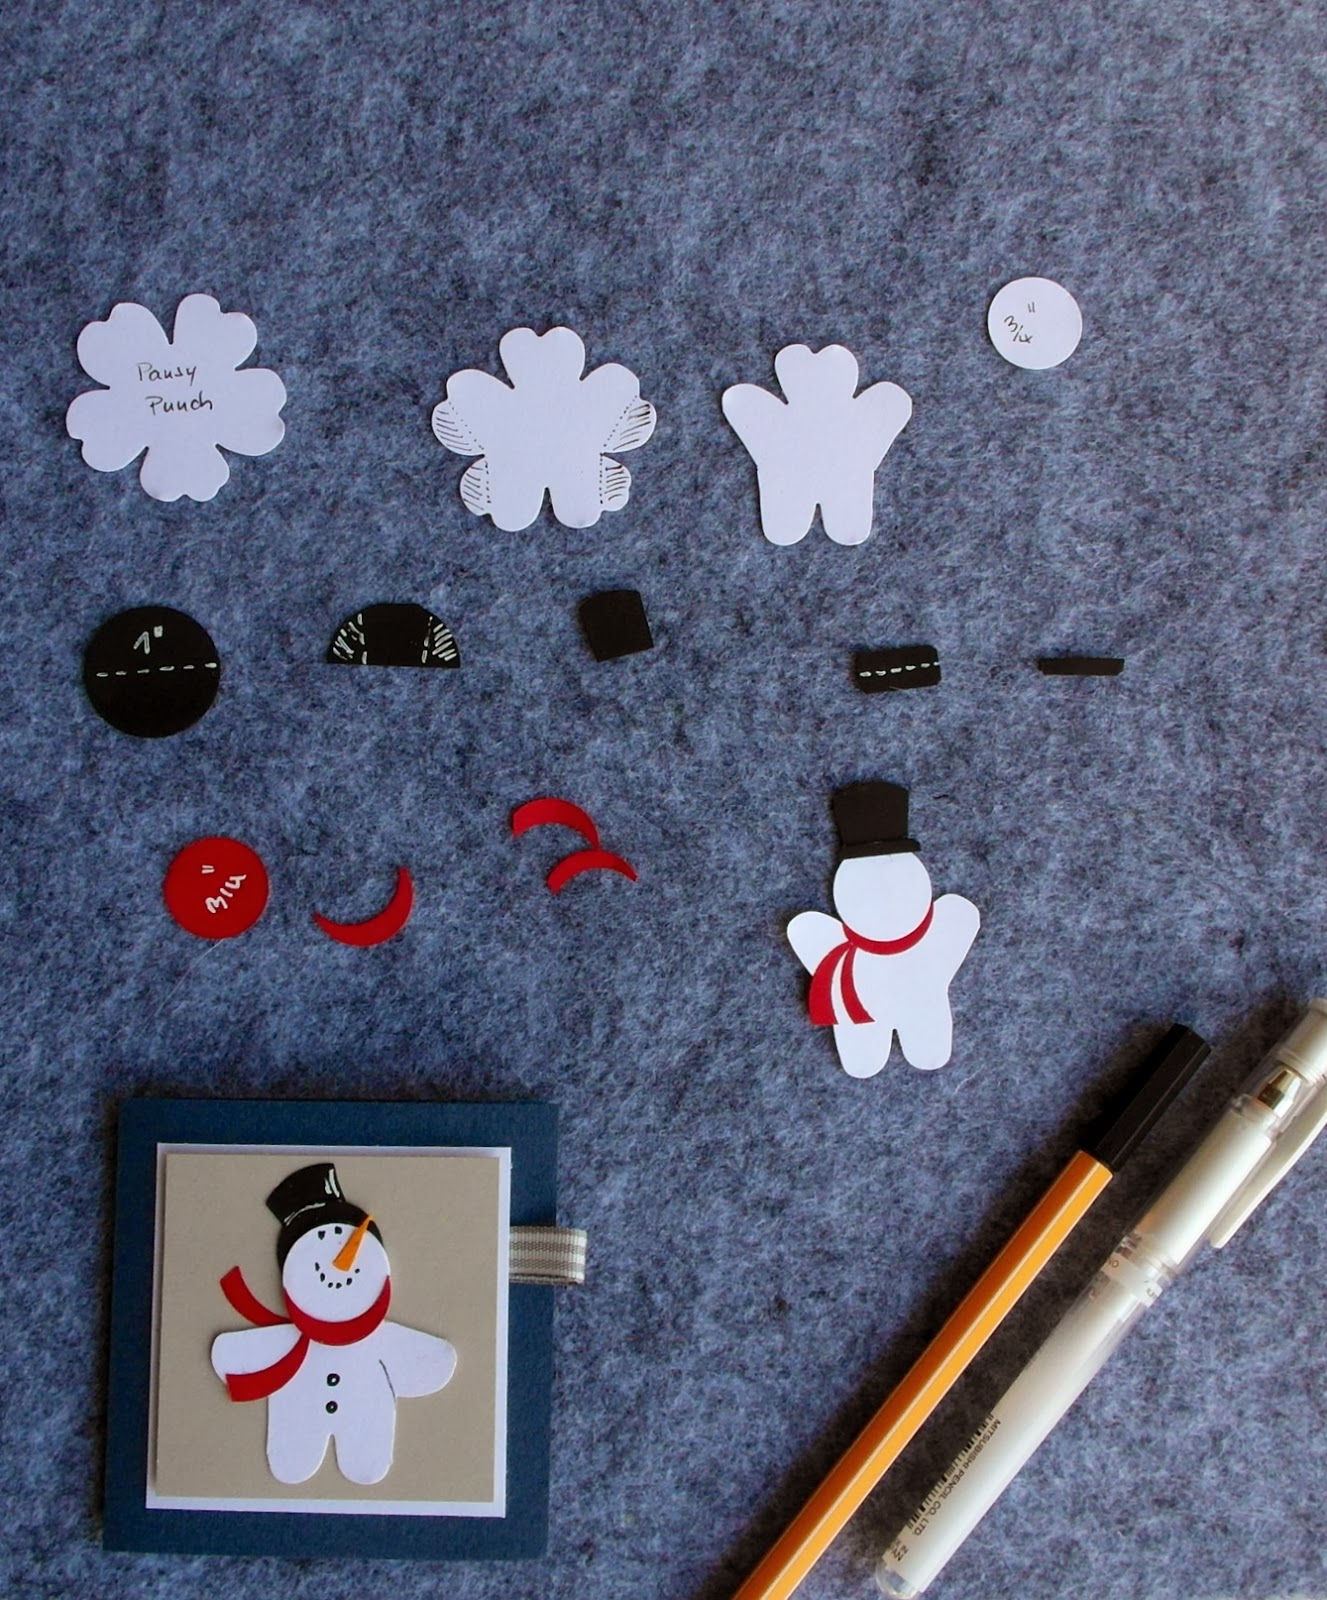
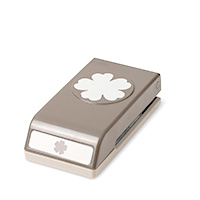
Handmade winter card using the pansy punch and Snowflake card Thiniits DiesIsn’t this just the cutest snowman? This darling snowman created from the Pansy Punch has been circulating on Pinterest and several blogs. Here is the link to a post by a German Stampin’ Up! demonstrator who I think is the originator of this cute little snowman. http://hausvollerideen.blogspot.de/2013/12/schneemann-mit-blutenstanze.html

On her blog post she shares this photo of how she made the snowman. Thanks so much for sharing.

Photo of how to make snowman from Pansy punchThe snowflakes and words were die-cut from Silver and Dazzling Diamonds Glimmer paper using the now retired Snowflake Card Thinlits Dies. You could easily stamp a greeting on your card instead of adding the die-cuts.

Supplies used:

Terrific Tuesday – Painted Petals

Digital Greeting Card created with Painted Petals stamp brush setPainted Petals stamp brush set (138139) is one of the three January new downloads. I absolutely love this set and have been debating ordering it from the new Occasions catalog. So I am really excited that Stampin’ Up! gave us a digital version of the stamp. The cool thing about using MDS and digital crafting is that there is instant gratification. I ordered this download this afternoon along with a traditional order. I was able to download this file and create my card immediately. Whoohoo! If you haven’t given MDS a try, I encourage you to do so. I’m here to help you along the way. Just click on the links below to see the downloads I used and order them.

Butterflies Thinlits and Painted Blooms Designer Series Paper

Handstamped Thank You Card using the new Butterflies Thinlits Dies and Painted Blooms Designer Series PaperI should be stamping the rest of my Christmas cards but just couldn’t help giving you a sneak peak of a couple of the new delights to be found in the upcoming Occasions catalog. I used the new butterflies thinlits dies and the very lovely Painted Blooms Designer Series Paper. You will be able to order these when the catalog goes live January 6. If you host a workshop, you can earn not only and extra $25 of hostess dollars but also earn free Sale-a-bration product. Schedule your January and February workshops now while I have space on my calendar. If you don’t want to do clean your house and have friends over, you can host a catalog party. Your friends can view the catalog in my online store and place their orders online using a hostess code. Their orders are shipped directly to them and their purchase is included in your party total.
Fall is in the Air – Digital For All Things

Digital greeting card created with For All Things stamp brush set and Color Me Fall digital designer series paperCan you feel the change in the air? Cool nights and cooler but sunny days are here in Mount Vernon. My friends in Craig, AK, are already experiencing the Fall storms with high winds and sideways rain.

This weekend we are dog sitting in Seattle for our daughter and I did not bring along any stamping supplies except for my computer. I was itching to do something creative so I turned to MDS!

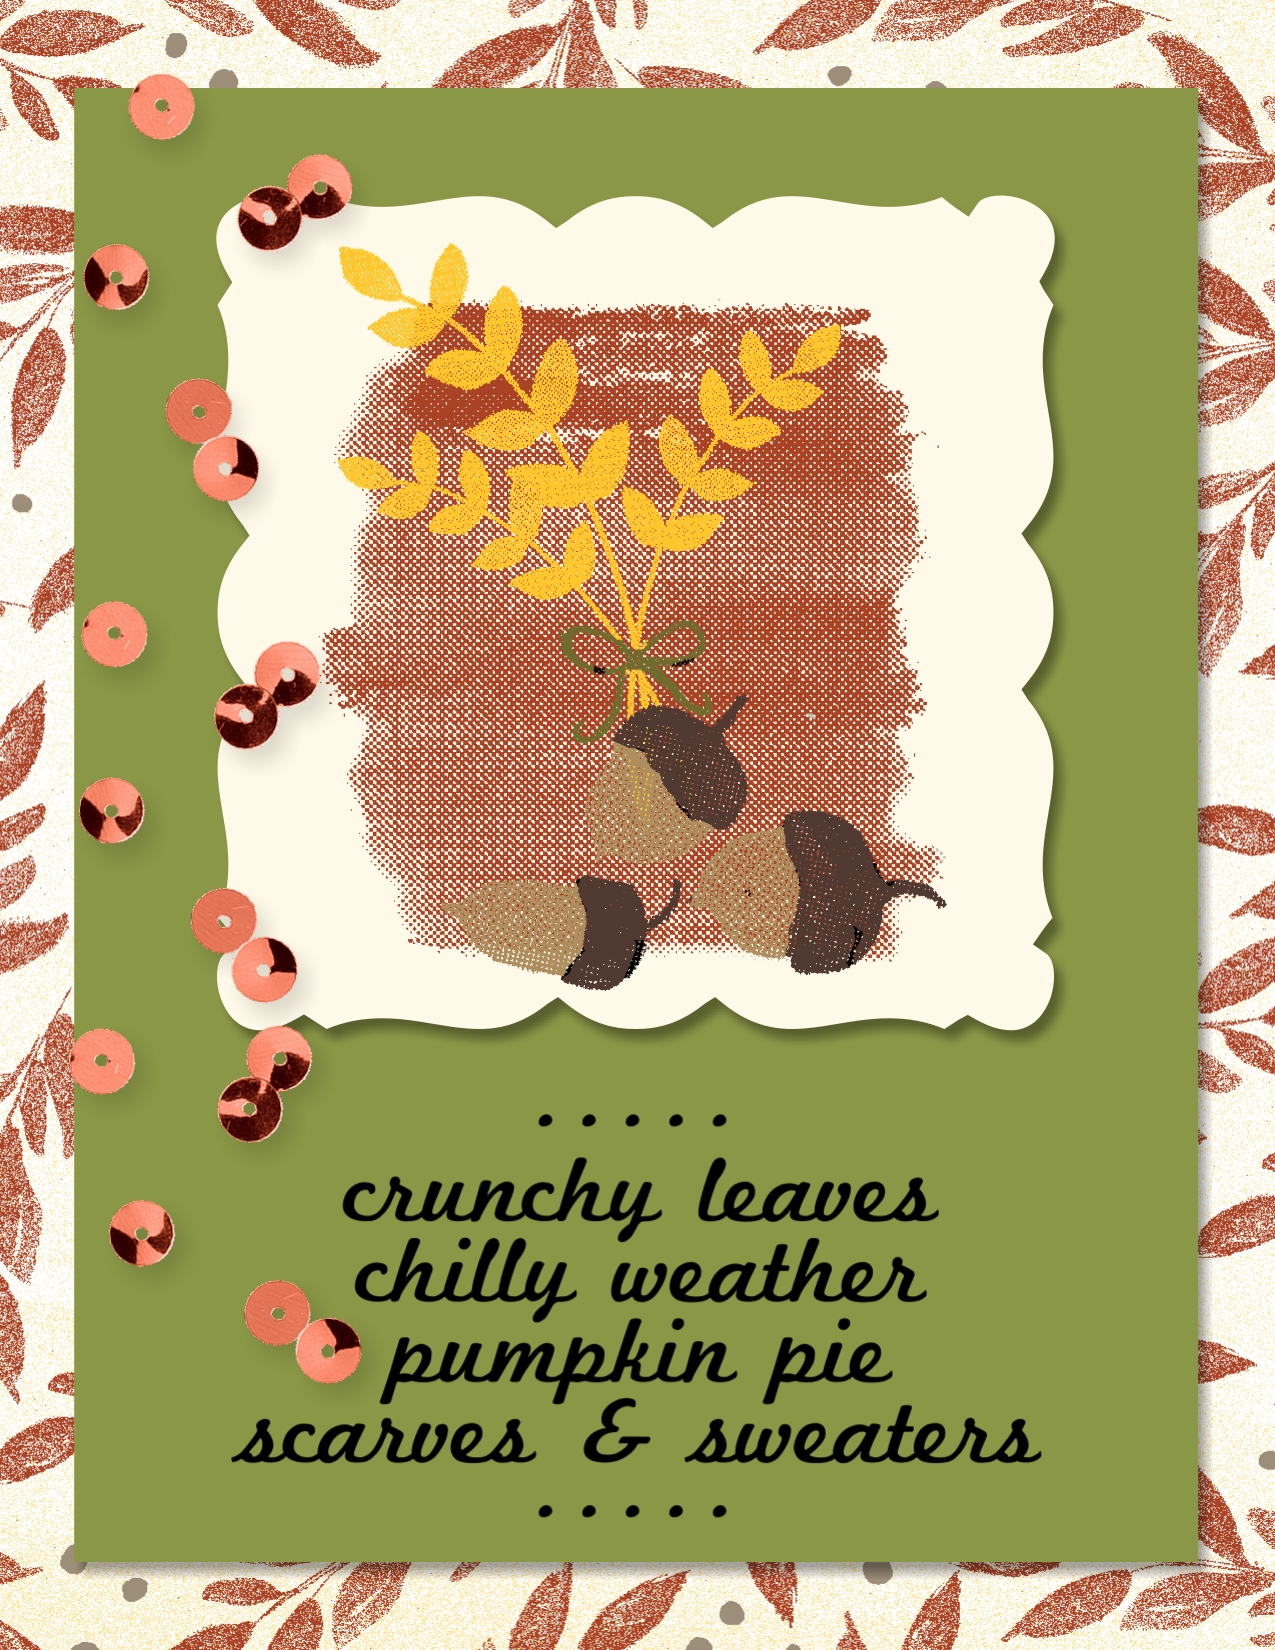
The For All Things stamp brush set (138114) and the Color Me Autumn designer series paper (138115) were the perfect supplies to use to play along with a SUDSOL challenge to use fall colors. I love being able to color the images like I would in traditional stamping so I colored the acorns with Crumb Cake and Early Espresso. The leaves are colored with Crushed Curry and the bow with Old Olive. I used Cajun Craze on the watercolor splash behind the leaves. This grouping is layered on the 2012 Convention Curvy Square Punch filled with Whisper White. The punch is part of the Convention 2012 Photobook Template (130971) download. I have yet to use the download for a photobook but am frequently using the designer series papers, punches, and stamps that come with the download. The greeting comes down with the Wonderfall Kit (131218). If you don’t already have these downloads, I urge you to click on the links below for more details and to order them from my online store.

Terrific Tuesday – Lots of MDS Downloads!

Digital fall card using the For All Things stamp brush setTerrific Tuesday brings you a wonderful selection of new digital downloads. Last Thursday the digital downloads that are pictured in the Holiday seasonal catalog were released. I missed sharing them with you then because Ron and I were busy celebrating our 50th anniversary. Today we got three more downloads. Click on the links to see the details of the downloads and to order them.

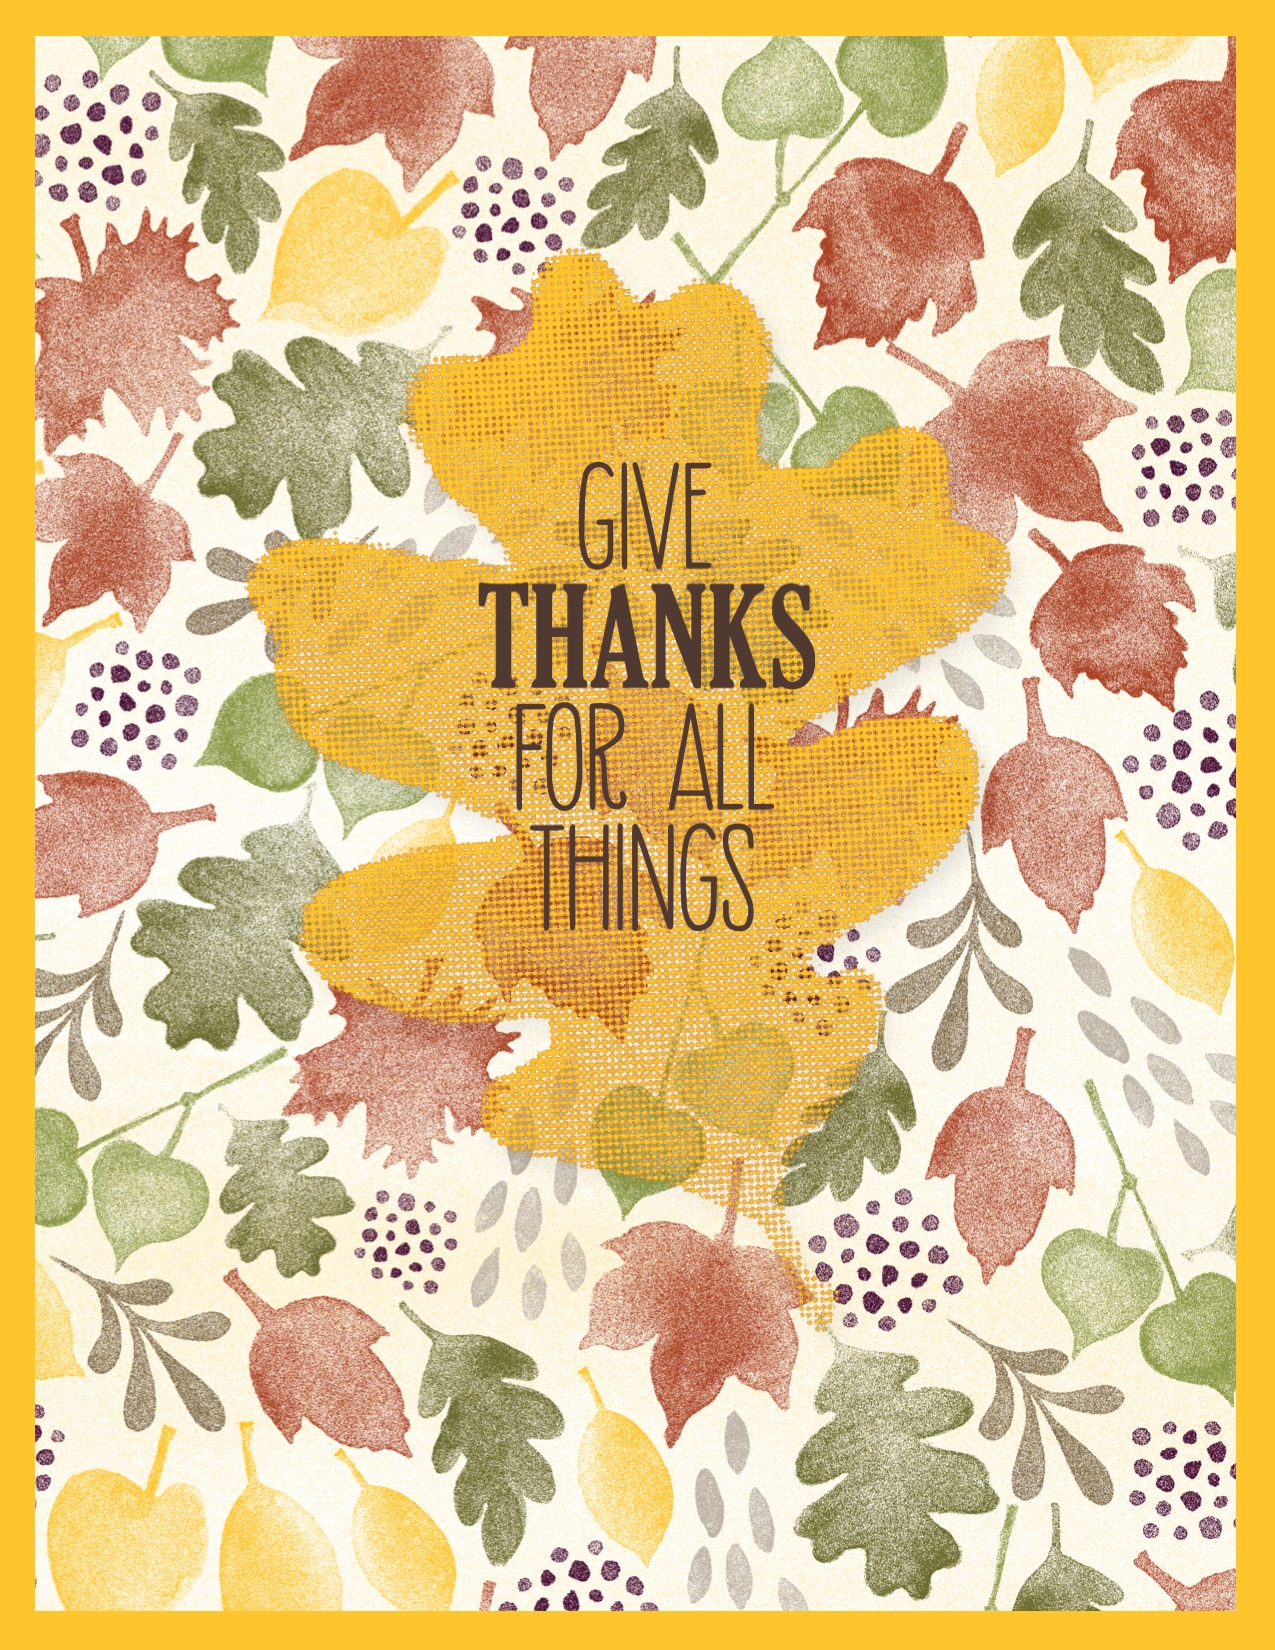
Isn’t that Dracula candy bar wrap in a coffin darling! But I digress. I created the card above to showcase the Color Me Fall digital designer series paper and the For All Things stamp brush set. I love how they coordinate and how the leaf looks like it is mesh. I copied and pasted it in place to make the image a little stronger so it would stand out from the busy background. This card came together very quickly. I highly recommend you order both the designer series paper and the stamp set!