Yesterday I shared the Stampin' Up! video on using the new letterpress plates available in the Holiday Mini catalog. Today I want to share some tips I discovered for using these plates. This technique is a new one for me and I invested in all four of the letterpress plates Stampin' Up! offers so I could share my experiences using this technique with you. After some experimenting over the weekend, I tweeked the process a little.
I found it difficult to keep the card stock from moving so I laid it down and taped it on the multipurpose platform, taped the letterpress plate to the cutting pad, and inked the plate. Be sure to wipe off any ink that gets on the flat parts of the plate with a damp paper towel. Then I turned the letterpress plate/cutting pad over and laid it on the cardstock.
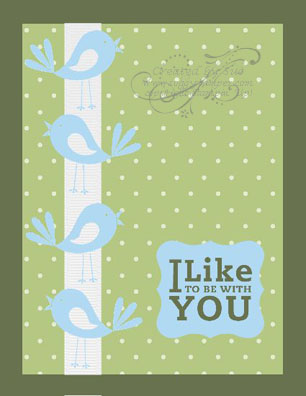
I wanted a slightly deeper impression so put a card stock shim down on the multipurpose platform before the piece of card stock I was printing. I also wanted to use Baja Breeze ink but did not have that color in craft ink. I first inked the plate with Versamark and then the Baja Breeze classic ink.
I love the soft color that resulted. Wouldn't this notecard make a lovely gift for someone for Christmas?
The letterpress plates are fun to use and produce such elegant projects. Click here to visit my online store to order your supplies. Thanks for stopping by and please leave a comment so I know you were here.
Blessings,
Sue
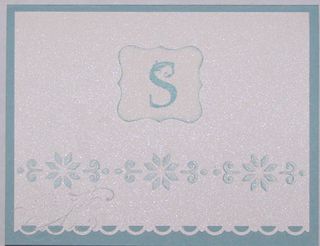 Stamp: Lovely Letters Alphabet (115030)
Paper: Shimmery White (101910), Baja Breeze card stock (111352)
Ink: Versamark (102283), Baja Breeze Classic ink (111833)
Other: Curly Label Punch (119851), Scallop Trim Border Punch (118402), Northern Trim Letterpress Plate (120982)

