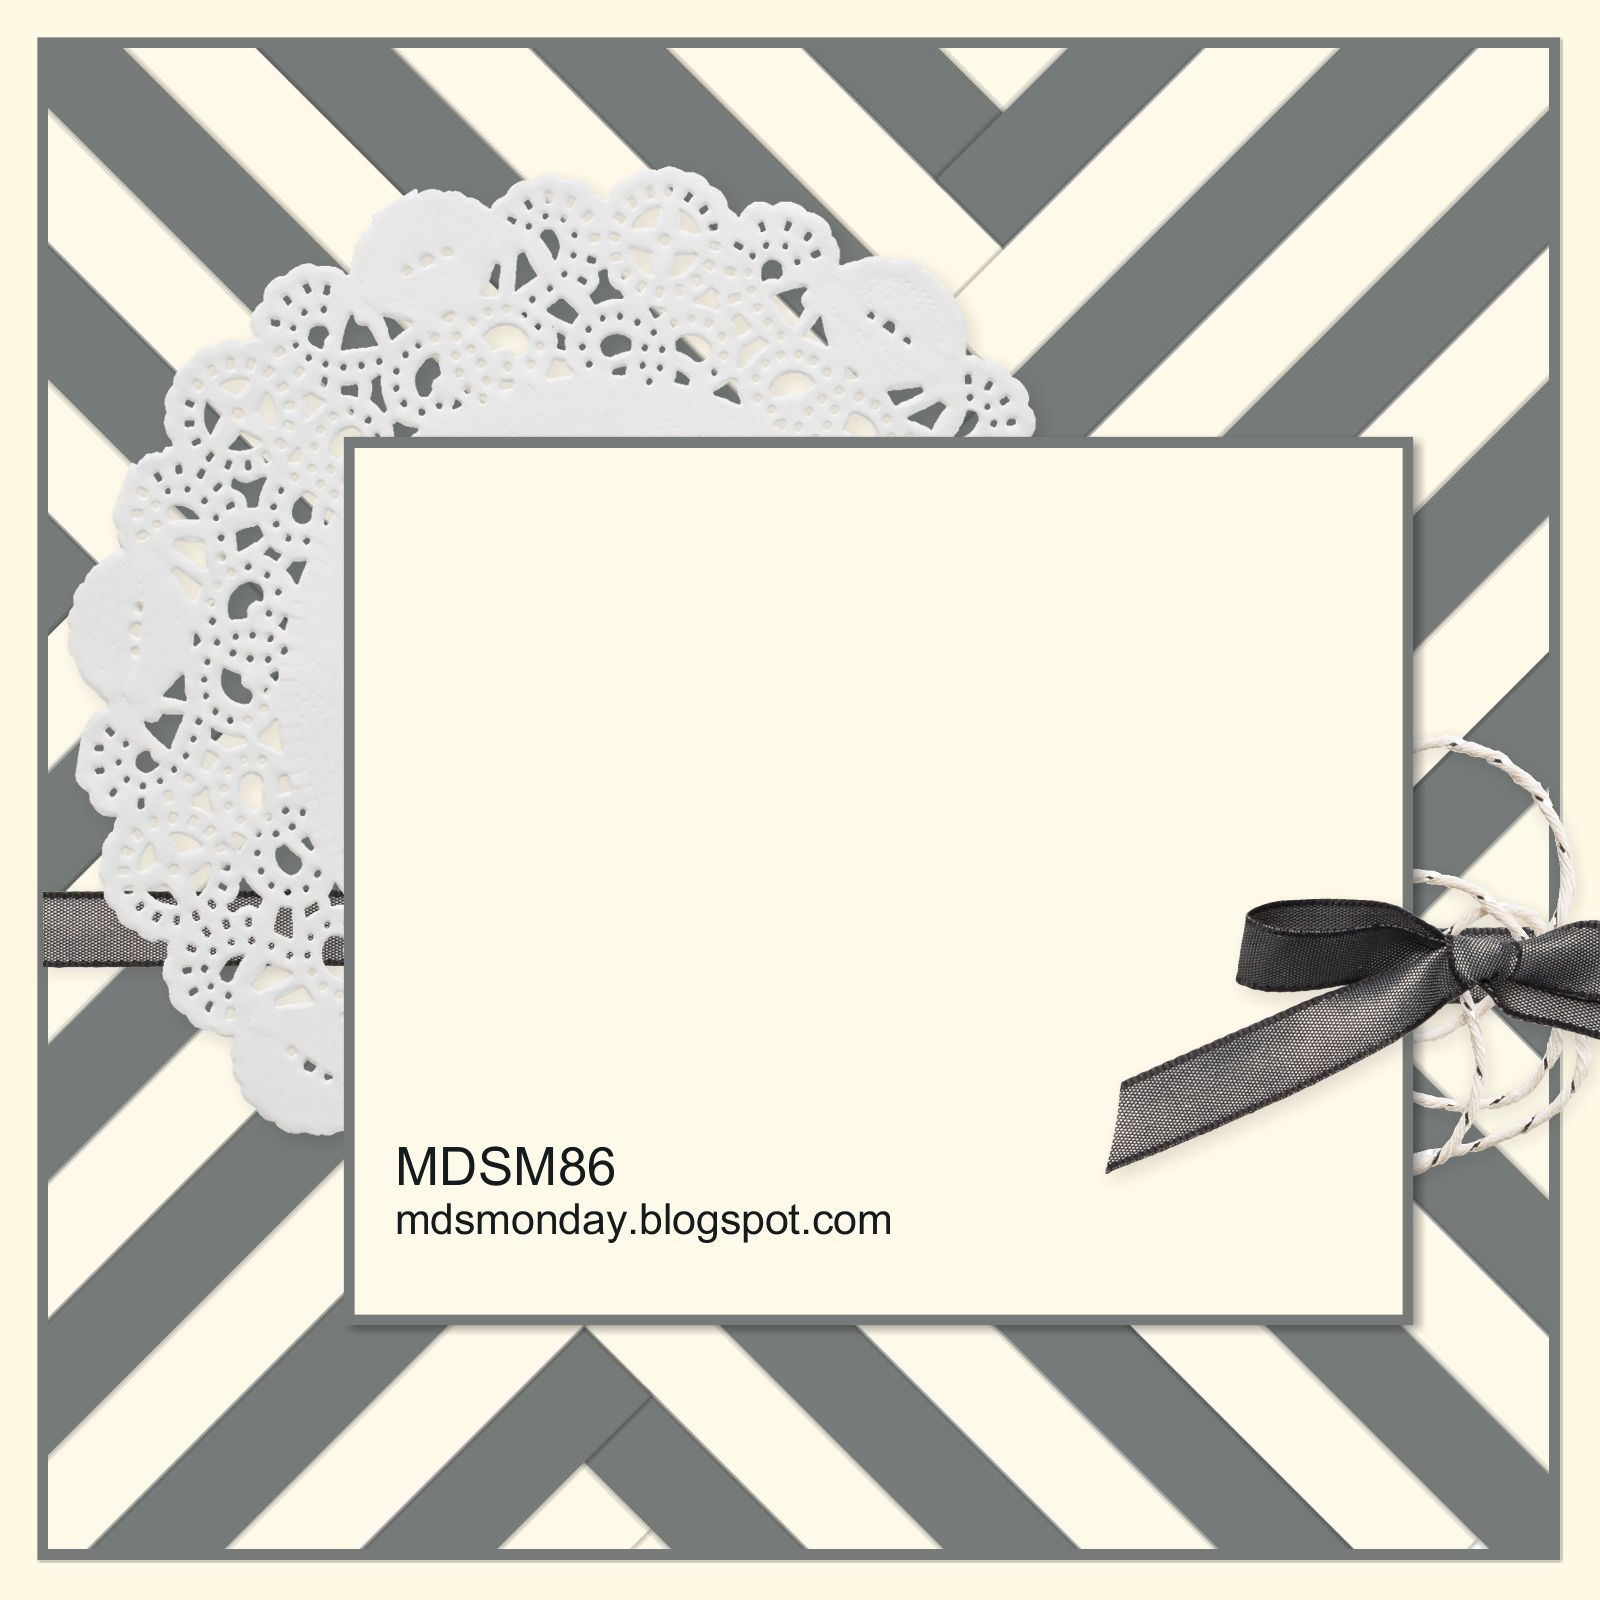
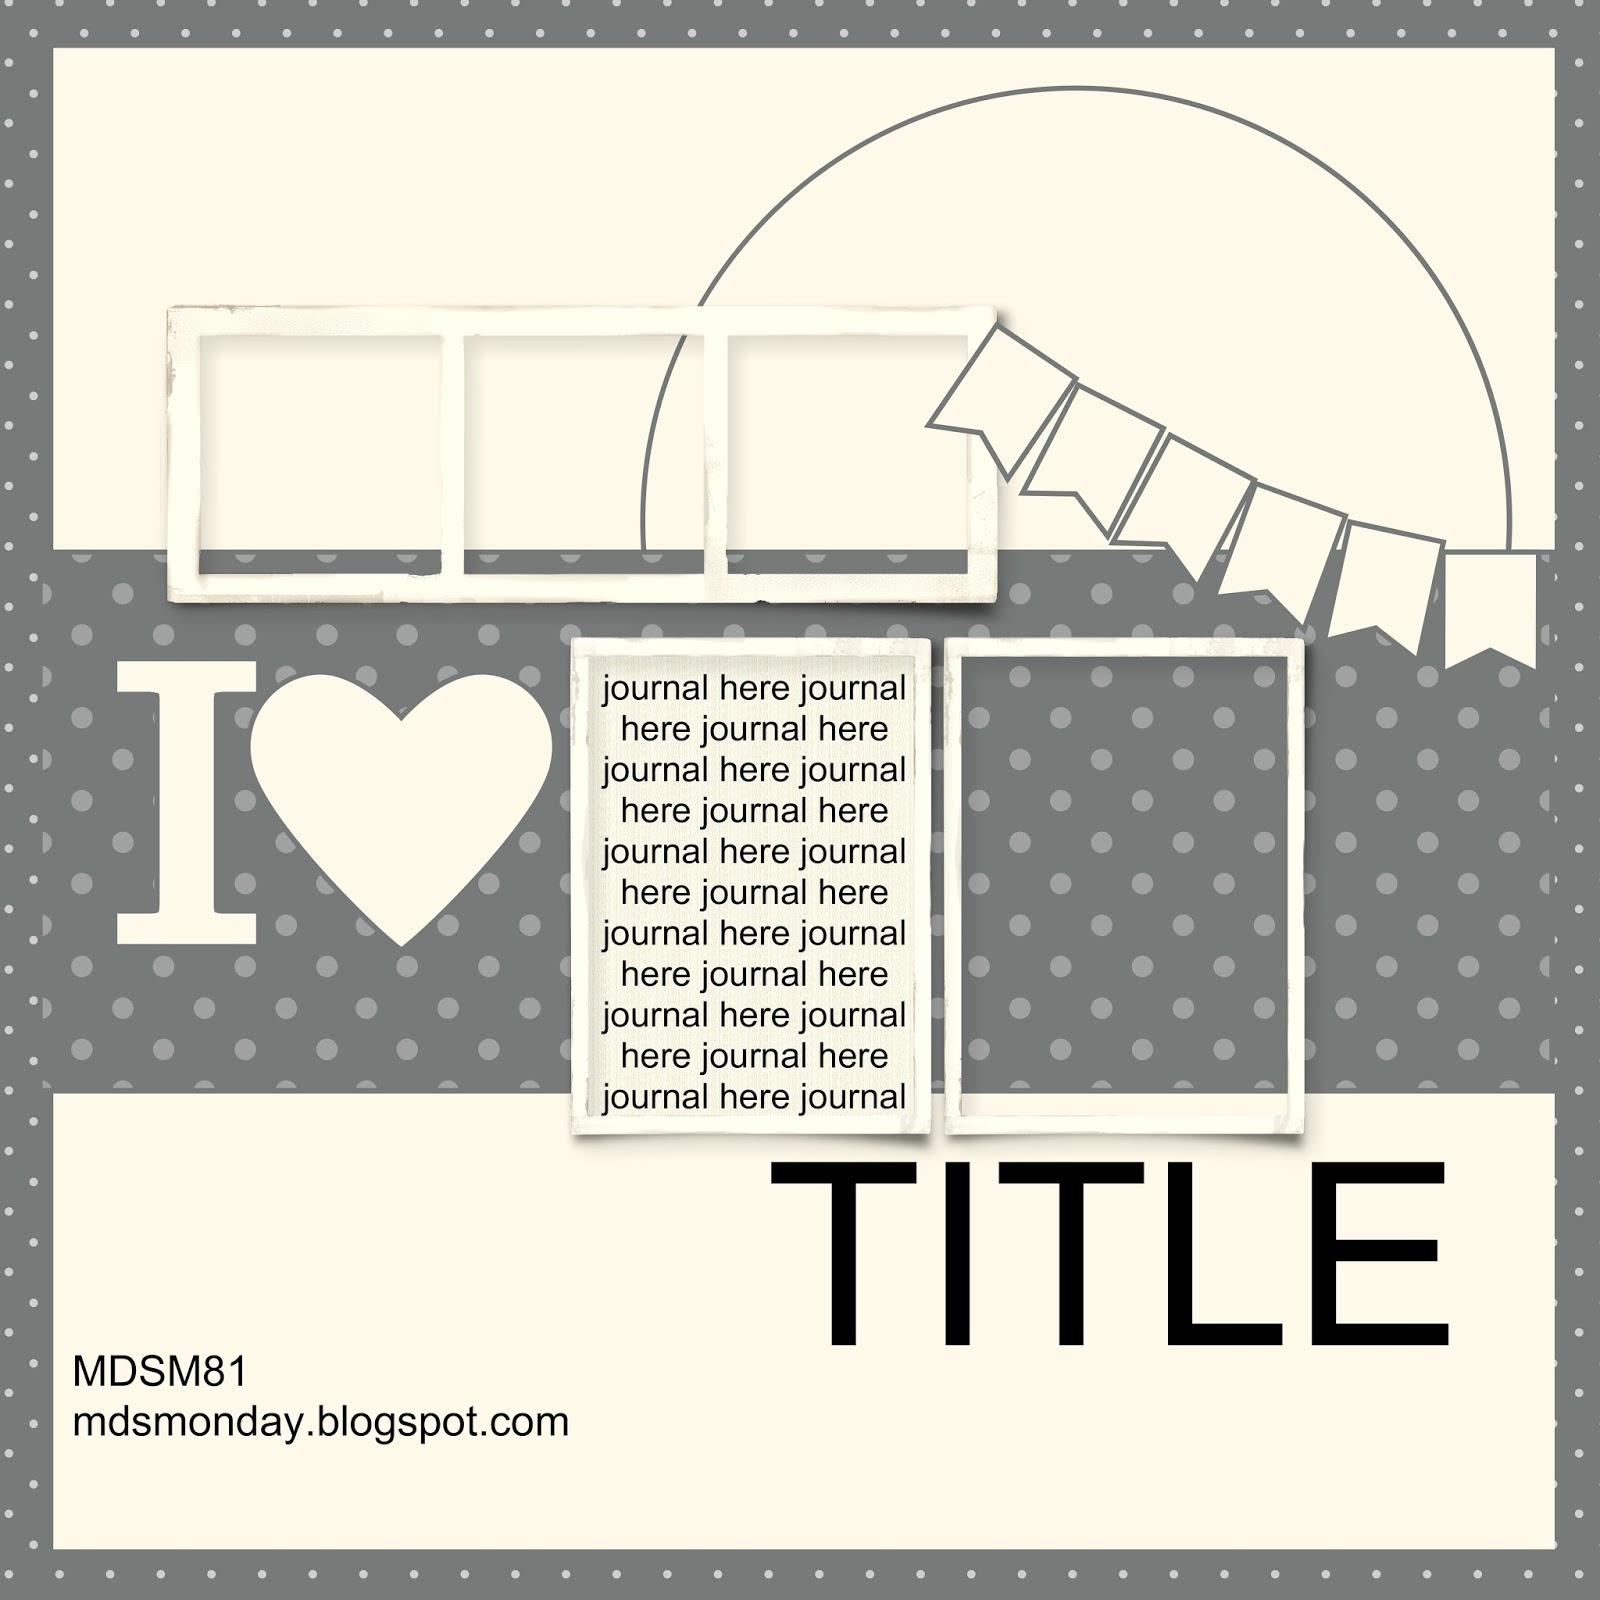
Our challenge for this MDS Monday sketch was to use mostly white on white with just a pop of color. I created this scrapbook page to highlight this recent photo of our granddaughter-in-law and her three girls. They are all so lovely!
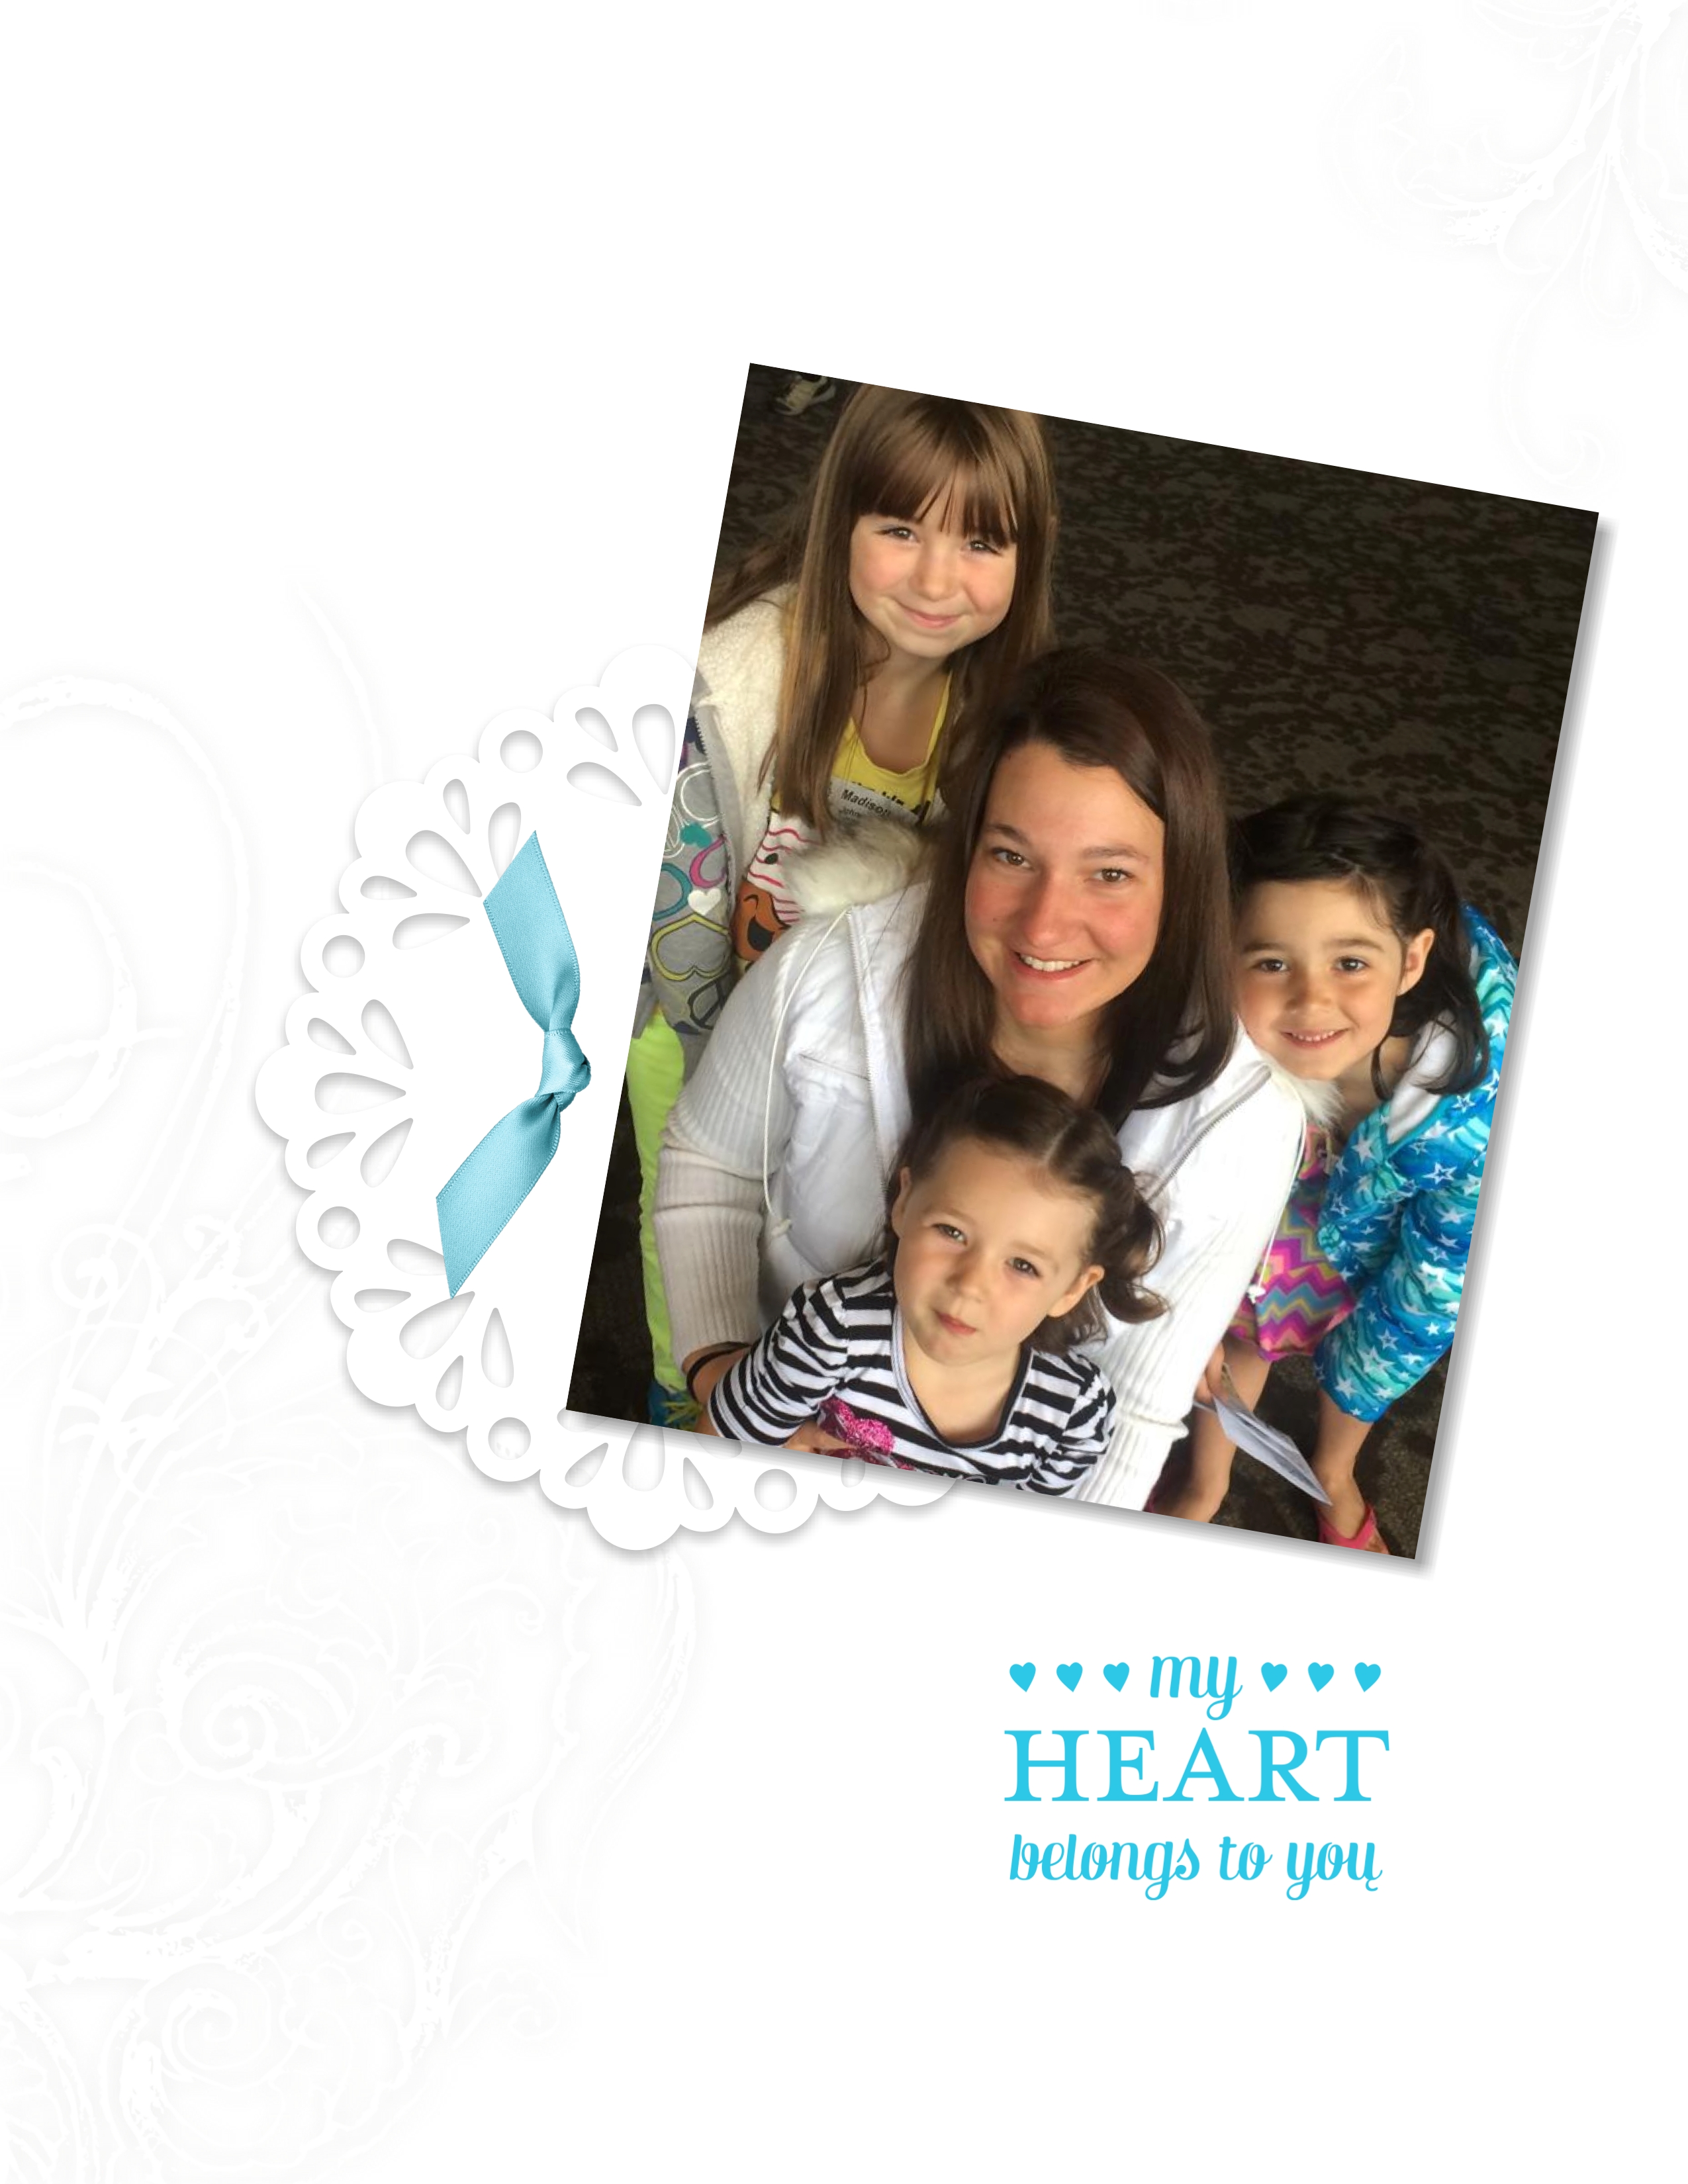
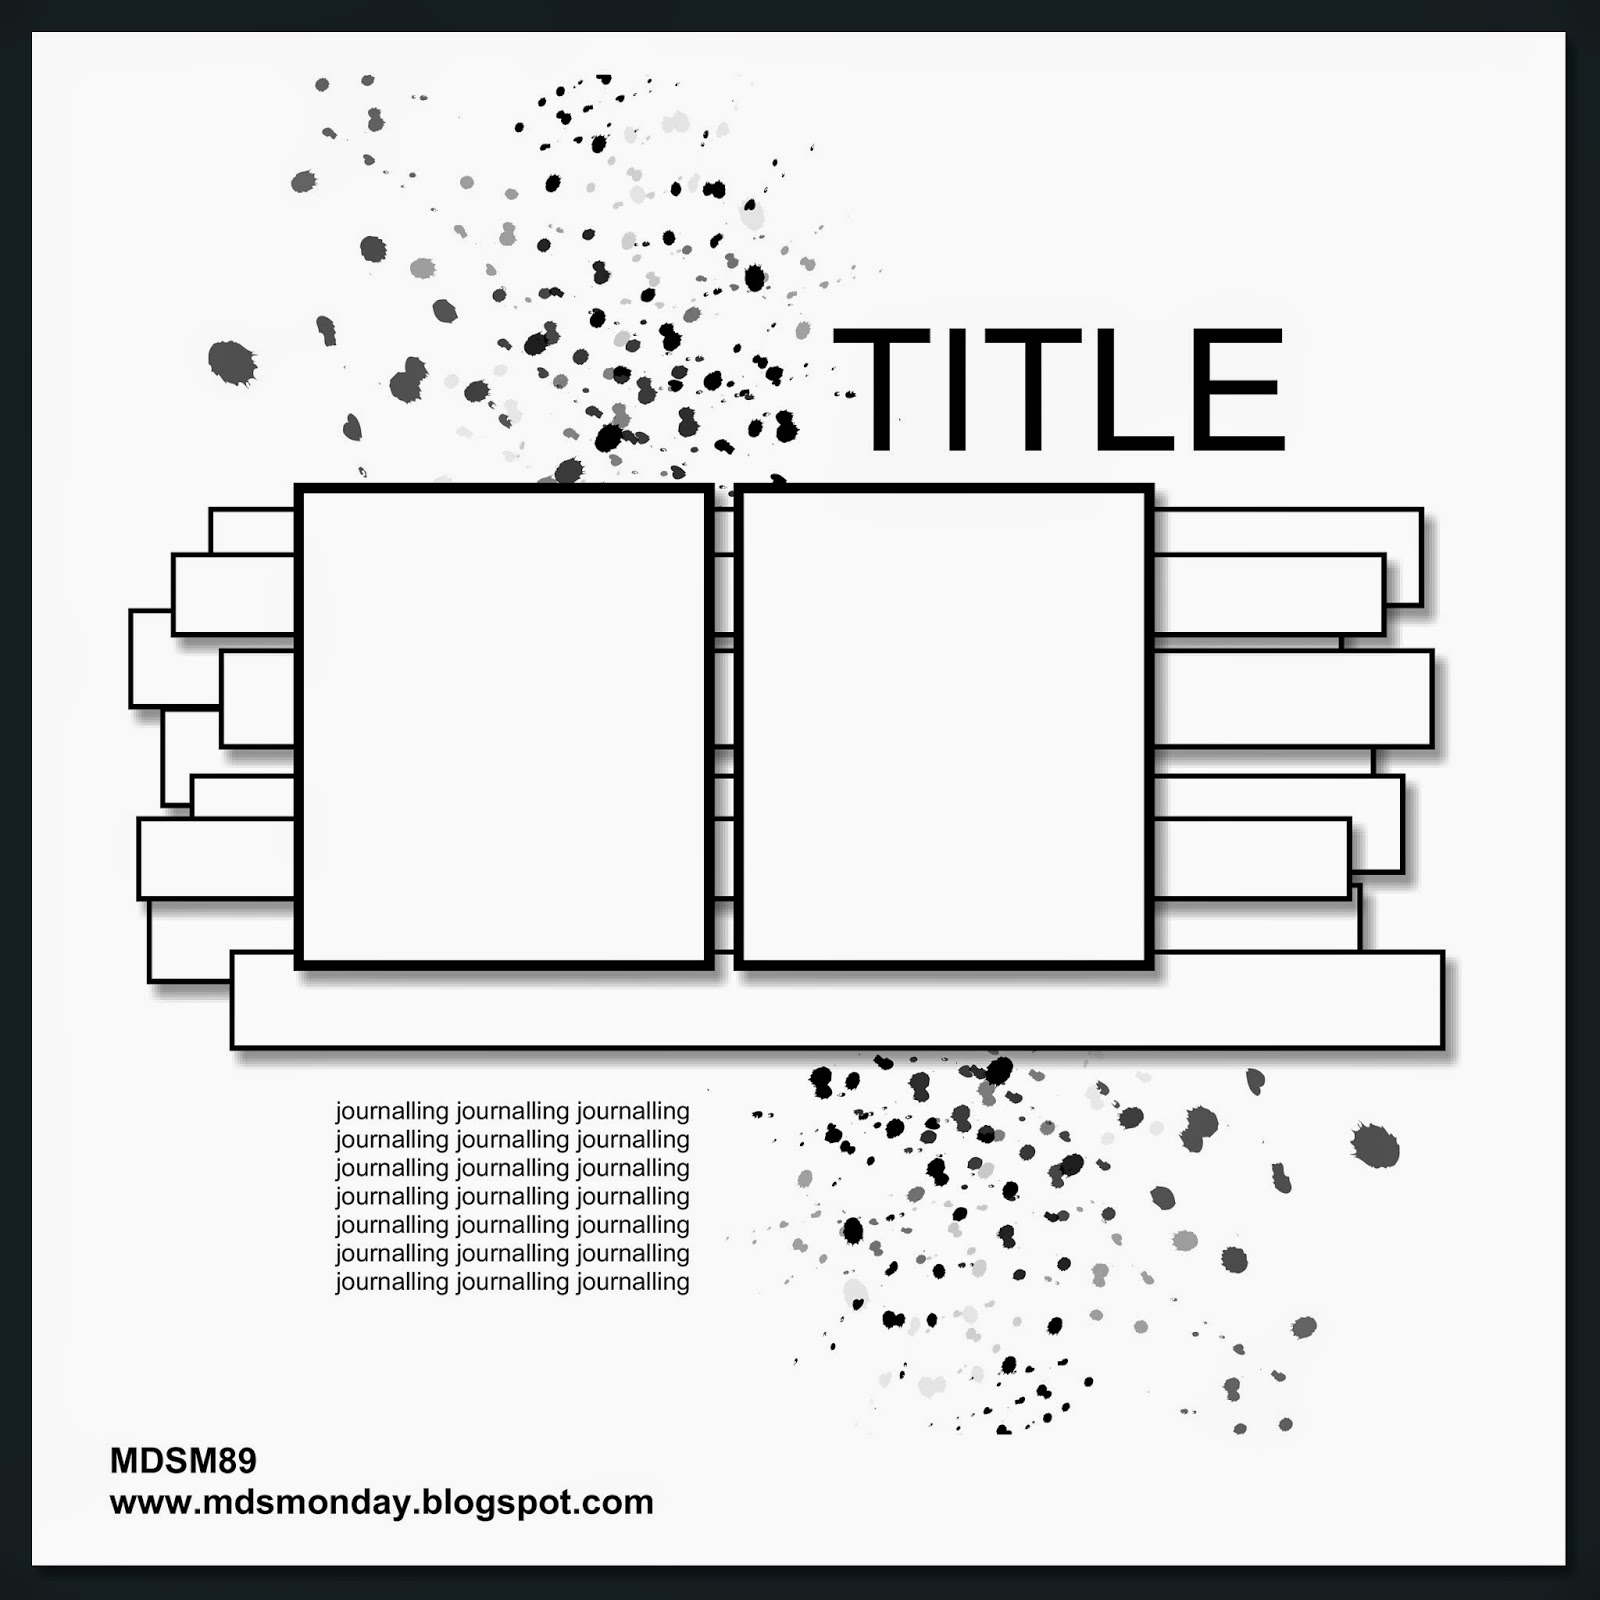
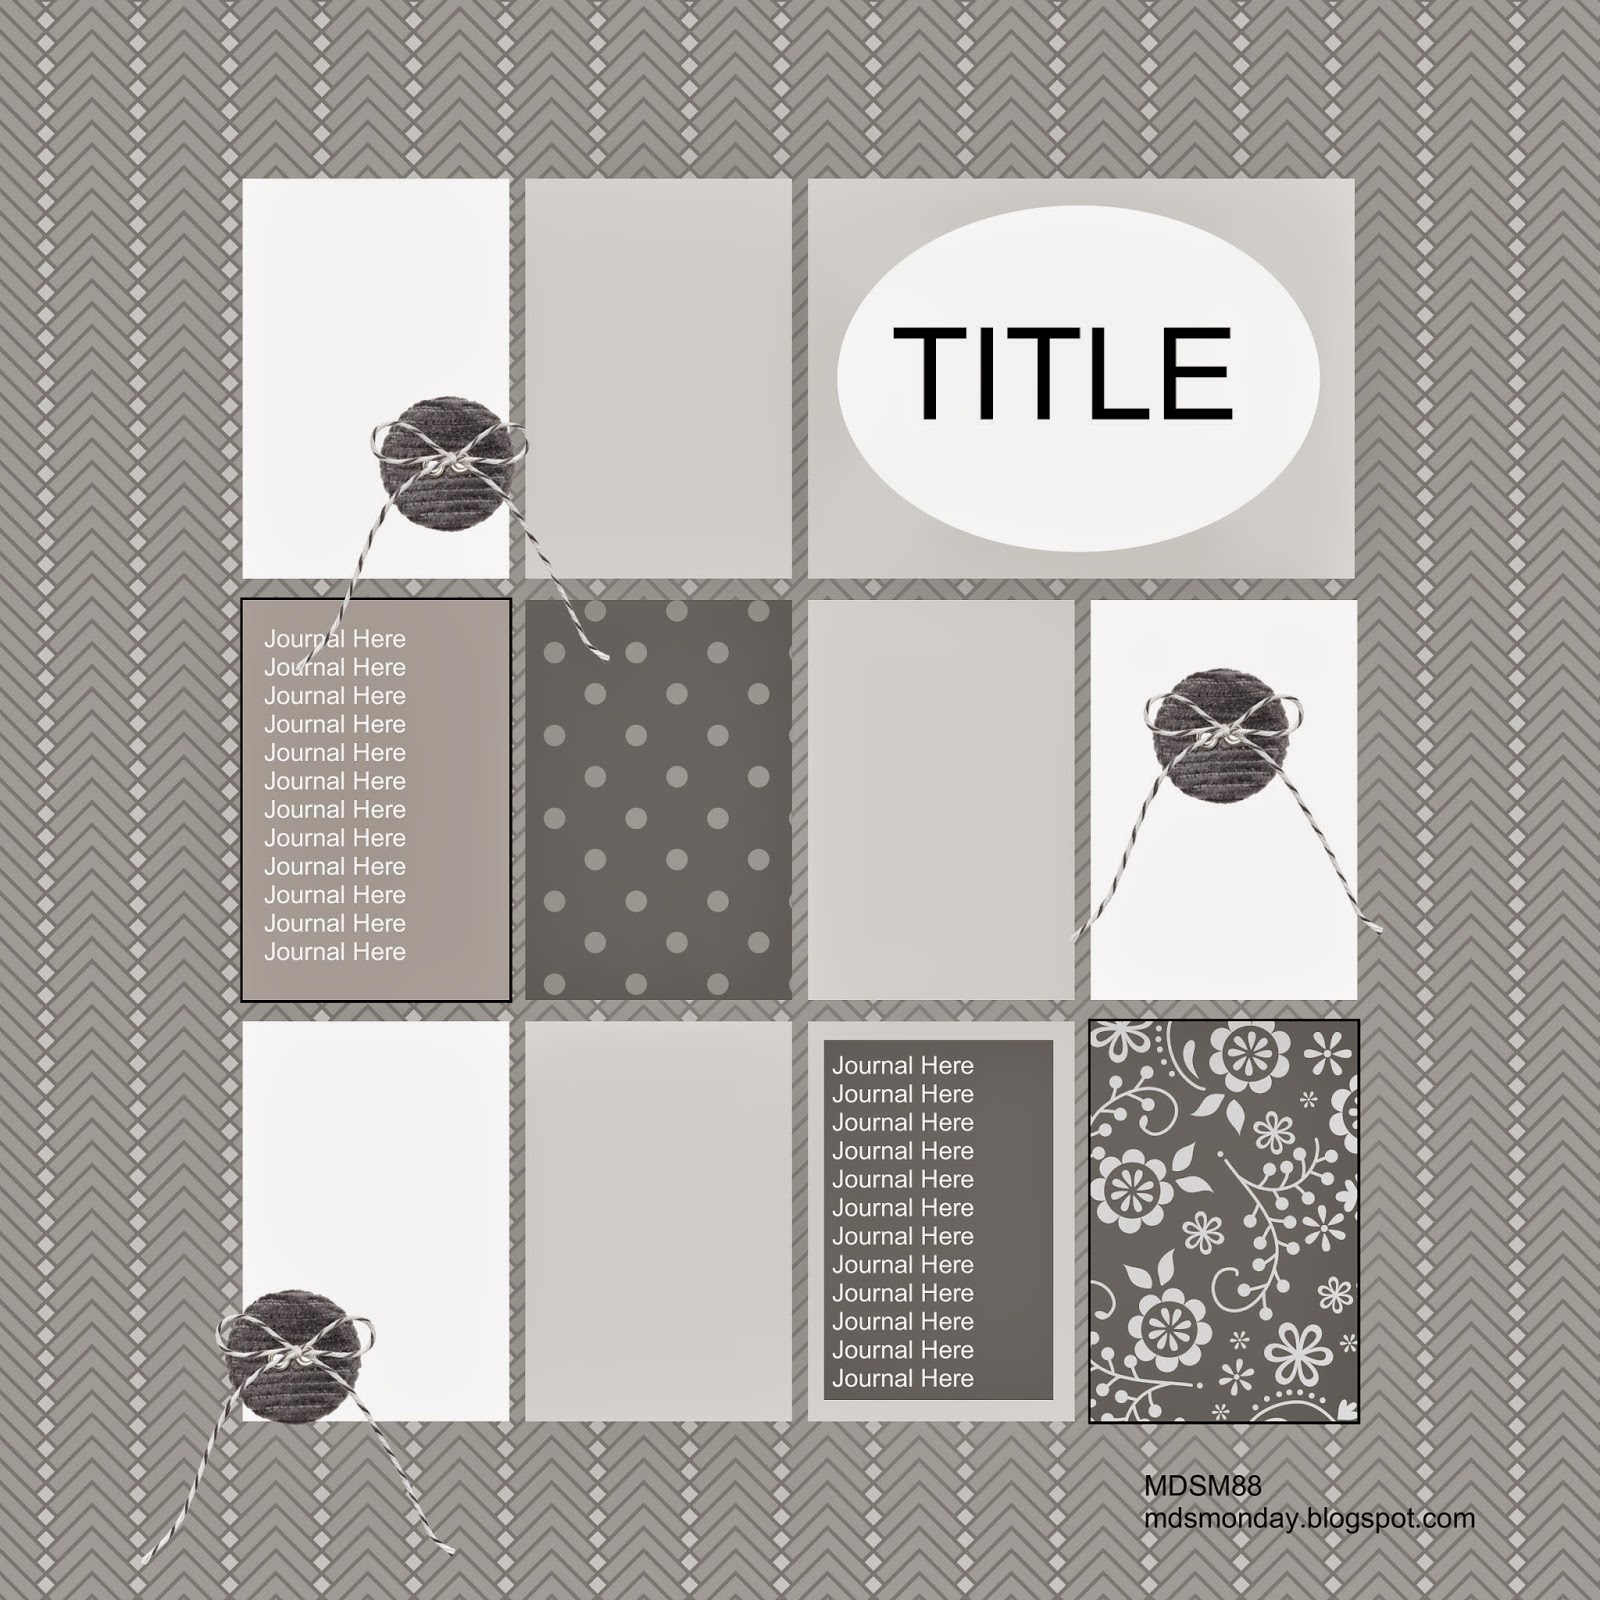
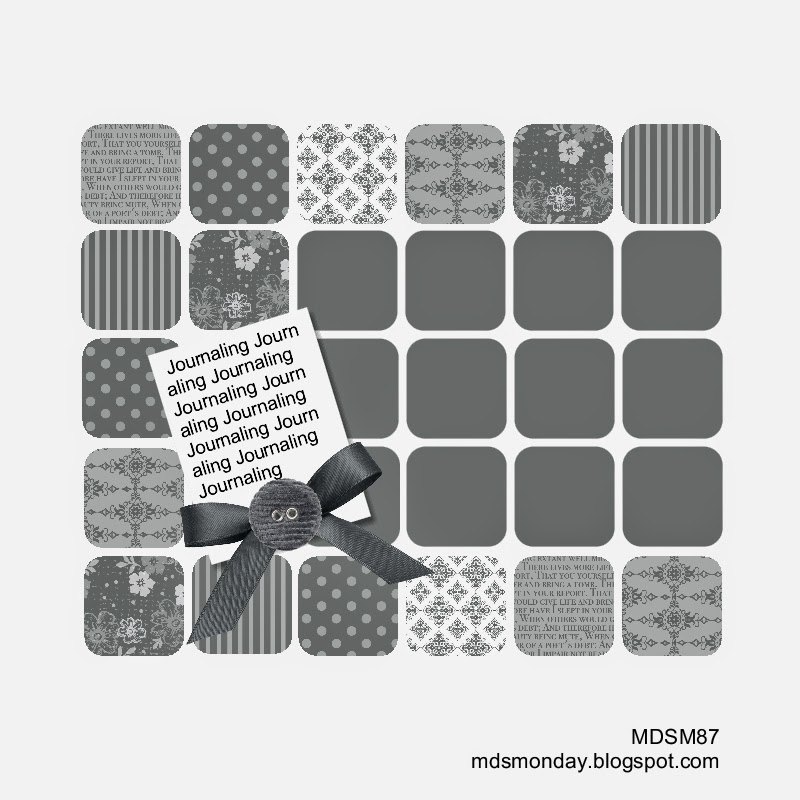
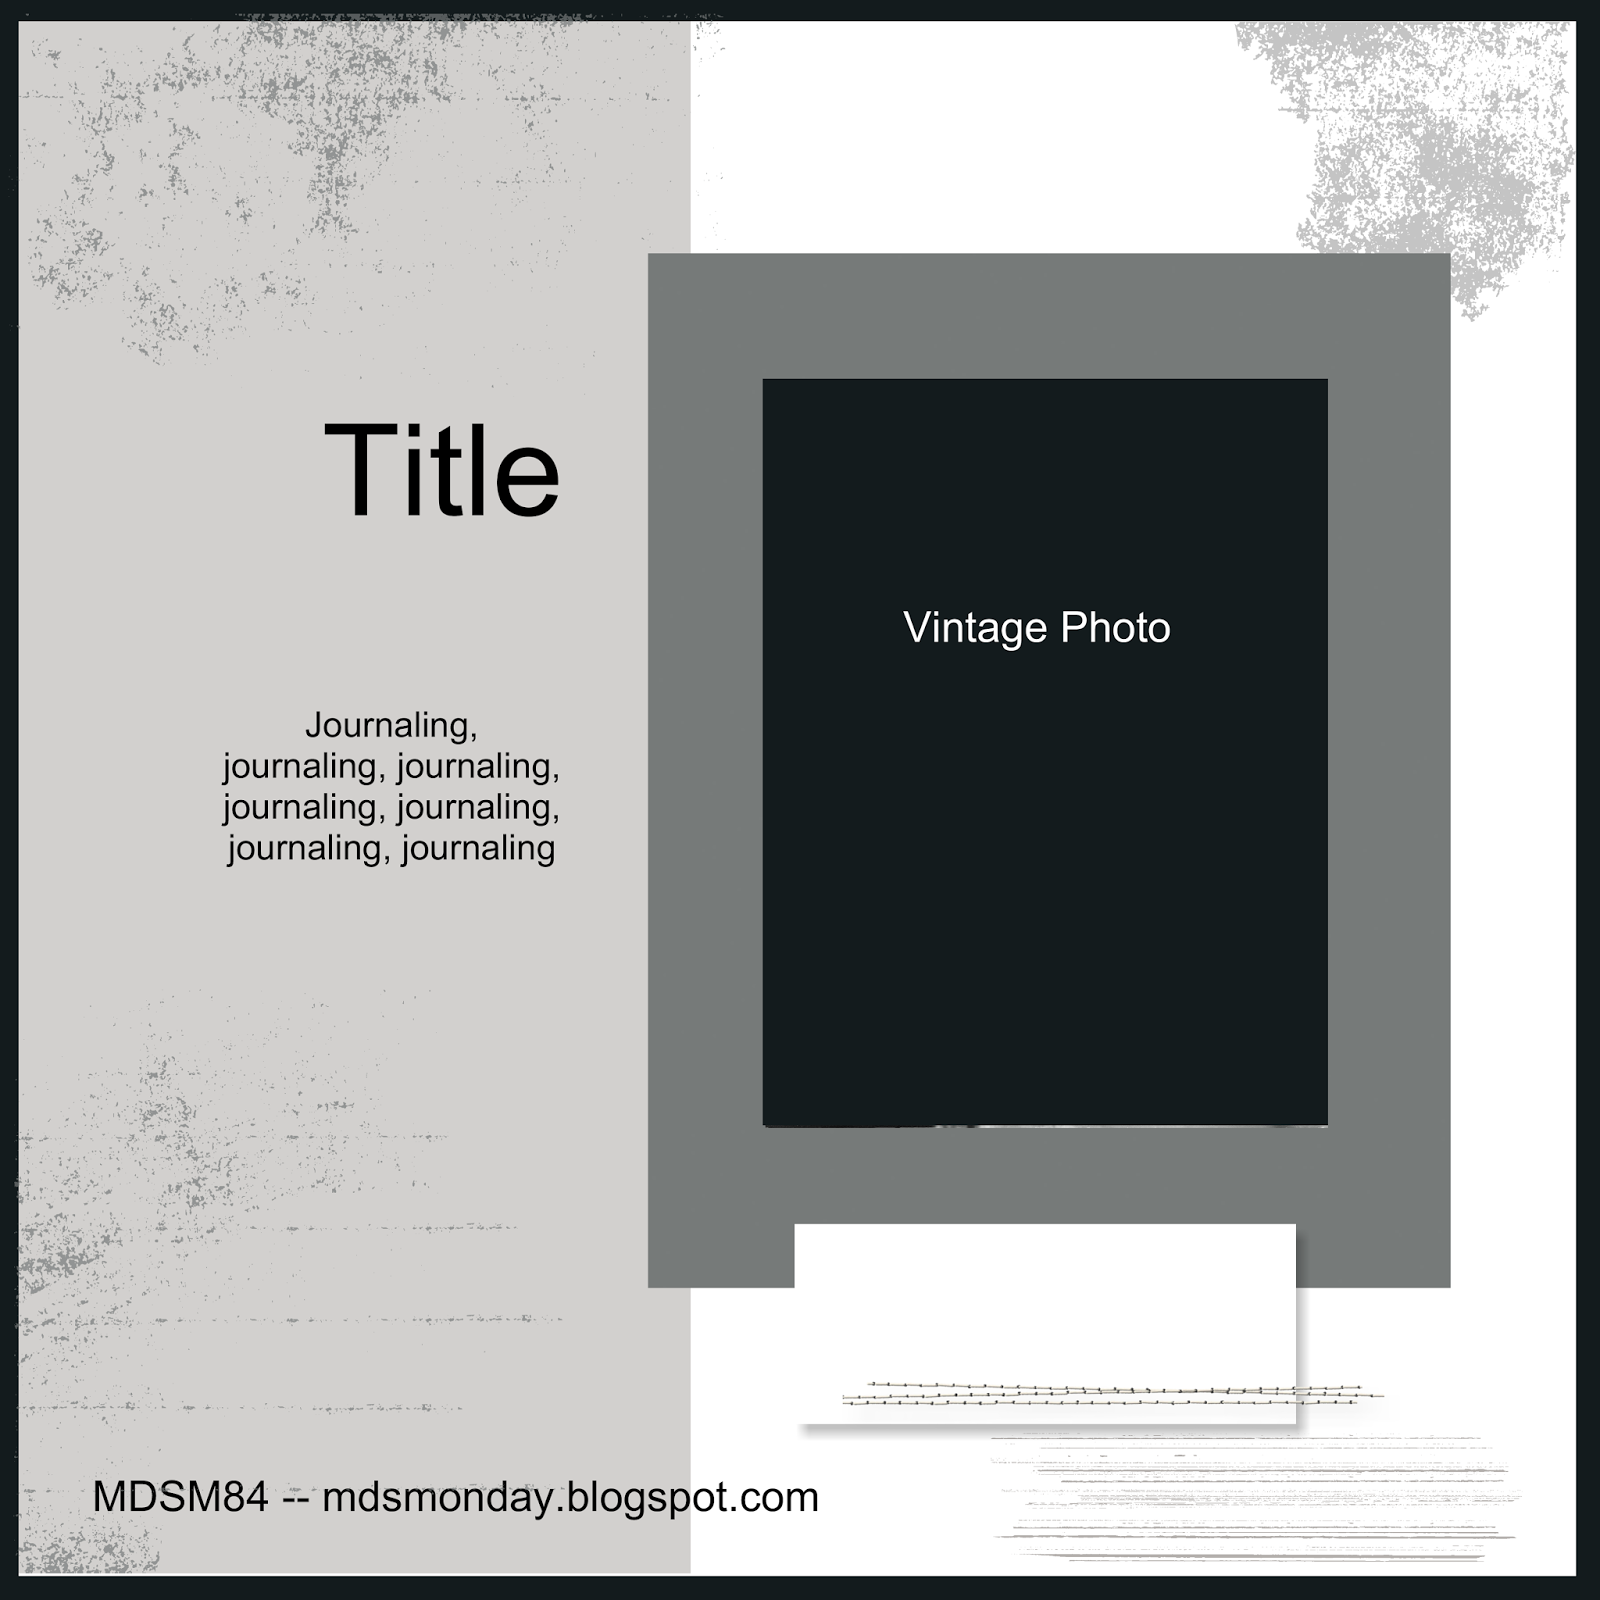
This is the sketch:
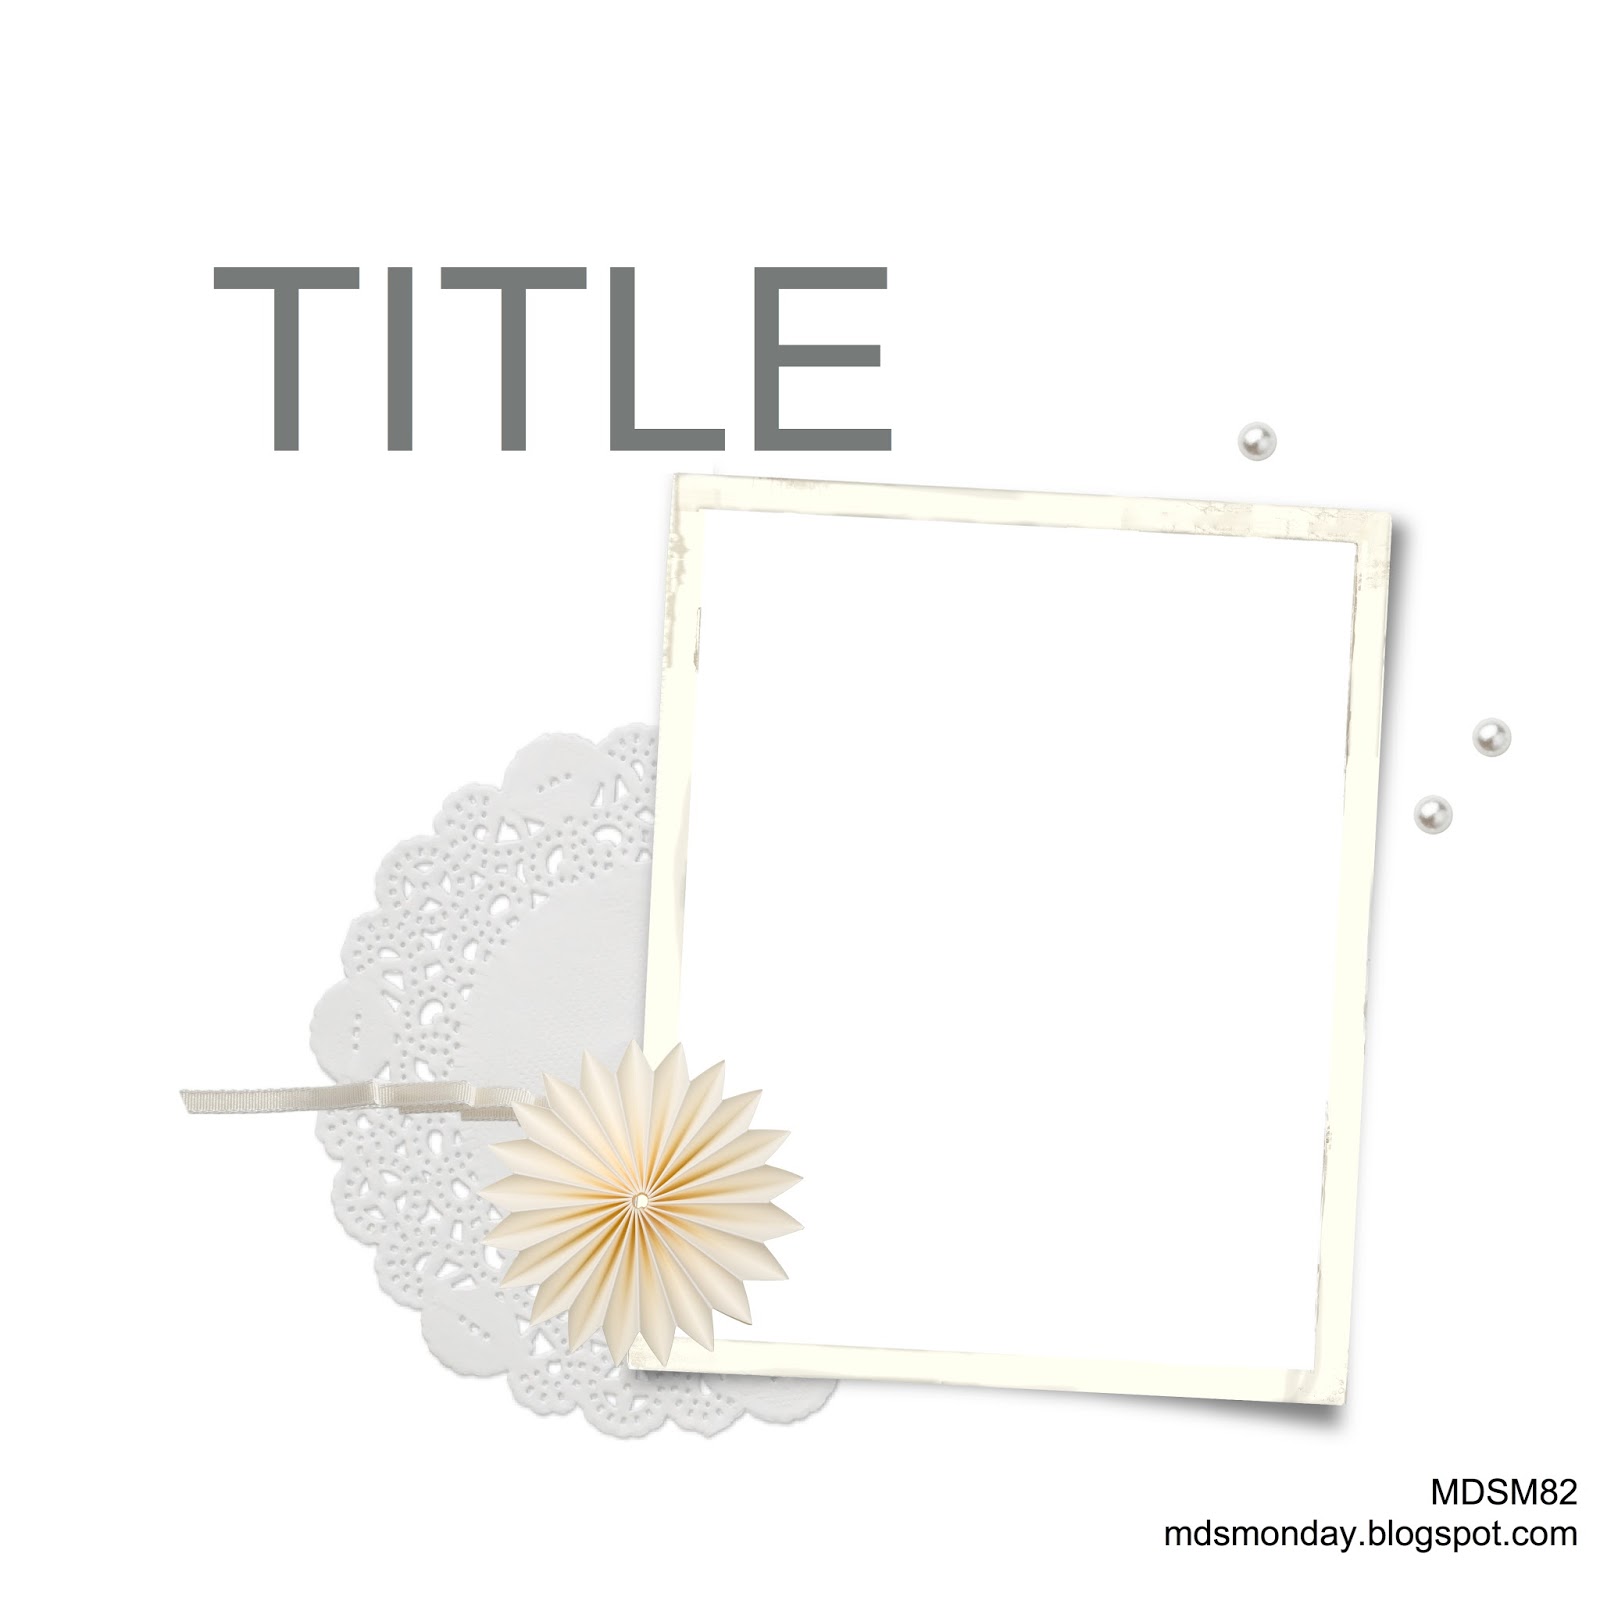
I used a drop shadow to allow the doily to show up against the white background. I played around with overlays to see if I could get the background with a dry embossed look. By experimenting with the color of the overlay and the color, opacity, blur, and offset of the drop shadow, I was able to get a pretty good simulation of dry embossing. What do you think?
Here is what I did. I applied the Decorative Overlays stamp brush set – flourishes (129880) and changed the color to Whisper White. Then I changed the drop shadow to -40% opacity, blur 5, offset x=0, y=0 and the color to Smoky Slate. If you aren’t familiar with the drop shadow function, let me explain. Opacity is how transparent the drop shadow it, the default is -25%. Blur refers to how wide the drop shadow is. 5 is the default but you can increase the width up to full. Offset is how close to the image is. In this page, I wanted the shadow to be tight up against the image. I urge you to play around with the drop image function. It gives depth to your project. However, it can also make your elements look like they are in front of the page, not part of the page. Experimentation to see what gives you the desired effect is important.
Here’s another tip for you. I wanted to use the color picker function to recolor the satin ribbon knot to match one of the colors in the blue jacket. I first tried recoloring Whisper White ribbon but the color was too light so I went darker. I finally chose Basic Gray ribbon and got the desired depth of color.
I challenge you to create a scrapbook page or greeting card using this technique to simulate dry embossing. When you finish it, email it to me and I’ll share it on this blog.
for more detail about the supplies I used and to order them, just click on the images below.
 Supplies: MDS software digital download (130646), MDS software disc (130647), or 30-day Free Trial of MDS (130910); All is Calm Kit (138132), Stamps – Endless Wishes stamp brush set (136559), Color Me Christmas Designer Template (132181); Punch – Get It Done Kit (129924) – Punch 1 filled with Silver Glimmer Designer Series Paper (132917)


