Category Archives: Christmas cards

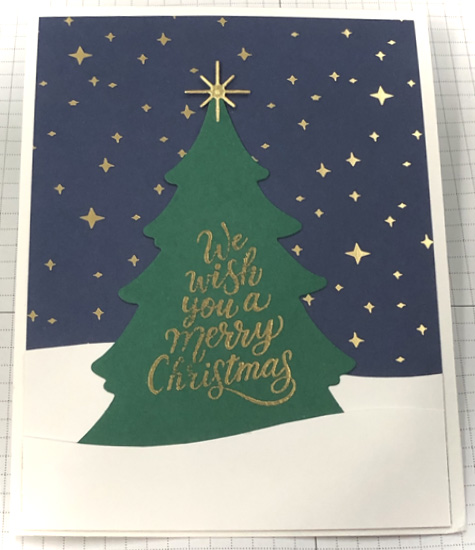
Easy Merriest Trees Christmas Card

Easy Merriest Trees Christmas Card

It’s a snap to make this easy Merriest Trees Christmas card! A total beginner stamper had no trouble making this card in class last week. We used the Merriest Trees bundle (162048) and a piece of beautiful Shining Brightly Specialty Designer Series Paper (162378). The greeting was heat embossed with gold embossing powder. Heat embossing is such a magical technique that still enchants me after at least 45 years.

Supplies Used for Easy Merriest Trees Christmas Card

  • Stamp Set – Merriest Trees
  • Paper including cutting measurements – Basic White Cardstock 11″ x 4 1/4″ scored and folded at 5 1/2″, 4″ x 2 1/2″; Shaded Spruce Cardstock 5″ x 3 3/4″; Shining Brightly Specialty Designer Series Paper – Night of Navy with stars 5 1/4″ x 4″; Gold Foil Sheet scrap
  • Ink – Versamark
  • Accessories – Merriest Trees Dies, Adhesive Sheets, Paper Trimmer, Paper Snips, Stampin’ Seal, Stampin’ Cut & Emboss Machine
  • Click here to be taken to a shopping cart in my online store with all these supplies already pulled for you. You can delete any you might already have.

Directions

  1. Use Stampin’ Seal to apply the designer series paper to the folded Basic White card base.
  2. Rub the Shaded Spruce cardstock with the embossing buddy and stamp the greeting with versamark. Apply gold embossing powder, tap off excess and heat emboss.
  3. Cut the greeting out with the largest tree die.
  4. Use the paper snips to cut the 2 1/2″ x 4″ Basic White cardstock approximately in half with a snowdrift type curve. Turn one piece around so they overlap.
  5. Use seal to stick the back layer to the card front.
  6. Adhere the front layer with seal only on the sides and bottom of the piece. The top should be not sticky.
  7. Apply a little seal on the back of the tree and then slip it between the Basic White layers.
  8. Cover the back of the gold foil sheet scrap with adhesive sheet and cut one of the stars from it. Put it on the top of the tree.

Watch my Facebook Live video here

.

Beautiful Iridescent Snowflake Z-fold Card

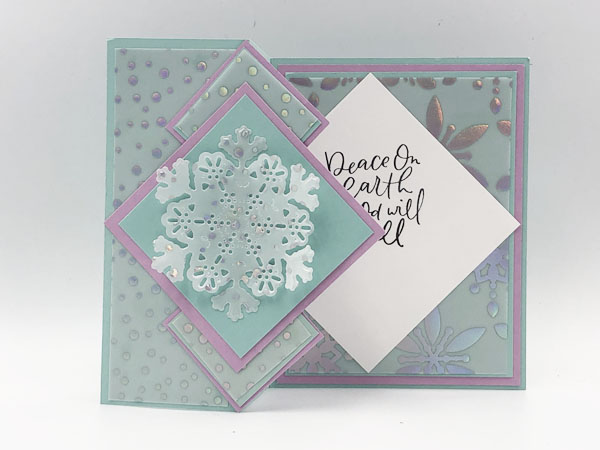
Beautiful Iridescent Snowflake Z-fold card created with the Snowflake Specialty Vellum and Twinkling Lights Dies
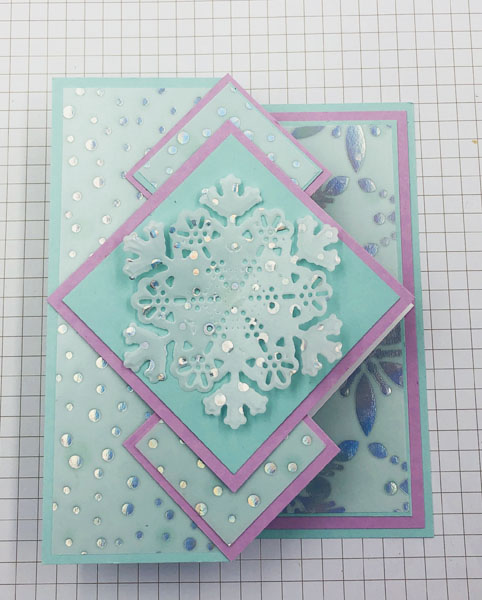
open view of Beautiful Iridescent Snowflake Z-fold Card

This iridescent snowflake z-fold card was somewhat time-consuming while cutting all the layers but it is easy to put together. The star of the show is the stunning iridescent sheets of the Snowflake Specialty Vellum (159832) found on page 40 in the July – December mini catalog. There are three patterns, one a dotted pattern and two with snowflakes. One sheet of each pattern is a white flocked image and one sheet is an image with an iridescent foil. For this card I used the dotted iridescent pattern and one of the snowflake patterns. I cut the large snowflake out of the dotted pattern with the two large snowflake dies in the Twinkling Lights Dies (159541). Order the supplies listed below from me and then join in making the with the video.

Supplies Needed to Make the Iridescent Snowflake Z-fold Card

  • Stamp Set – Hope & Peace Stamp Set (159773)
  • Ink – Tuxedo Black Memento Ink (132708)
  • Pool Party Cardstock (122924) – 8 1/2″ x 5 1/2″ scored at 2 1//8″ and 4 1/4″ for card base; 2 pieces 1 5/8″ x 1 5/8″ for small diamonds; 2 3/4″ x 2 3/4″ for large diamond; 5″ x 3 3/4″ for inside
  • Fresh Freesia Cardstock (155613) – 5 1/4″ x 4″ for inside; 3″ x 3″ for large diamond on front; 2 pieces 1 3/4″ x 1 3/4″ for small diamonds
  • Basic White Cardstock (159275) – 3 1/2″ x 3 1/2″ for greeting inside
  • Snowflake Specialty Vellum (159832) – dotted iridescent pattern 2 pieces 5 1/4″ x 1 7/8″, 3 1/2″ x 3 1/2″ for snowflake; iridescent snowflake pattern 4 7/8″ x 3 5/8″ for inside
  • Twinkling Lights Dies (159541) snowflake dies
  • Paper Trimmer (154980)
  • Stampin’ Cut & Emboss Machine – either size
  • Multipurpose Liquid Glue (110755)
  • Stampin’ Seal ()152813)
  • Mini Glue Dots (103683)
  • For your convenience click here for a shopping cart in my online store with these items. You can remove any supplies you already have.

Are your supplies gathered? Thank you if you ordered them from me. Here is the video!

Waterfall Card with Kindest Gnomes

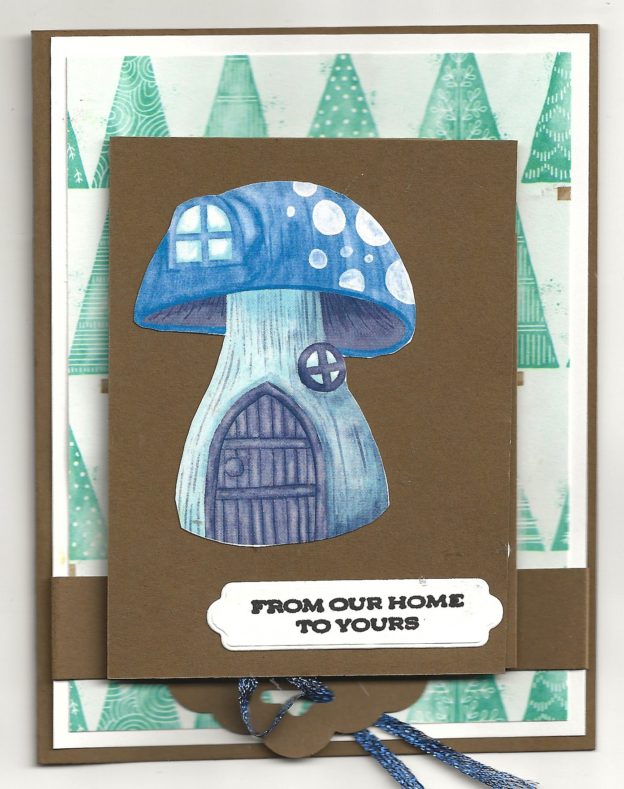
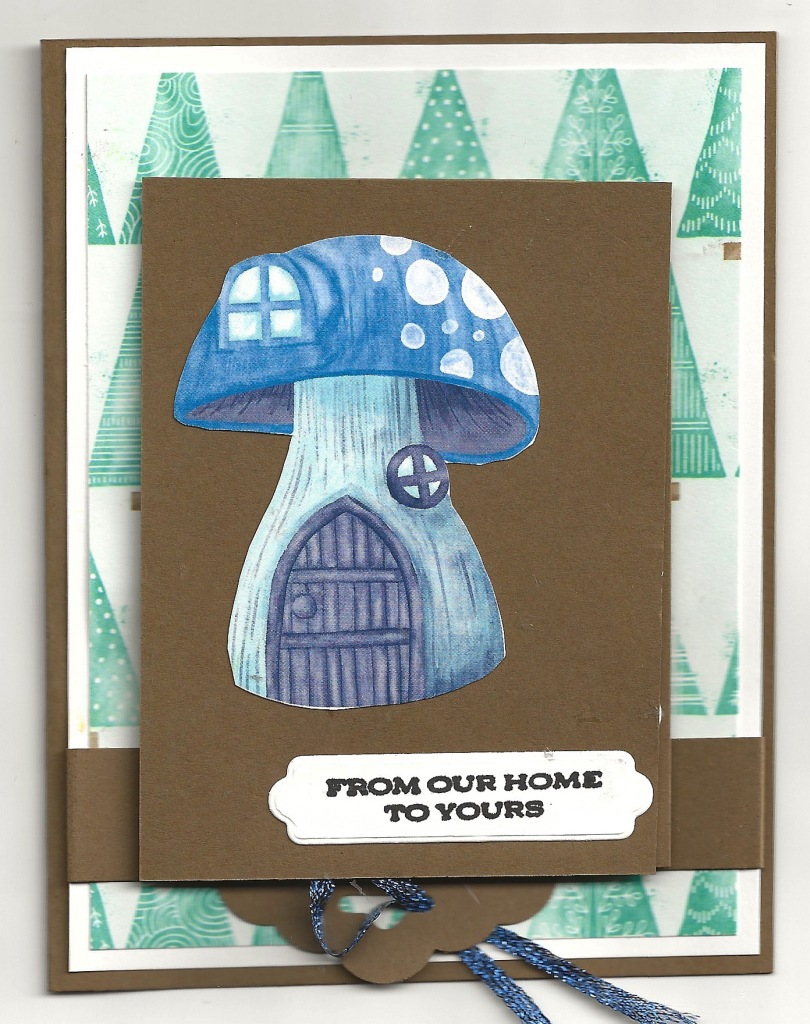
Image shows handmade waterfall card with Kindest Gnomes bundle

I love this waterfall card with Kindest Gnomes. Waterfall cards are such fun to play with and the gnomes are so cute. The Kindest Gnomes bundle is in the July – December mini catalog and has a wintry feel to the images so it makes a perfect Christmas card. However, gnomes stay around all year so this month I will be featuring projects with the gnomes in all four seasons.

In fact, my August Bundle of the Month is the Kindest Gnomes bundle (159626). Purchase this bundle from me during August and I’ll send you a free bundle of 5 tutorials for projects you can make with this bundle.

There a variety of waterfall cards as the technique has been around for years. Most of the cards have the same-sized pieces for the waterfall so that you see a part of the layers lying underneath the top one. I like this style because the subsequent layers are hidden and a surprise as they flip up. The products I used for this card along with cutting dimensions are below. When you have your pieces cut, follow along with me in the video I made during my Facebook Live today.

Supplies Used

  • Kindest Gnomes Bundle (159626)
  • Leaves of Holly Stamp Set (159601) for greeting
  • Soft Suede Cardstock (115318) card base 11″ x 4 1/4″ scored at 5 1/2″ and folded; strip 3/4″ x 4 1/4″; waterfall pull 8 3/4″ x 2″ scored at 1 3/4″, 2 1/2″, 3 1/4″ and 4″; waterfall panels 3″ x 4″, 3″ x 3 1/4″,3″ x 2 12″, 3″ x 1 3/4″
  • Basic White Cardstock (159276) 5 1/4″ x 4″, 2 3/4″ x 1 1/2″, scrap
  • Storybook Gnomes Designer Series Paper (159615) 5″ x 3 3/4″ on card base; 2 3/4″ x 3 3/4″, 2 3/4″ x 3″, 2 3/4″ x 2 1/4″, plus fussy-cut and die-cut images
  • Tear & Tape Adhesive (154031)
  • Stampin’ Seal (152813)
  • Multipurpose Liquid Glue (1107550
  • Mini Stampin” Cut & Emboss Machine (150673)
  • Click here to go to the shopping cart with these supplies in it. You can remove any supplies you already have.

Waterfall Card with Kindest Gnomes Video

Gleaming Trees For Sale Christmas

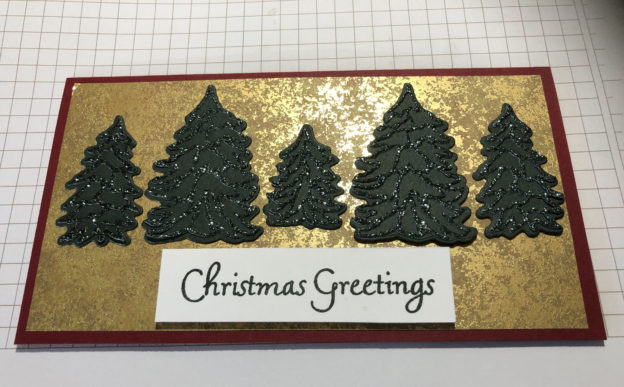
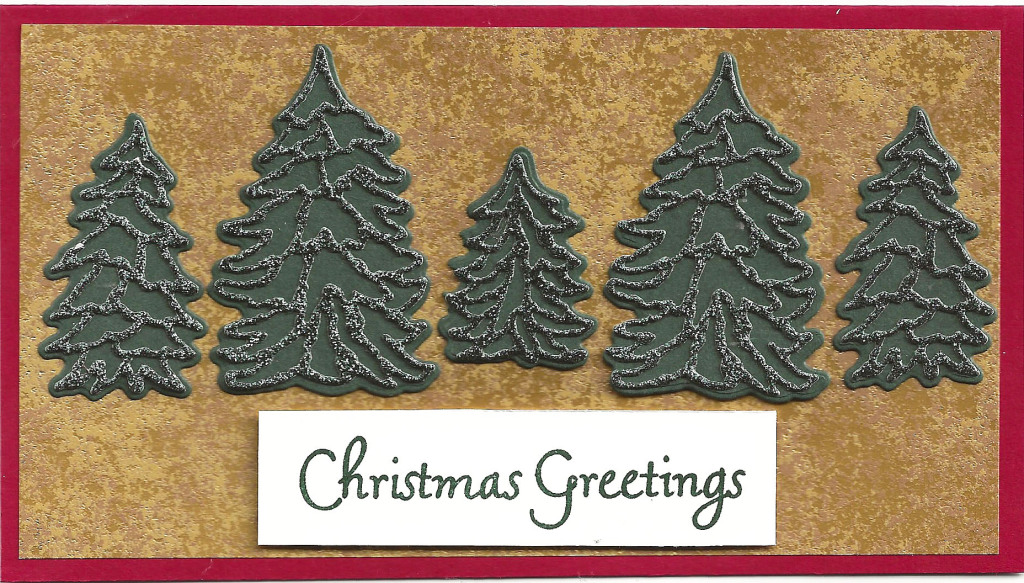
handmade gleaming Trees For Sale Christmas card

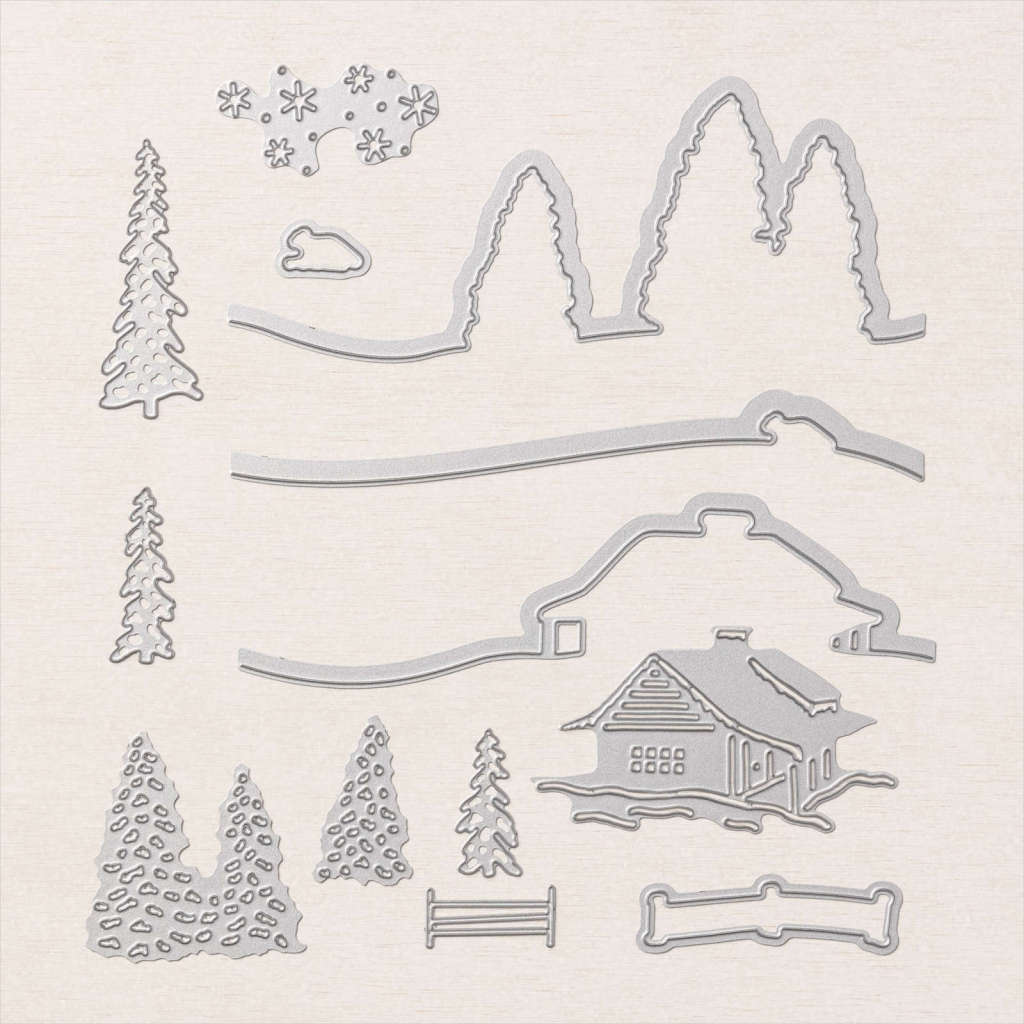
This Gleaming Trees For Sale Christmas card is another example of what you can do with my July Bundle of the Month. This ‘bundle’ consists of the Trees For Sale stamp set and the free Trees Lot Dies you can get with a $100 purchase during Sale-A-Bration. When you buy the Trees For Sale stamp set and get the Tree Lot Dies from me during July, I will send you a free bundle of 5 tutorials to use the ‘bundle’. You can see the bundle here and another card I have shared on my blog here.

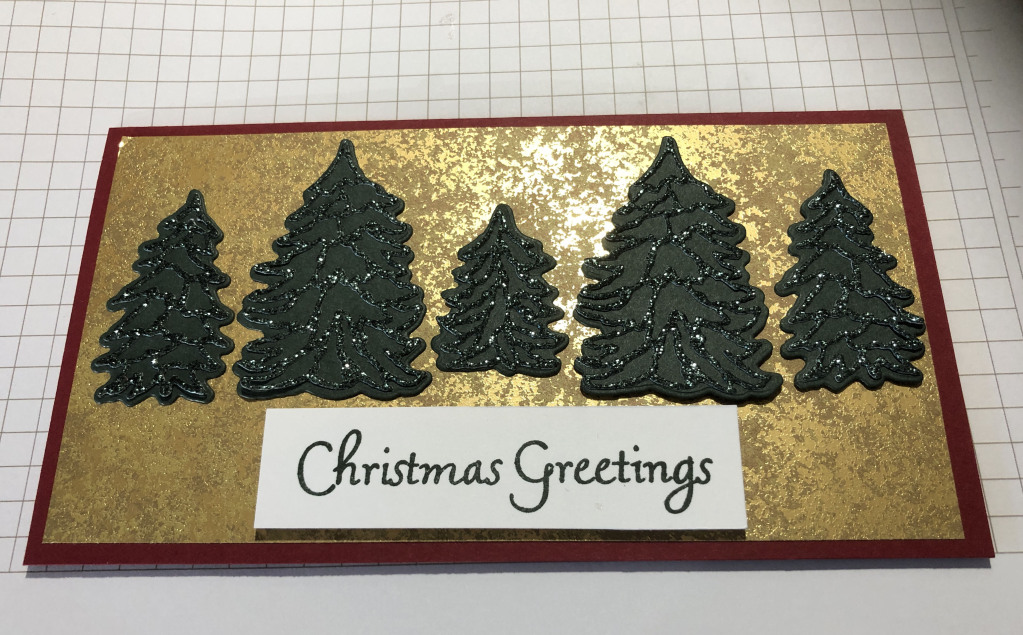
The Trees For Sale stamp set and Tree Lot Dies can also be used to make beautiful cards. Today I combined the Evening Evergreen Glimmer paper and the beautiful Distressed Gold Specialty Paper with Cherry Cobbler, Evening Evergreen, and Basic White cardstock. Check out the glimmer and shine!

a second shot of the Gleaming Trees For Sale Christmas Card

Supplies List for Gleaming Trees For Sale Christmas Card

  • Glimmer 12″ x 12″ Specialty Paper (159537) Evening Evergreen 4″ x 3″
  • Distressed Gold 12″ x 12″ Specialty Paper (159237) 6″ X 3 1/4″
  • Cherry Cobbler Cardstock (119685) 7″ x 6 1/4″ scored at 3 1/2 ” lengthwise and folded for card base
  • Basic White Cardstock (159276) scrap for greeting
  • Adhesive Sheets (152334) 4″ x 3″
  • Stampin’ Seal (152813)
  • Stampin’ Dimensionals (104430)
  • Paper Trimmer (152392)
  • Mini Stampin’ Cut & Emboss Machine (150673)
  • This link will take you to a shopping cart with all these supplies in it. You can remove any that you already have.

Tip for Using Detailed Dies

When using detailed dies like on the evergreen trees. Apply adhesive sheets to the back of your cardstock/glimmer paper/foil sheets before you die cut your images. It will make adhering the images much easier than trying to put small dots of liquid glue on them. In fact, I recommend that you have at least a 5 1/2″ x 4″ piece of each color cardstock backed with an adhesive sheet in your stash so it will be ready when needed.

Thank you for stopping by to read my blog. I’d love to have you first order the supplies to make this card for yourself and then to leave a comment so I know you have been by.

Featuring The Peaceful Place Suite

In this post I am featuring the Peaceful Place Suite (156277). This suite of products includes several unique offerings. First there is the Peaceful Cabin stamp set and coordinating Cabin dies. Then there is the beautiful Peaceful Place Specialty Designer Series Paper. You really have to see this paper to appreciate it because the silver embossing does not show up in the photo in the catalog. The colors of this paper are Smoky Slate, Basic Gray and Black with one side of the dsp having silver embossing. The suite includes Snowy White 12″ x 12″ velvet sheets, Timber 3D Embossing Folder, Subtle Shimmer Sequins, and White 3/8″ Glittered Organdy Ribbon.

Handmade Christmas Card created with the Peaceful Cabin bundle.

This is the first card I created with the Peaceful Cabin bundle. This stamp set is a DistINKtive set so you get wonderful depth to the image with only one stamping. The background is Pool Party cardstock on which I stamped the snowflake stamp with Craft White ink. This ink is slower to dry than the classic Stampin’ Up! inks so I was able to add retired Iridescent Ice embossing powder to the snowflakes for a little sparkle. It’s there, the scanner just can’t pick it up. I have a very good friend who just moved to the mountainous Northern Arizona to a log house they built. This card is for them. I’m sure they will like it.

  • Peaceful Cabin Bundle
  • Basic White Cardstock 8 1/2″ 5 1/2″ scored and folded at 4 1/4″ for card base , 5 1/4″ x 4″ for stamped images, scrap
  • Pool Party Cardstock 5 1/4″ x 4″
  • Mossy Meadow, Soft Suede, Cinnamon Cider, and Craft White inks

Supplies for Daytime Card Featuring Peaceful Place Suite

image is of the Cabin Dies

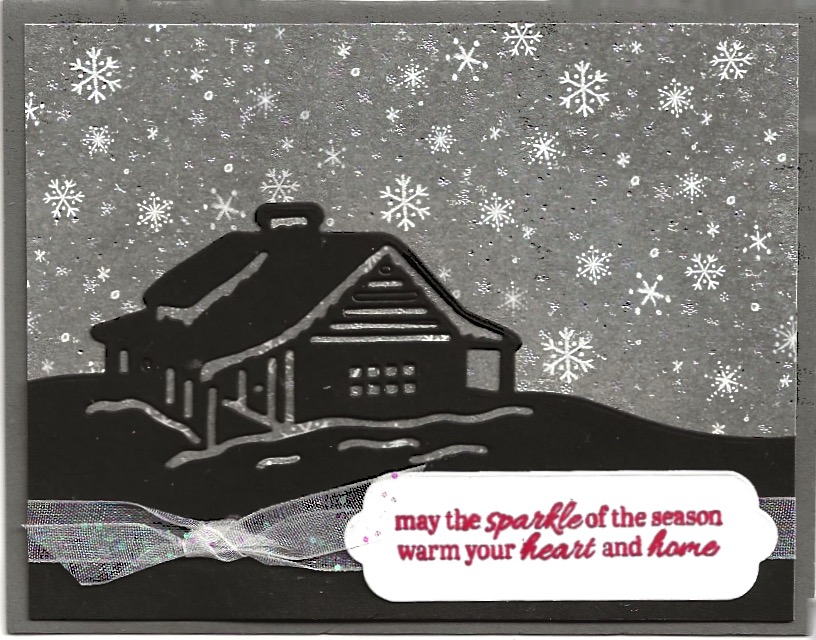
These are the Cabin Dies. At first I tried to use both the outline and the detail cabin dies together to cut out the cabin. The results were not good! I went on pinterest for ideas of how others had used the dies and realized that the two together were intended to cut a silhouette of the cabin. So I created this card that is like a crisp winter night.

Image is of a Christmas card created with the silhouette dies of Cabin Dies.

One of the lovely designs of the Peaceful Place Specialty Designer Series Papers is this snowflake design. The snowflakes are white and then there are silver foil dots. This time, the scanner was able to pick up the shine. I used the White 3/8″ Glittered Organdy Ribbon as an accent and stamped the greeting from the Sparkle of the Season stamp set in Real Red ink to add a touch of color to the card. I cut the greeting out with one of the Seasonal Labels dies.

Supplies for Nighttime Card Featuring Peaceful Place Suite

  • Basic Gray Cardstock 8 1/2″ x 5 1/2″ scored and folded at 4 1/4″ for card base
  • Peaceful Place Specialty Designer Series Paper 5 1/2″ x 4″ for card #2
  • Basic Black Cardstock 5 1/4″ x 4″
  • Basic White Cardstock 5 1/4″ x 4″ for inside of card, scrap for greeting
  • Real Red Ink
  • White 3/8″ Glittered Organdy Ribbon
  • Click here to be taken to the shopping cart on my online store for the products used in this card. You can remove any products you already have.

Beautiful Trees Mistake Card

Handmade Beautiful Trees Mistake Christmas card created with the Bark embossing folder and Beautiful Trees dies.

Yes, this is a Beautiful Trees Mistake card. I love it when mistakes turn out much better than what you had imagined. I wanted to create the illusion of bark on a tree die-cut from Gray Granite cardstock with the Beautiful Trees die. So I inked one side of the Bark embossing folder with Gray Granite ink and embossed the tree. So this is what I got. It’s not the effect I was going for as tree branches don’t have diagonal lines on them.

Die-cut Beautiful Trees tree embossed with Bark embossing folder.

So I quit working on the project. Later I returned to use one of the trees on a Christmas card and decided to emboss the card front with the Bark embossing folder. I had neglected to wash the folder off after inking it and was very surprised when the card front was not only embossed but had ink on it. I actually love the effect! It reminds me of a dense forest of trees. So I added a layer of Basic White to be snow on the ground, the tree, and some red birds. The word Joy from the Merriest Moments stamp set finishes off this Beautiful Trees Mistake card.

Supplies Used

  • Merriest Moments stamp set
  • Gray Granite and Real Red Classic Stampin’ Inks
  • Basic White Cardstock – 8 1/2″ x 5 1/2″ scored and folded for card base, scrap
  • Gray Granite Cardstock – scrap
  • Real Red Cardstock – scrap
  • Bark 3D Embossing Folder
  • Beautiful Trees Dies
  • Stampin’ Cut & Emboss Machine
  • Multipurpose Liquid Glue, Stampin’ Dimensionals, Mini Glue Dots
  • Tdo order the supplies used in this project, click here. Any items you don’t need to order can easily be deleted from the shopping cart.

Double Box Fancy Fold Card

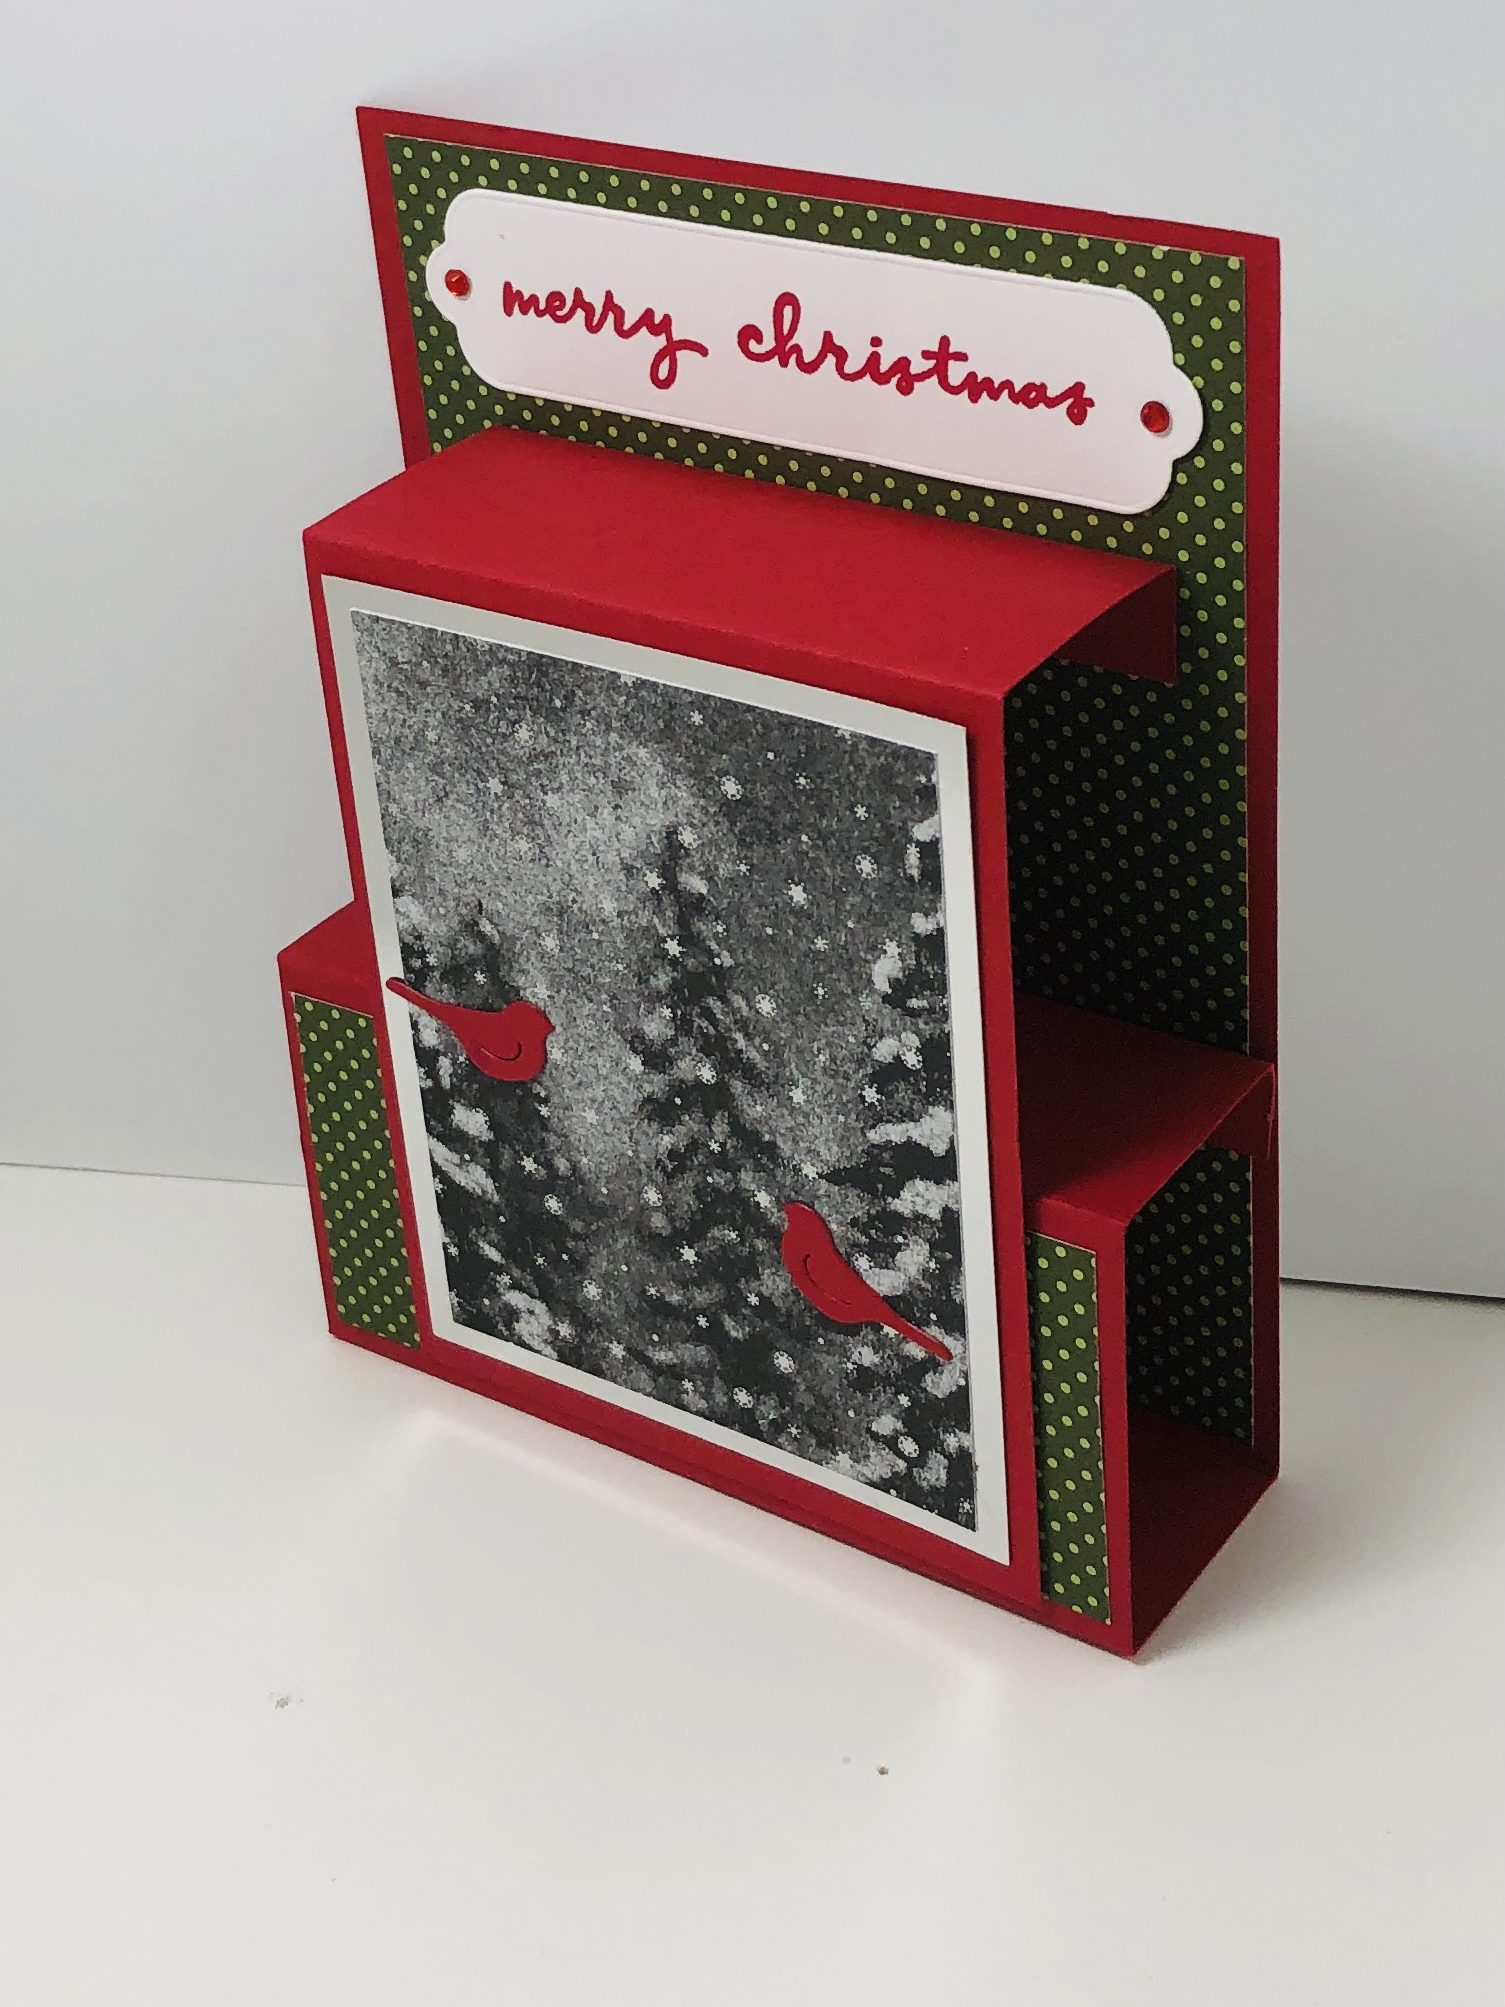
Handmade Christmas Card using the Double Box fancy fold and Peaceful Place Designer Series Paper

I love fancy folds and this double box fancy fold card is easy and fun to make. The October Paper Pumpkin’ kit had pre-printed cards with this image on both the front and the back of the card. It is such a beautiful image with the snowy evergreen trees and the silver snowflakes that I couldn’t see using the patterned paper for the back of the card. So I cut the cards in half, added card bases from cardstock I had, and made twice the number of cards. That is what is on the front of this card.

However, you can still make this card even if you didn’t get the October Paper Pumpkin’ kit because the Peaceful Place Specialty Designer Series Paper found in the July – December mini catalog has a design just like the card in the kit. The kit was designed to coordinate with the Peaceful Place Suite of products. I love it when Stampin’ Up! designs products this way!

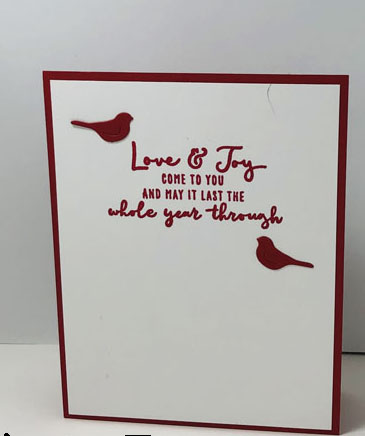
The back of this Double Box fancy fold card is where you can write your message and sign the card.

Photo shows the back of the double box fancy fold card

Supplies Used

  • Christmas to Remember stamp set
  • Real Red Classic Stampin’ Pad
  • Real Red Cardstock 10 1/2″ x 4 1/4″ scored at 1/2″, 1 3/4″, 3 3/4″ and 5″ (bottom box/card base); 5 3/4″ x 3 1/4″ scored at 1/2″, 1 3/4″; scraps for cutting the birds
  • Basic White Cardstock 5 1/4″ x 4″ for back of card, scrap for greeting
  • Silver Foil Sheet 3 3/4″ x 3″
  • Heartwarming Hugs Designer Series Paper, green dotted design – 5 1/4″ x 4″, 1 3/4″ x 4″, 1″ x 4″
  • Peaceful Place Specialty Designer Series Paper, tree pattern or back of tree patterned card from October Paper Pumpkin kit – 3 1/2″ x 2 3/4″
  • Seasonal Labels Dies – long thin label
  • Beautiful Trees Dies – bird die
  • Red Rhinestone Basic Jewels
  • Tear & Tape, Stampin’ Seal, Mini Glue Dots
  • Bone Folder
  • Paper Trimmer
  • Stampin” Cut & Emboss Machine or Mini one
  • Use this link to order these supplies. If you already have some of the supplies, you can delete them from the shopping cart.

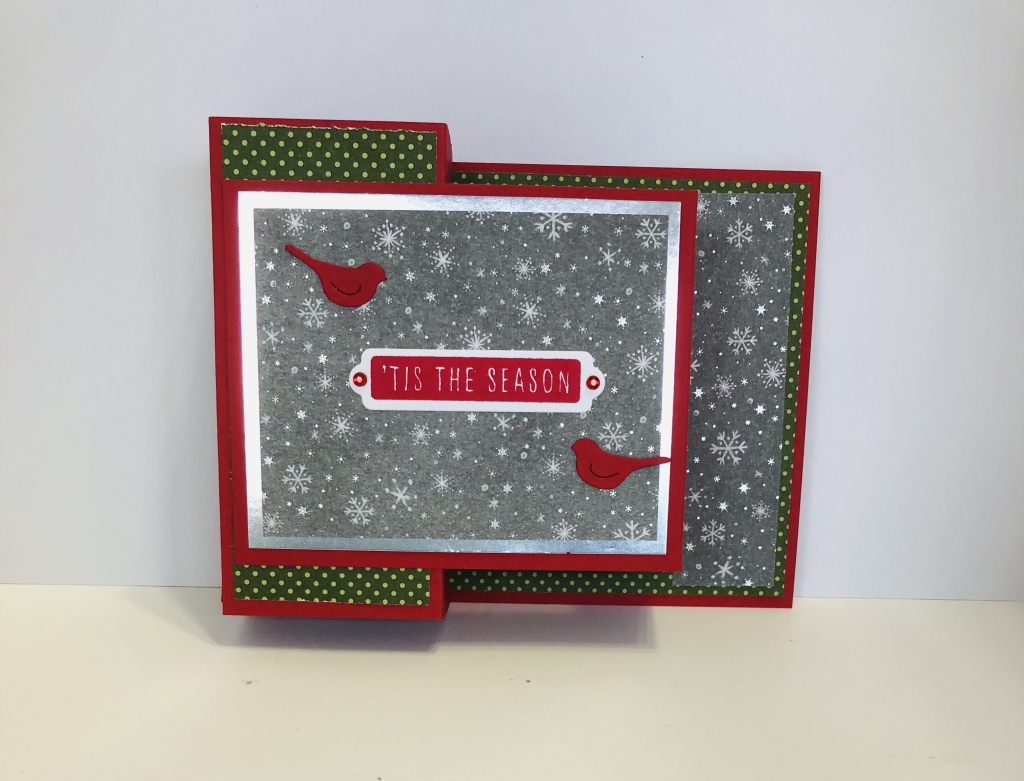
This card can also be made in the landscape orientation as in this card using the same supplies.

Handmade Christmas card using the double box fancy fold in the landscape orientation.

Thanks for dropping by today. Grab a cup of coffee or tea and relax while browsing for other projects I have shared on my blog. And…leave a comment so I know you have been here. Thanks!

Free Penguin Playmates DSP!

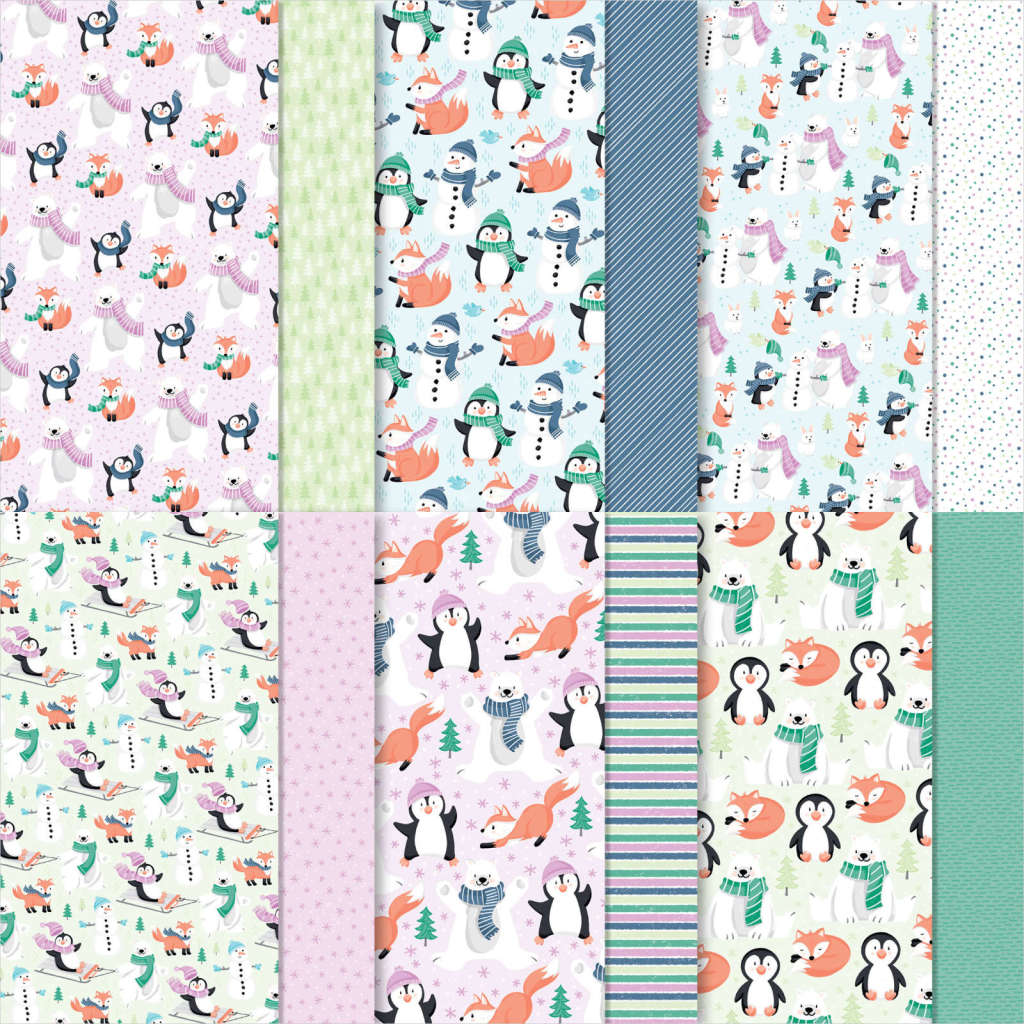
Penguin Playmates Designer Series Papers

Penguin Playmates Designer Series Paper

One of the three designer series papers you can get during Sa;e-A-Bration is the free Penguin Playmates Designer Series Paper (158420) shown above. This darling paper has characters enjoying fun in the snow. It coordinates with the Penguin Place bundle (156789) found in the July – December mini catalog. Purchase this bundle, two packs of coordinating color cardstock and some adhesive. Then you can get the Penguin Playmates dsp for free! I am sharing three cards I created with this designer serkes paper.

First Sample Using the Free Penguin Playmates DSP

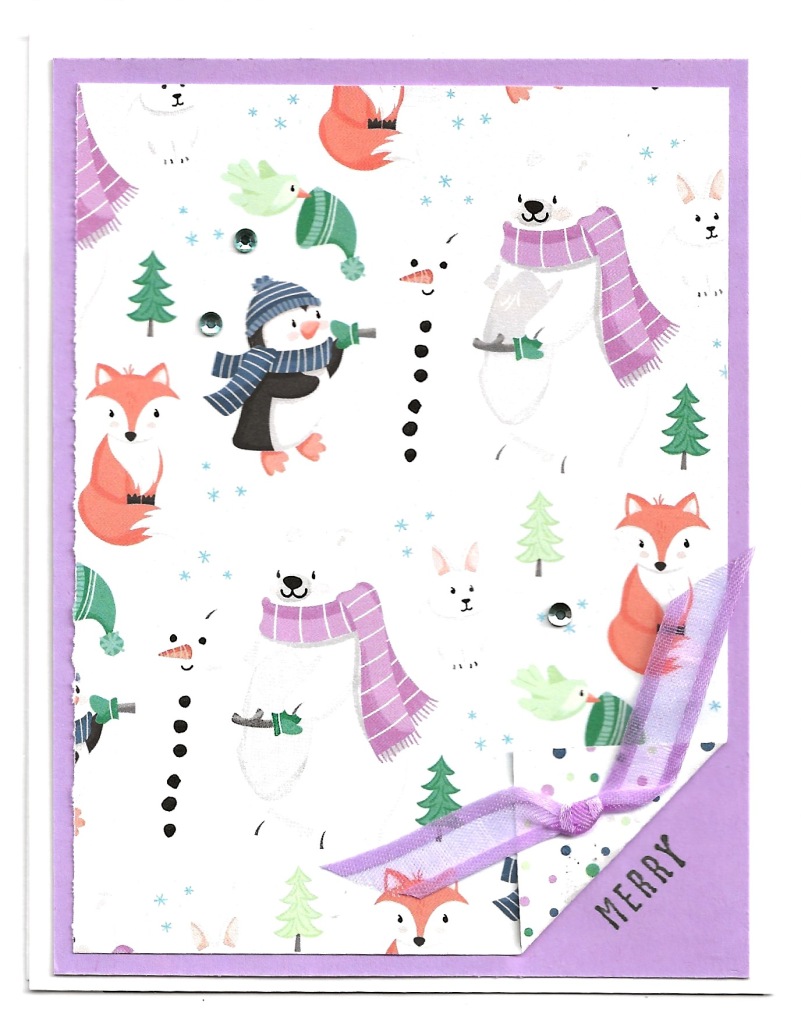
Handmade winter card created with the free Penguin Playmates Designer Series Paper

This specific design of the designer paper and the reverse side is showcased in this card. I used Basic White cardstock cut 8 1/2″ x 5 1/2″ and folded in half for the card base. I then layered on a 5 1/4″ x 4″ piece of Fresh Freesia cardstock. The top layer is the free Penguin Playmates designer series paper. I cut it 5″ x 3 3/4″ with the bottom right corner folded back to show the reverse side. I stamped ‘MERRY’ across the exposed corner with Evening Evergreen ink and added a ribbon of the Fresh Freesia Open Weave Ribbon. Scattering a few 2021-2023 In Color Jewels around adds some bling. Gotta’ have some bling!

Second Idea Using the Layering Diorama Dies

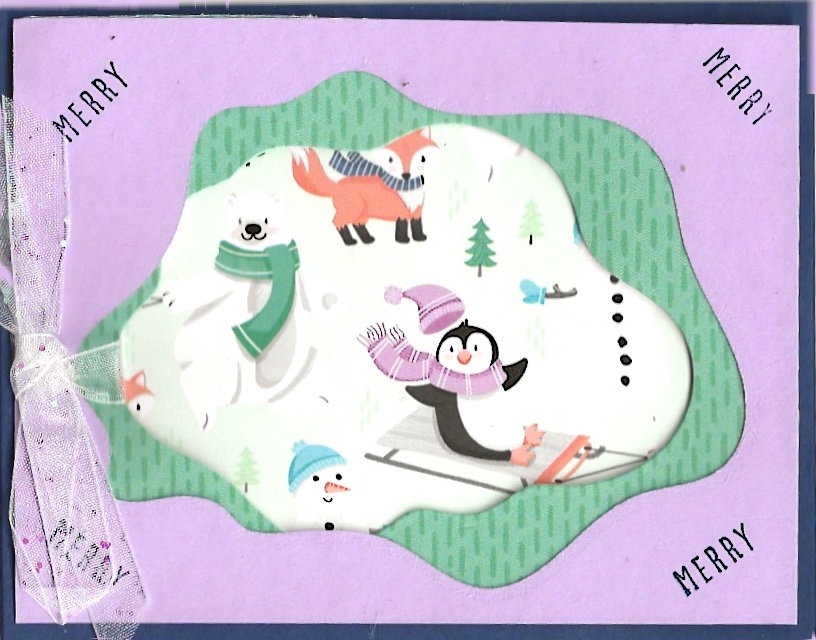
Handmade greeting card created with the free Penguin Playmates designer series paper and the layering Diorama dies

I created this card using the free Penguin Playmates dsp and the Layering Diorama Dies. I love the way the dies move the eye in to the focal point of the card. It would be perfect if the dsp had a design of the penguin and friends ice-skating as these layering diorama dies remind me of a pond. Well…I guess they could play on a snow-covered pond with their sleds.

Third Idea Using the Picture This Dies with the Penguin Playmates DSP

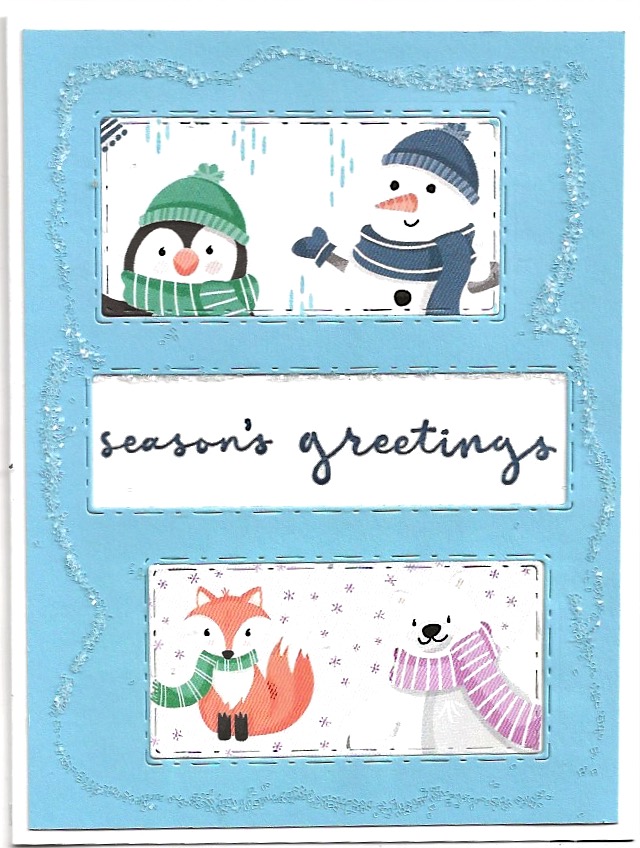
Handmade card created with the free Penguin Playmates designer series paper and the Picture This Dies.

A couple of the designs of this dsp have larger images which I isolated to use with the Picture This dies. In this card we have the four friends ‘pictured’ along with a Christmas greeting. The card base is Basic White with a layer of Balmy Blue cardstock which I cut with the rectangular Picture This dIes. I placed the cutouts inside the open spaces of the Balmy Blue layer. To add a little bling, I drizzled Multipurpose Liquid Glue around the edges of the card and sprinkled Ice Stampin’ Glitter on it.

Contact me or visit my online store to place your order of $50 or more and choose this darling Penguin Playmates designer series paper for free.