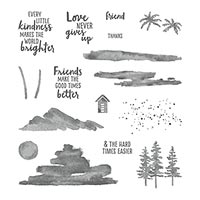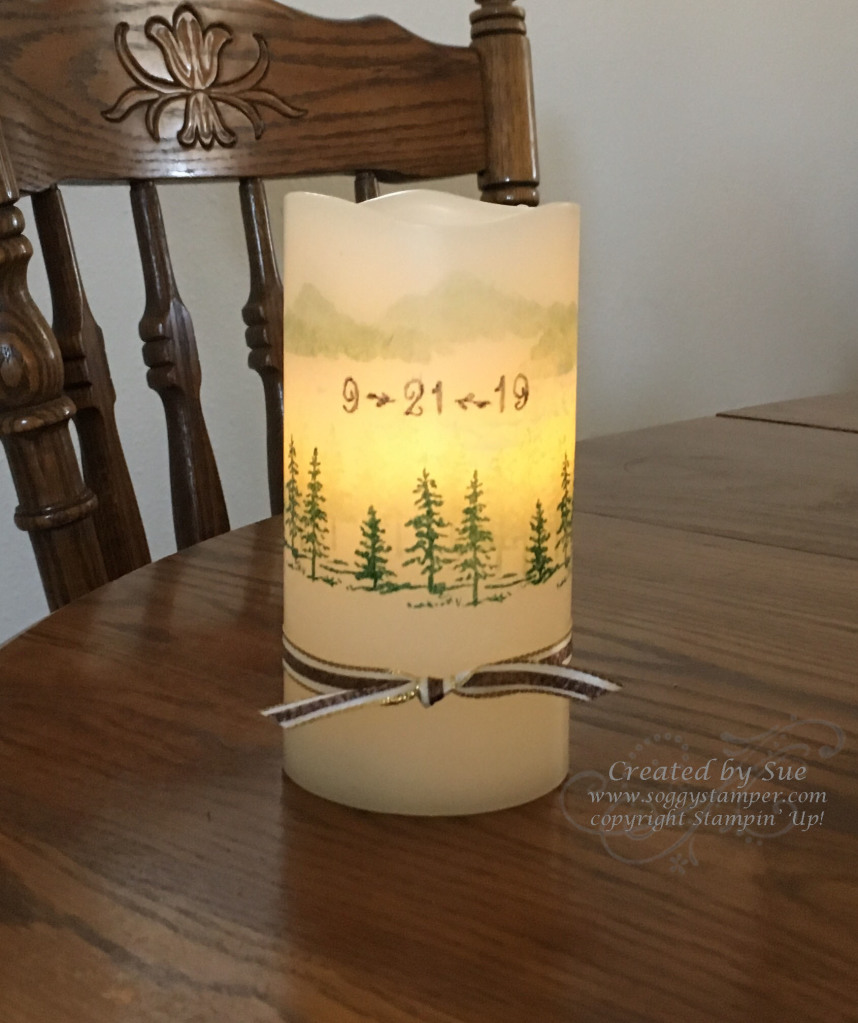
Candle Stamping is my favorite technique! I get such satisfaction from making gifts like this. This particular one is a wedding candle for the daughter of our good friends in Alaska. The bride and groom work for the Forest Service so this candle with the mountains and pine trees is most appropriate. I even stamped their wedding date on the candle.
Here are the directions for the candle stamping technique.
SUPPLIES:
White tissue paper or tissue paper the color of your candle
Wax candle -Be sure they are wax candles. They can be ones you light or flameless. I got this flameless vanilla scented real wax candle at Walmart in a package of four for $19.99.
Strip of wax paper long enough to wrap around the candle plus extra for you to hang on to
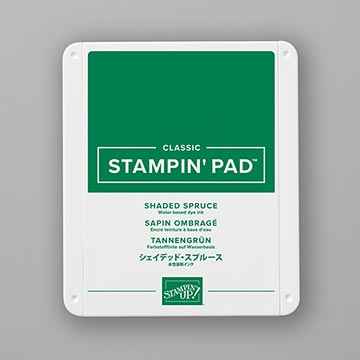
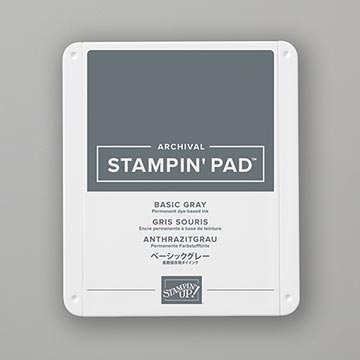
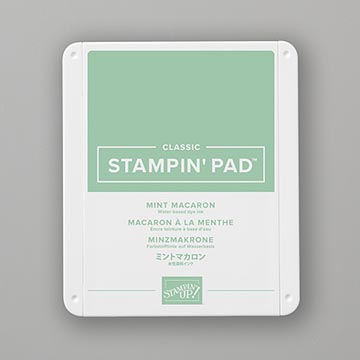
stamps and ink as desired – I used the Let It Ride and Waterfront stamp sets with Basic Gray, Shaded Spruce, and Mint Macaron inks. I applied SNAIL adhesive to one side of Copper Trim, then stuck it to the Gold Metallic-edge Ribbon.
heat tool
INSTRUCTIONS:
1. Stamp desired images on tissue paper. I have found that line drawings work better than solid ones. The solid ones have so much ink that it wrinkles the tissue paper.
2. Carefully tear around the images leaving as little border around them as possible.
3. Position the images on the side of the candle and then wrap the wax paper around the candle covering the tissue paper. Pull the wax paper tight.
4. Use the heat tool to melt the wax on the paper and on the candle just until the tissue paper is soaked with wax. Melting the wax too much will make an uneven surface to the candle.
5. Remove the wax paper and finish the candle as desired
So that is how easy it is to do my favorite technique – stamping on candles. Click on the images below to find them in my online store.

