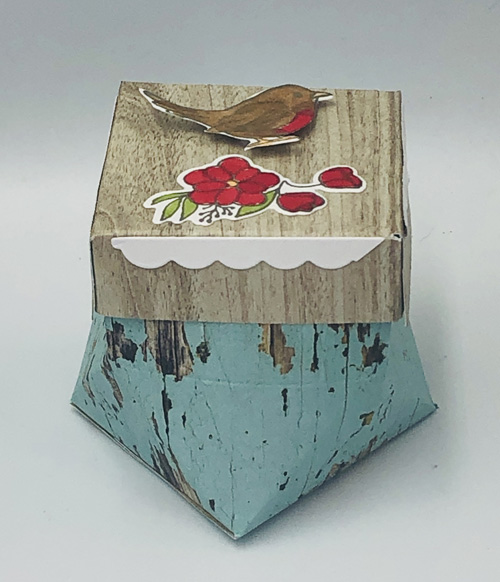
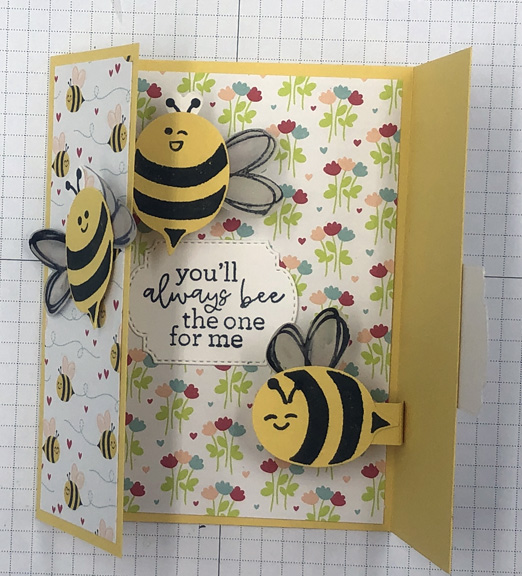
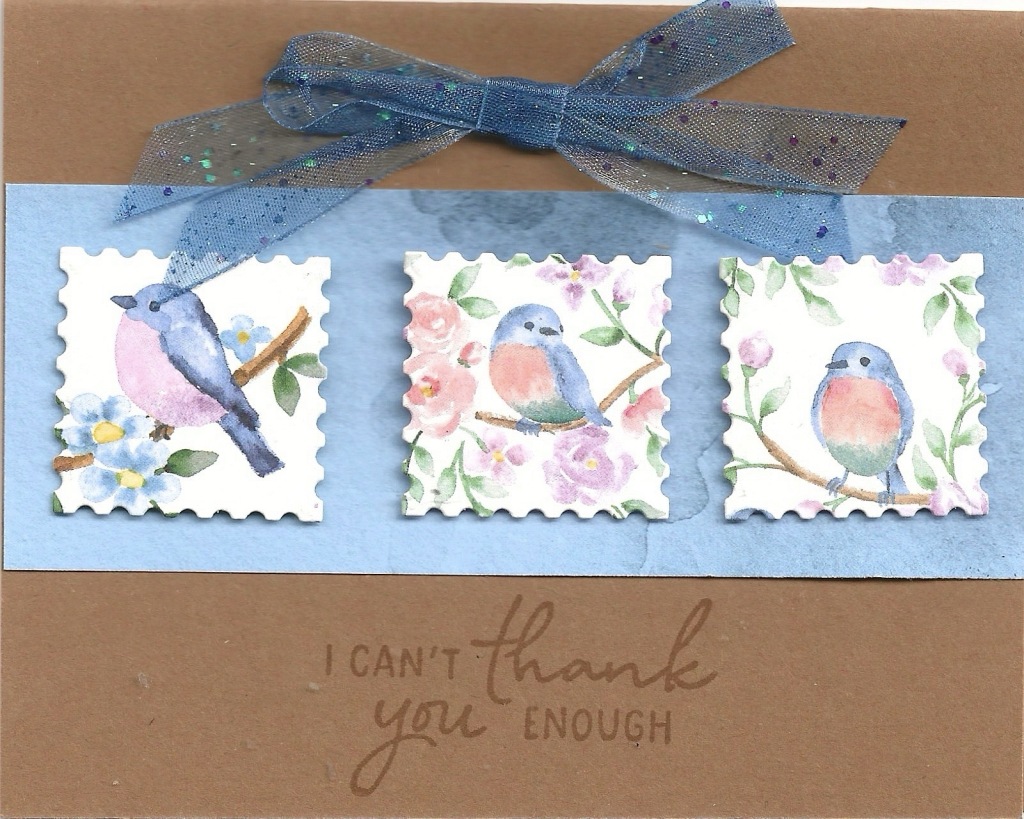
This easy slider gift card holder can also hold a teabag or just be a fun greeting card. Depending of the designer series paper you use, it can be for a baby shower, bridal shower, everyday greeting card or a masculine card. While the cute little mouse would not be very masculine, adding a flower pot or gardening gloves would change it into a more masculine card. The fun part is when you open the card.

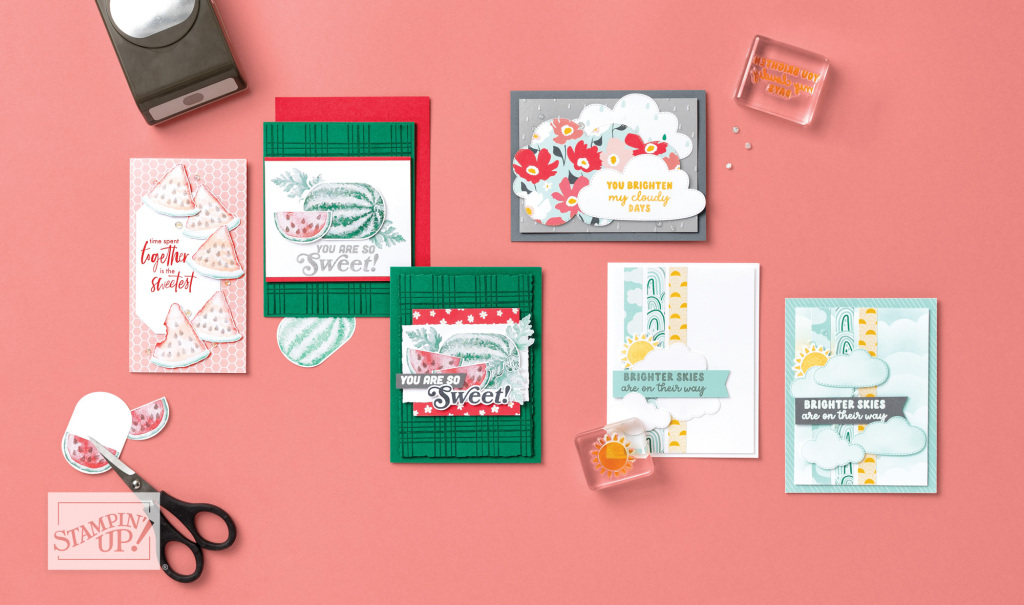
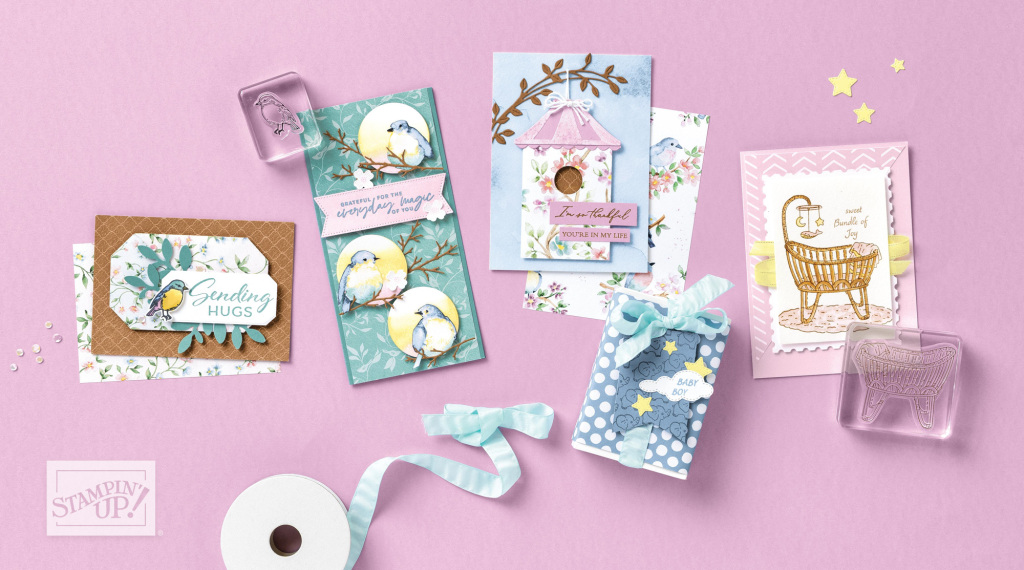
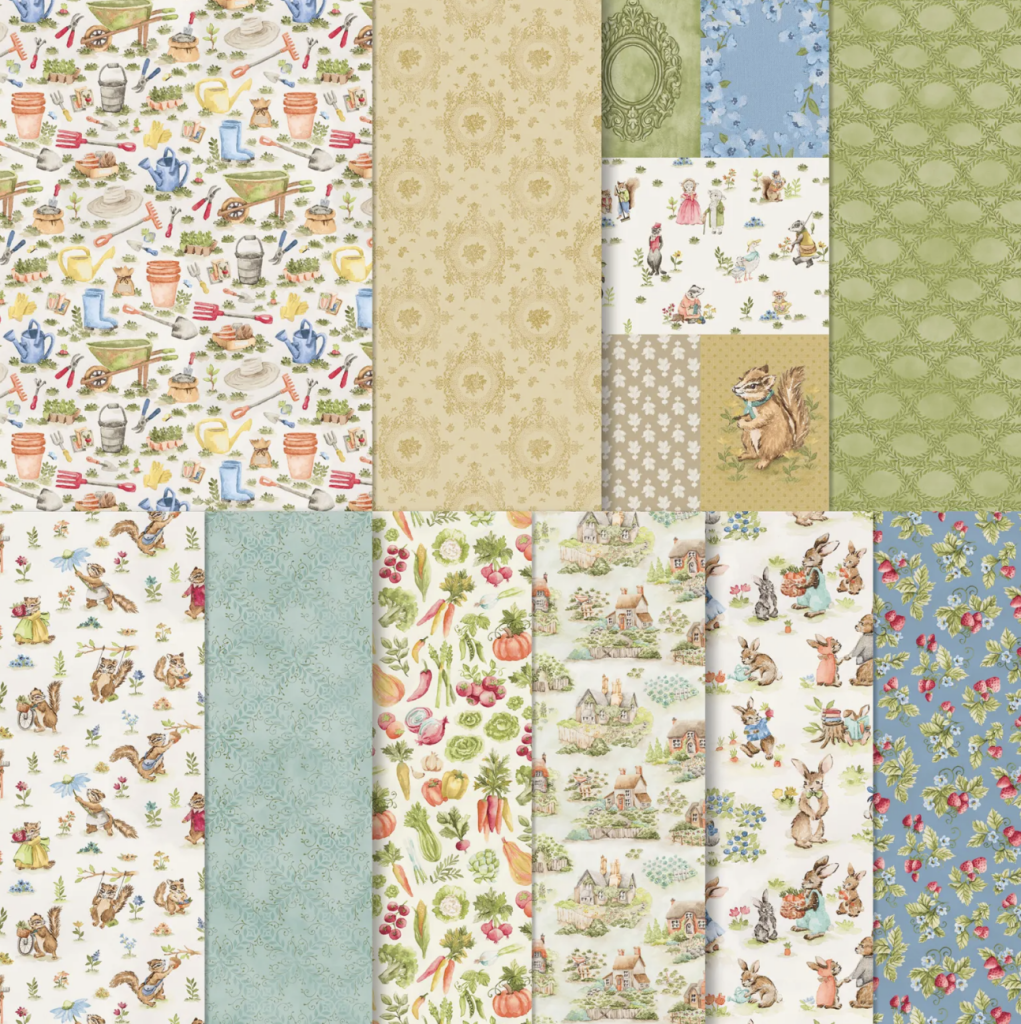
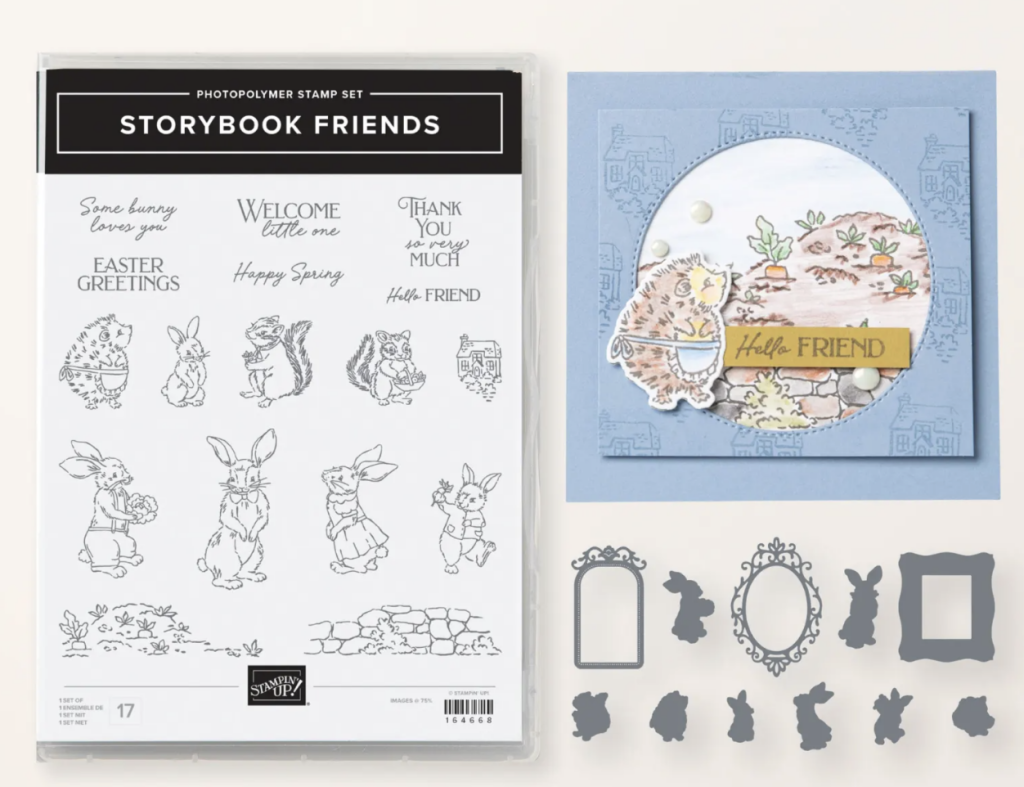
I was happy to find out today that this Storybook Moments designer series paper and the corresponding Storybook Friends bundle are not retiring, at least not yet. Check out all the darling designs of this paper and the images of the Storybook Friends bundle.
Supplies to make the Easy Pocket Slider Gift Card Holder
- Stamp Bundle – Storybook Friends (164675)
- Ink – Pecan Pie Classic Stampin’ Pad (161665)
- Pecan Pie Cardstock (161717) – 8 1/2″ x 5 1/2″ scored at 2″ and 6″
- Very Vanilla Cardstock (166784) – 4″ x 5 7/8″ scored at 2″ and 5 3/8″, 2 1/2″ x 3″
- Storybook Moments Designer Series Paper (164662) upper dsp -2 1/4″ x 5 1/4″, lower dsp – 1 3/4″ x 5 1/4″, insert – 3 3/4″ x 2 1/2″
- Die-cut of choice from the Storybook Moments Designer Series Paper
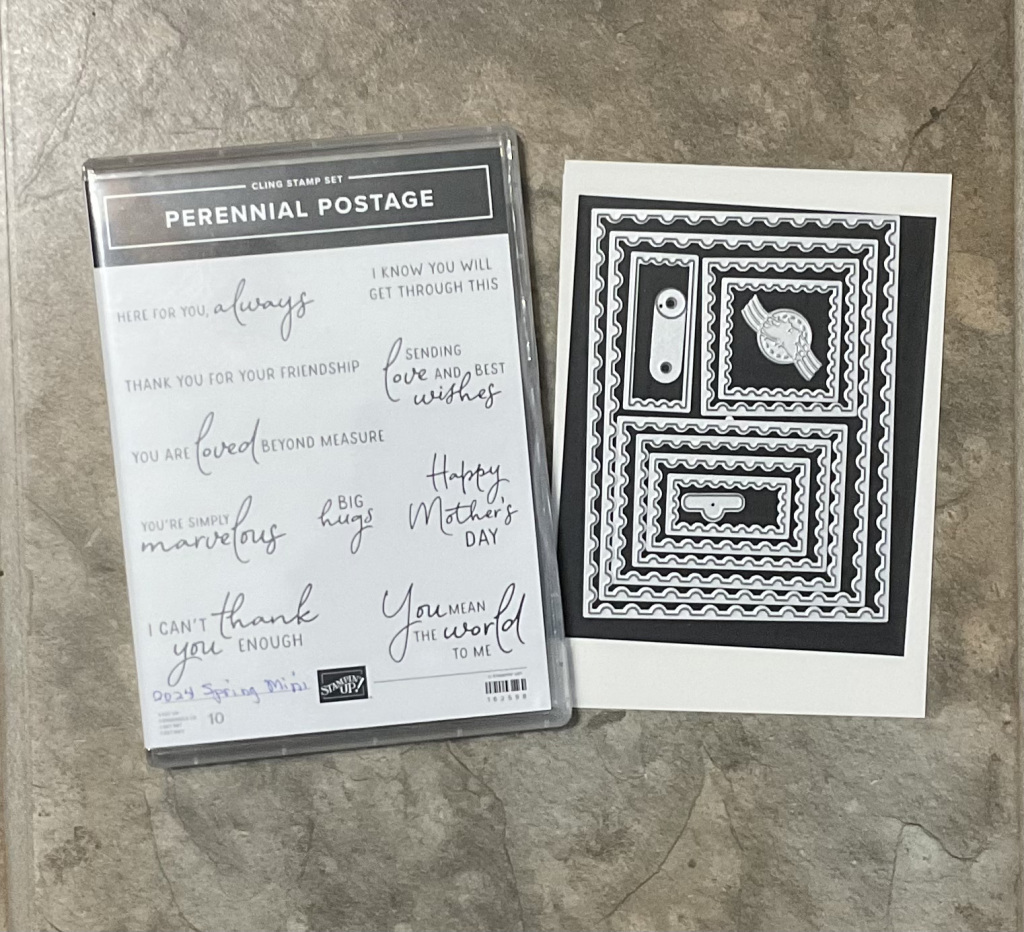
- Postage Stamp Dies (162607) third out from the smallest rectangle
- Stampin’ Snail Adhesive
- Mini Glue Dots
- Stampin’ Dut & Emboss Machine (149653) or Mini Stampin’ Cut & Emboss Machine (150673)
- For your convenience, use this link to go to a shopping cart filled with all these products. Those you already have can be deleted. Thanks for your order.
Once you have your supplies ready, follow along with me in this video I made.
Isn’t that easy? Leave a comment if you do make this Easy Pocket Slider Card Gift Card Holder.